Making a Tow Rope For 15 mm Models
John Kelley
While I was building my Grav Tank model I needed a tow rope to add to it. This not only adds detail and interest to the model but let's face it, I seriously doubt that this simple towing device will disappear from the battlefield even in the next century. To make the rope is more easily done then explained but I will try my best. My first ropes (and the ones I put on the model) were made by twisting strands of wire together but after going to my local arts and crafts stores I found wire that was already twisted for jewelry making. Suddenly the light came on (after years of it being off!) and I realized I could make the ropes out of this material instead of twisting individual strands together as was my normal practice. You only need two tools and these can be purchased from your local Hobby Lobby and Michael's stores in the jewelry section. When I purchased my tools from them I saved money by using their 40% off coupons.
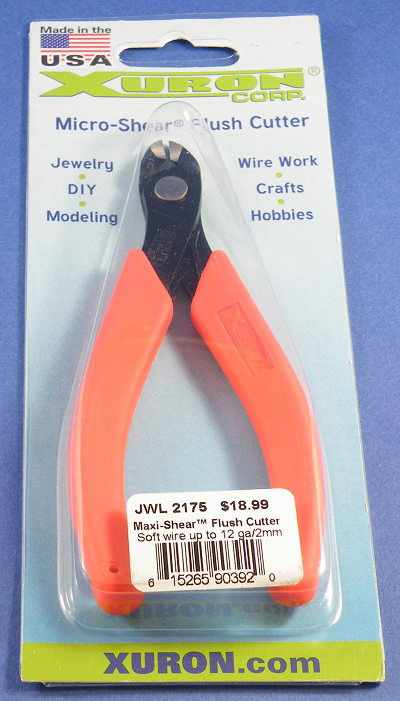
The first thing I purchased was Xuron Micro-Shear Flush Cutters which cuts the wire really well with no bent strands and nice clean cuts.
The first thing I purchased was Xuron Micro-Shear Flush Cutters which cuts the wire really well with no bent strands and nice clean cuts.
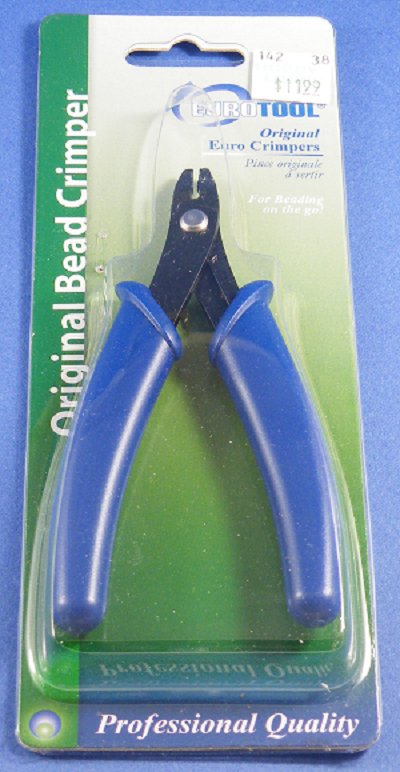
Next is a jewelry crimping tool for crimping beads and tubes 3 mm or less in diameter. The tubes secure the loops together and cover the cut ends. In this case I purchased the Eurotool Crimping Pliers PLR-585.00. The back of the package has instructions on how to use it to crimp the tubes. Following them will give you good results every time.
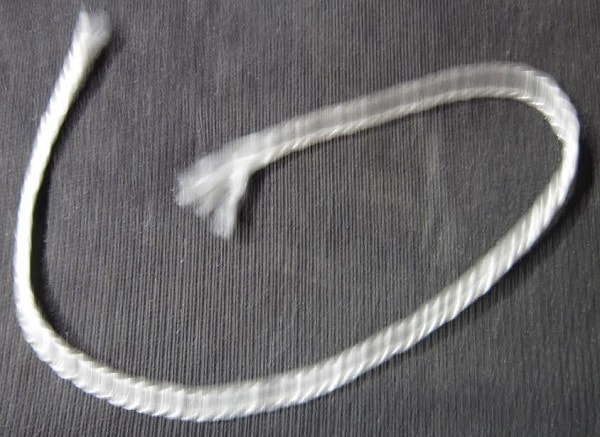
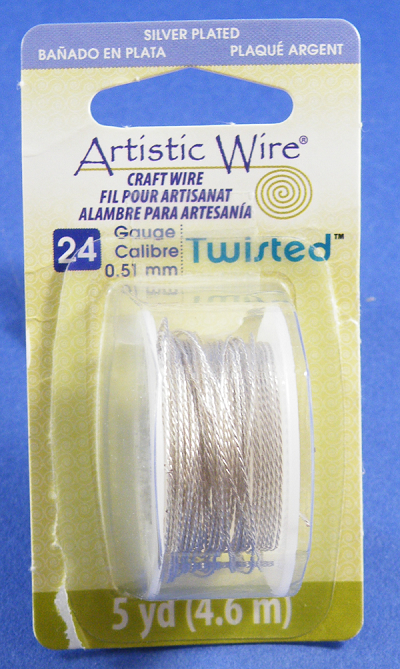
For the materials I used Artistic Wire 24 Gauge (0.51 mm) Twisted Wire.
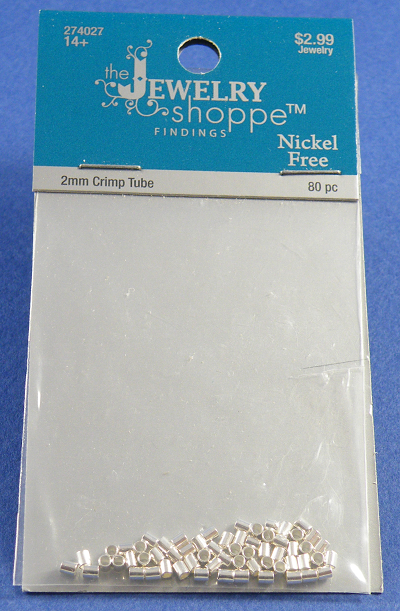
The Crimping Tubes are 2 mm from Jewelry Shoppe #274027
Making the rope
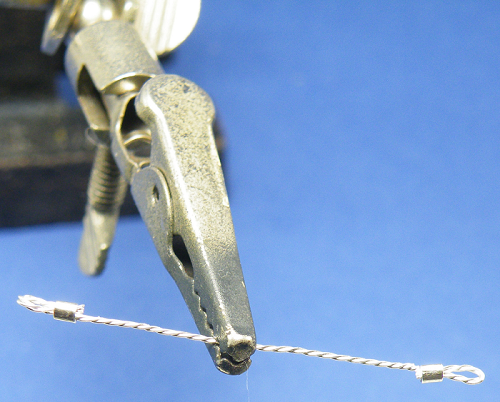
Take a length of the wire and leave enough at the ends to form a loop. Using a small drill bit or metal rod helps to form the loop by bending it around the drill. The tool holding the wire is an X-acto X-tra Hands and was used to aid in photographing the steps but is not needed to make the tow ropes.
Take a length of the wire and leave enough at the ends to form a loop. Using a small drill bit or metal rod helps to form the loop by bending it around the drill. The tool holding the wire is an X-acto X-tra Hands and was used to aid in photographing the steps but is not needed to make the tow ropes.
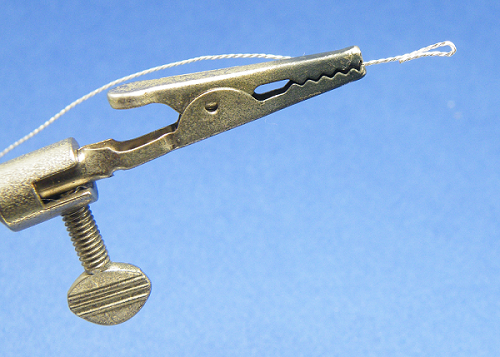
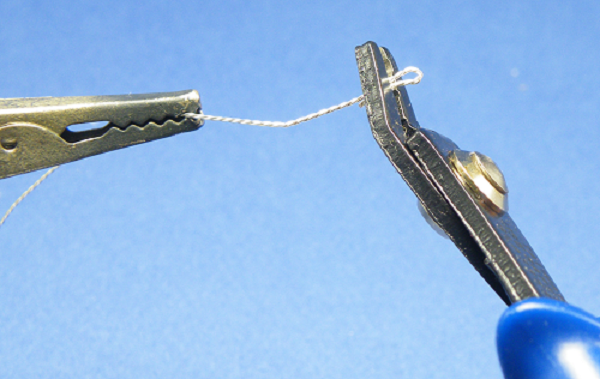
Slide the crimp tube on over the wire and the loop end. If there is a little extra wire from forming the loop this will not hurt as we can simply snip off the extra length with the flush cutters.
Taking the crimping tool compress the tube in the last opening in the pliers (the bottom hole). It has a little point to put a slot in the tube.
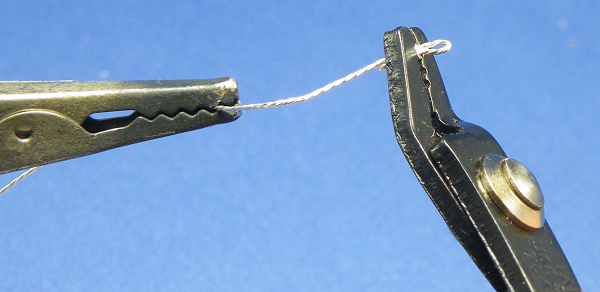
Next put the tube in the first opening and compress the tube again until it closes on the wire completely. You may need to do this more than once to get a nice tight tube.
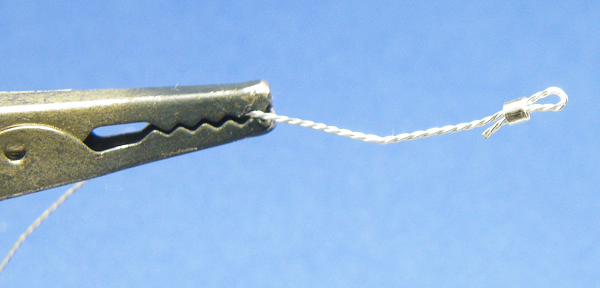
Slide a crimp tube onto the other end of wire before forming the second loop. Next, form the loop and repeat the process as you did on the first loop.
Now you have a completed tank tow rope that you can add to your model. This one was made for a 15 mm model but if you use a larger wire and tube it will work in larger scales.
Now you have a completed tank tow rope that you can add to your model. This one was made for a 15 mm model but if you use a larger wire and tube it will work in larger scales.