
Magnetizing Warhammer 40k Tau Miniatures
David Kelley
I’m a gamer. I play video games, card games, board games… I’m even trying to design my own. So when I had the opportunity to take part in Warhammer 40K due to my association with several friends, it was no question I was wanting to get involved with the game.
Warhammer 40K is a grim-dark fantasy tabletop game. The game revolves around using armies to fight against one another, each army separated into various detachments. The point of the game is to use the units in these armies, represented by models, to defeat the enemy and claim victory.
One of the advantages to these models is the ability to equip different weapons and, in some cases, torso and head parts. However, this can also be a disadvantage. This stems from the fact that once one glues the model with a specific weapon or pieces, you are stuck utilizing that weapon, even if later you wish to switch. It should be noted that you can change this on the Army Roster, however, this can become confusing especially during longer games.
How does one deal with this issue? Magnets. Magnets will allow you to not only switch out weapons and different parts but save you money in the long run. The obvious question then becomes, “How do you magnetize models?” Well, I’ll be going through just that.
To start with, we’ll have to choose a model kit. For the purposes of this article, I’ll provide an example of what to purchase for both the aspiring player and the model enthusiast. This series will start with simpler models and move on to more complex ones. The specific faction we will be discussing is the Tau Empire.
For The Gamer – “Start Collecting – Tau Empire”
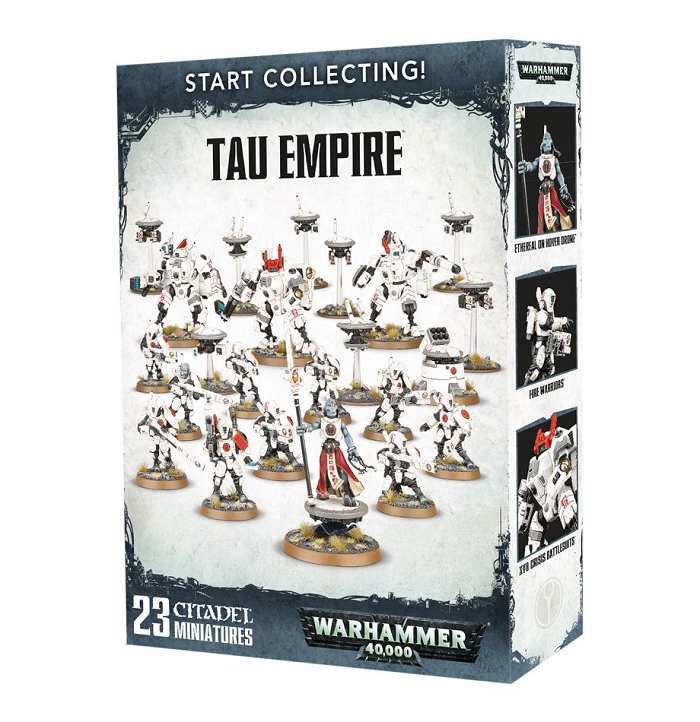
Each “Start Collecting” set retails for $85. This is quite easily the best value for starting with the Tau Empire. The breakdown for the contents of the “Start Collecting” set and cost are as follows:
1 squad of Fire Warrior - $50
1 Ethereal on Hover Drone - $16
1 squad of Crisis Battlesuits - $75
As you can see, for the cost of $85 you not only get $141 worth of value for $85, but you also obtain enough to start with a patrol detachment, meaning that you and a friend who also purchase a “Start Collecting” set can begin playing right away. For the sake of this first review, however, we are going to focus on one part of the kit rather than every model: The Fire Warriors.
For The Modeler – “Tau Empire - Fire Warriors”
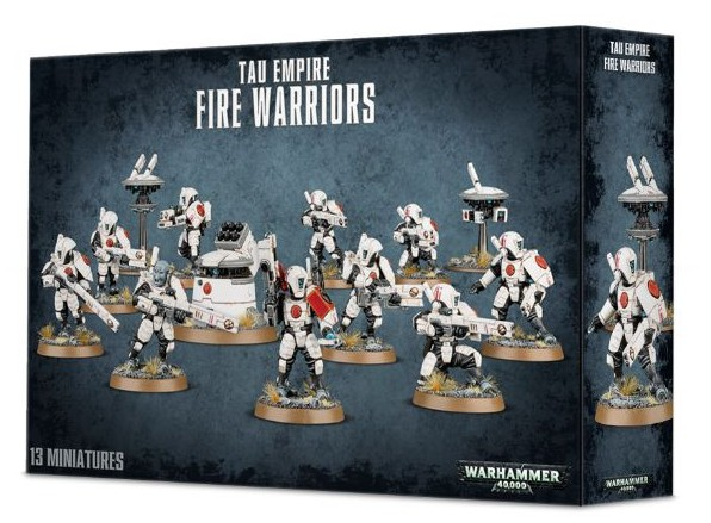
The Fire Warriors, as stated above, retail for $50. This contains 13 model kits, 10 of which are the Fire Warriors themselves, 2 drones, and 1 tactical support turret. The advantage to purchasing this kit is that the Fire Warriors can be made into either a Breacher Team or Strike Team.
The Breacher Team is more useful at closer range, whereas the Strike Team is meant to stay in the back. However, what if you don’t want to always use a Strike Team? What if you want a Breacher Team? Well, as it stands, you’d have to purchase a second kit of Fire Warriors, so already you’re investing $100 just to have different options.
That’s a mighty steep price to pay, don’t you think? Well, don’t worry, that’s why we have magnets!
Magnetizing – What You Will Need:
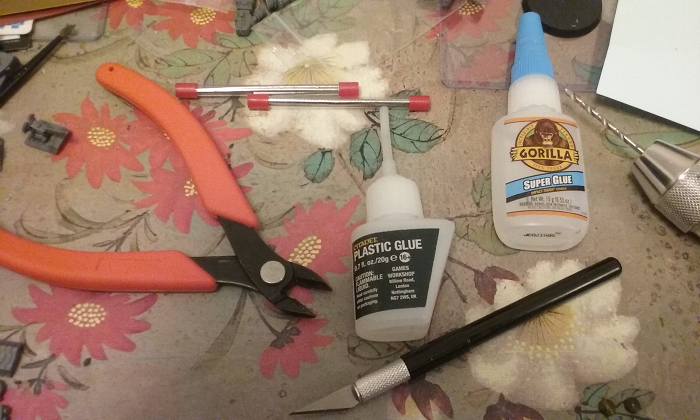
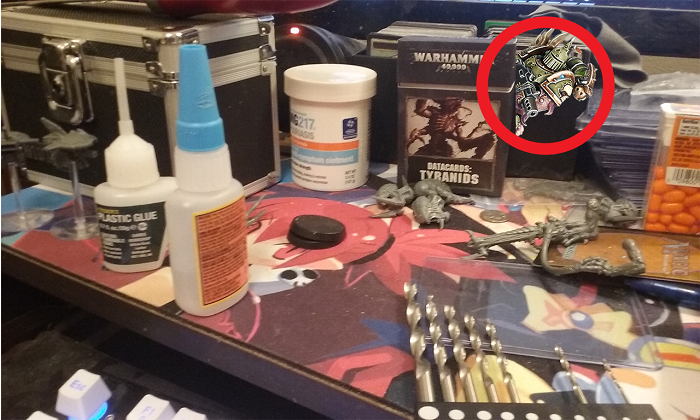
Before we even think about magnetizing our models, you must have the proper tools.
Modeling Knife
Sprue Cutters
Plastic Glue
Green Stuff
Super Glue (Non-expanding)
File
1/16” x 1/32” neodymium magnets
Plastic tweezers
Adjustable Pin Vice
Drill Bit Set
Black permanent marker
Citadel Painting Handle (optional)
While you can purchase these items from Citadel, you’re looking at $33 for Sprue Cutters, $7 for Plastic Glue, $21 for the files, and $32 for the knife. That’s at least $96 for tools, assuming you don’t already have them. While these can be a good buy, there are cheaper options. While I will personally vouch for the Citadel Plastic Glue, I recommend paying a visit to Hobby Lobby, Hobby Town USA, or Michaels to obtain these tools.
The guide I used to determine the size of magnets I needed can be found at MinIWarGaming.com. As for the number of magnets and where to purchase them, I highly recommend totalElement.
totalElement is a website dedicated to the selling of neodymium magnets. I have personally ordered my magnets from them and am highly satisfied with both the quality and shipping time. The magnets we’re wanting to purchase are priced at $11.99 for 500. Yes, you read that correctly; 500. You might think that’s not very much, however, we’ll be using quite a few not only for the Warriors themselves but also the optional weapons.
The adjustable pin vice and drill bit set can both be purchased from Amazon.com for $22 total. Please keep in mind there are other options available, including Dremel rotary tools, but I personally chose this for the ease of use for this product. It may be manual and require a bit more time, however, I prefer the pin vice.
The Citadel painting handle will allow you to drill smaller models more easily. By gluing the model to the stand and then using the handle to hold it, you can drill without either risking injury or potentially damaging the model itself.
The green stuff and super glue we’ll be using to attach the magnets to the model, along with filling in any spots or areas where the hole is too deep.
Rules of Engagement
There are several rules one must keep in mind when magnetizing models.
1) As has been taught throughout the years in the 40K universe, Chaos and their agents are everywhere. Be vigil in spotting them, lest you fall to its corruptive influence.
1) As has been taught throughout the years in the 40K universe, Chaos and their agents are everywhere. Be vigil in spotting them, lest you fall to its corruptive influence.
2) Be sure that you are using an appropriately sized table or surface, especially when handling the magnets. The last thing you want to do is spend several minutes trying to find a dropped magnet on the carpet. Trust me. I know from personal experience!
3) Do not handle the magnets near electronic devices. While proximity may not be a huge issue, the chance of the magnet getting too close and causing irreparable damage to the device is too great to risk.
4) As we are working with modeling glue, ensure to work in a well-ventilated area. Also, on the topic of safety, ensure to practice proper handling of your modeling knife. While cuts from the knife may be small or unnoticeable, they sure as heck sting later.
5) Tyranids come in many shapes and sizes. Always watch out for signs of infestation and take precautions as necessary to avoid a potential planet-wide disaster.
6) Always make sure to read the instructions fully before assembling the kit. This will allow you to determine how much of the model you can put together without magnetizing.
7) Make sure to give the glue time to dry. If you attempt to apply magnets or drill before the model is dry, this could result in undesirable gaps.
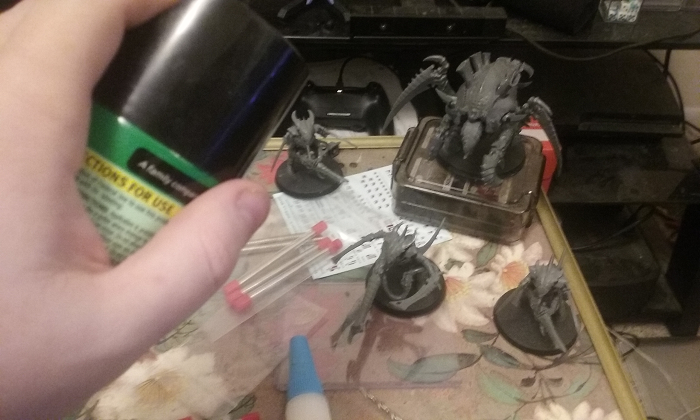
Assembling the Model
The first step is to assemble the model up to the point where we’ll be attaching the magnets. We’ll start by checking the instructions and verifying what parts can be swapped out.
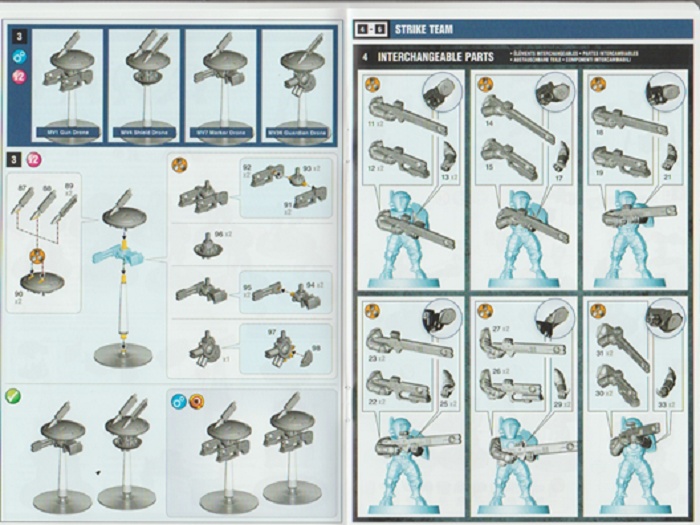
After looking over the instructions and verifying what parts can be swapped, the parts that can be changed out are the arms as well as the head. Other optional parts include accessories, though the time and effort needed to magnetize them would not be worth it. Not only that, but for competitive players, the inclusion or lack of inclusion of these can be noted on one’s Army Roster.
As the heads are more cosmetic and do not influence gameplay, we’ll be focusing on magnetizing the arms. To start with, find the parts you wish to use on the sprue. In this case, we’ll be going with 1 torso and 1 set of standing legs.
As the heads are more cosmetic and do not influence gameplay, we’ll be focusing on magnetizing the arms. To start with, find the parts you wish to use on the sprue. In this case, we’ll be going with 1 torso and 1 set of standing legs.
Once you’ve glued the torso to the legs and allowed them to dry, we can proceed to the next step. Start by using your market to place a dot around the middle of the smooth section on the right and left side of the torso where the arms will be placed.
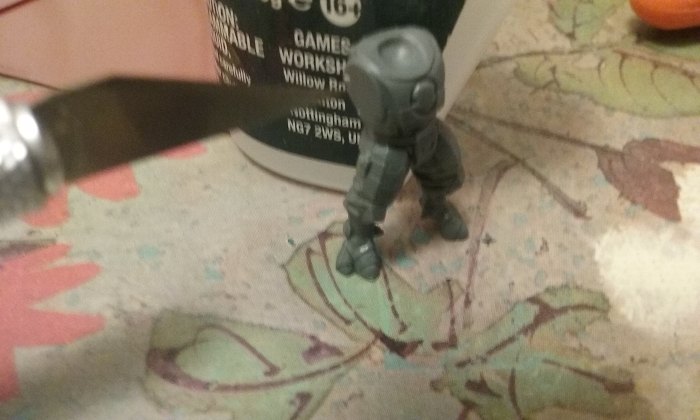
Once you’ve done this, we’ll be using our knife to carefully “drill” a small hole as to allow our drill bit an easier time to drill.
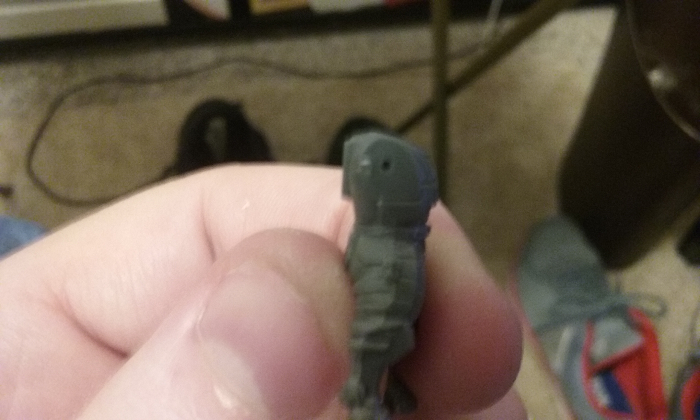
Once that’s done, place the proper sized drill bit into your pin vice or Dremel drill. In this case, we’ll be using 1/16th inch (or 1.58mm). You can also use a 5/64th inch (1. 98mm) drill should you want a bit of “wiggle room”.
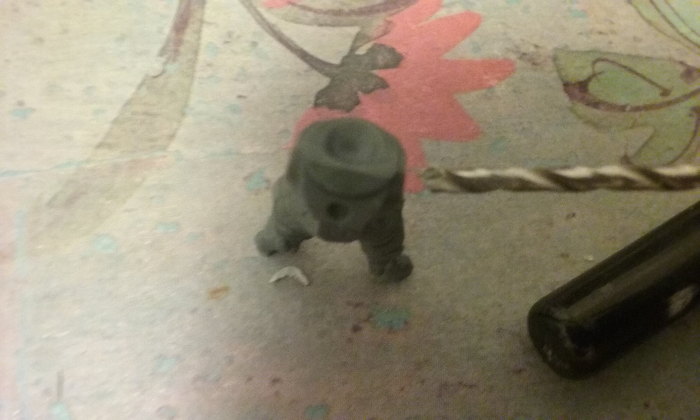
Once the drilling is done, you’ll be prepared for the next step, which is inserting the magnet into the hole. In this case, take a small amount of super glue (Optionally green stuff) and place it inside of the hole and then gently press the magnet into said hole.
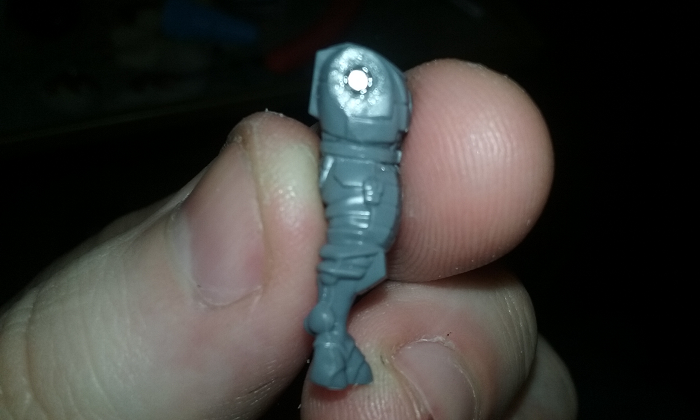
Once one side is done and the other side drilled, perform the same action as the previous step. Once this is done, choose which set of arms you want to magnetize. For this set, the weapons arms are particularly easy to magnetize as they require little drilling, as there is already a hole present that the magnet can be set in. Make sure, however, that the magnets are the right polarity. You can do this by attaching one of the unglued magnets to the side in the torso that you want to magnetize. At that point, mark the outside magnet with a marker. Then you will know to glue it marker-side-down as to ensure the arm will attach proper.
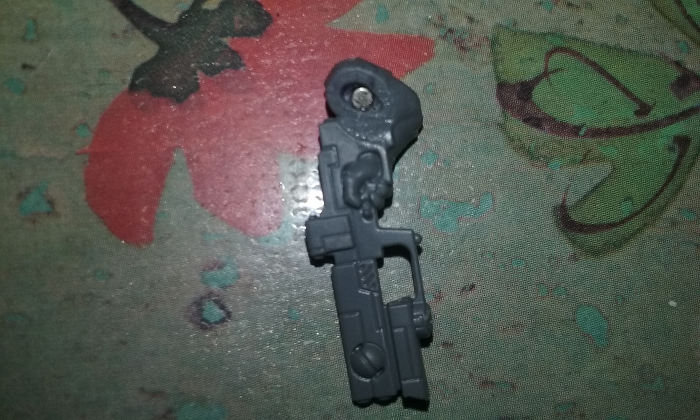
The right arm will require a bit of drilling but will be simple enough to set the magnet into, as with the torso.
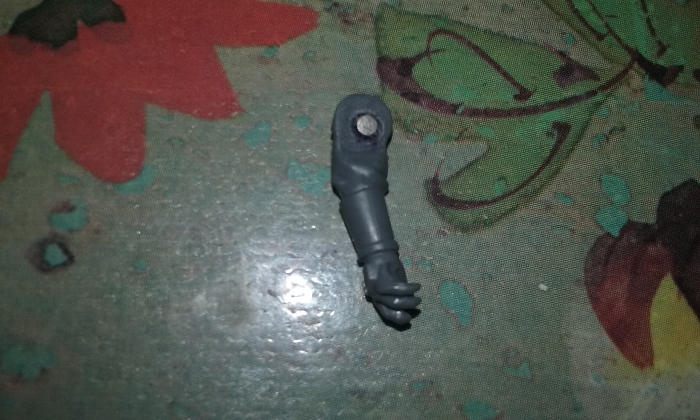
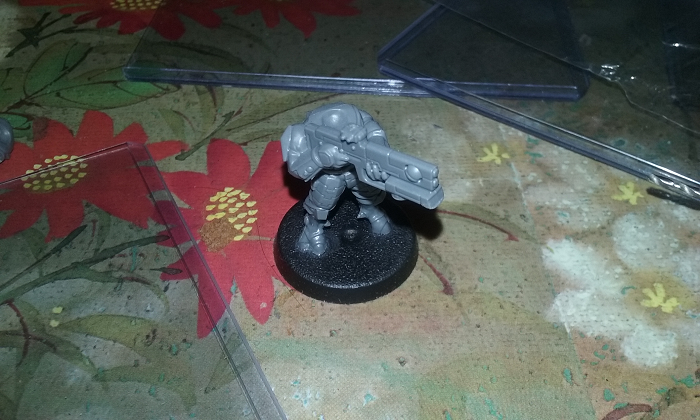
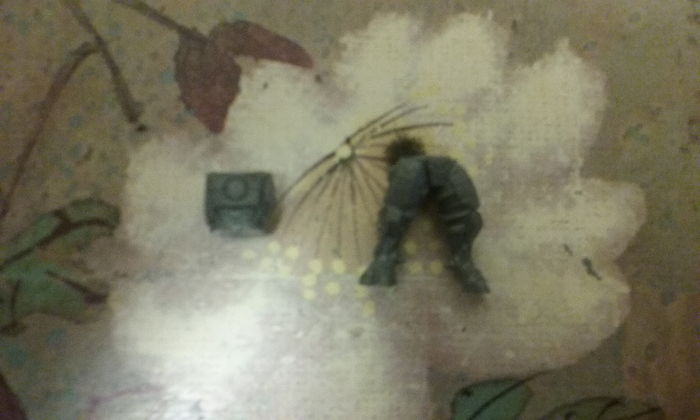
Once this is done, you will be able to place the arms on the torso and remove them as needed, as to give a dynamic feel to your model. Here’s a picture of the finished product!

Sources
MiniWarGaming Magnet Guide - https://www.miniwargaming.com/magnet-guide
totalElement - https://totalelement.com/collections/disc-magnets
totalElement - https://totalelement.com/collections/disc-magnets
