
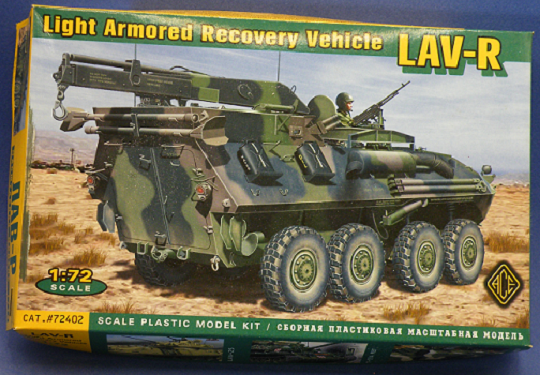
Ace 1/72nd Scale Recovery Vehicle LAV-R Build Review
MSRP: $22.00
Kit 72402
Copyright 2003
Out of Production
John Kelley
I purchased my model for around $10.00 through an online store when it was first issued. The model can still be found on Ebay and other online stores.
Kit 72402
Copyright 2003
Out of Production
John Kelley
I purchased my model for around $10.00 through an online store when it was first issued. The model can still be found on Ebay and other online stores.
HISTORY:
The LAV-R entered service with the United States Marine Corps in 1986. Produced by GM of Canada and using an American made boom it has a 256
degree traverse and a lift capacity of 1.040-4.125 kg,. And uses to outriggers to stabilize the vehicle when the boom is in use.
The LAV-R entered service with the United States Marine Corps in 1986. Produced by GM of Canada and using an American made boom it has a 256
degree traverse and a lift capacity of 1.040-4.125 kg,. And uses to outriggers to stabilize the vehicle when the boom is in use.
THE MODEL:
This is one of the later issues where Ace began adding mix media parts and there is better fit on the model overall. The model is molded in white
styrene plastic with 8 vinyl tires and 127 parts on 5 trees. The decal options are for three vehicles. Two are in the USMC and are vehicles in service in
1992 and 1994. the third is a trials version for the Australian Army. All version have camouflage patterns in the NATO 3 color scheme.
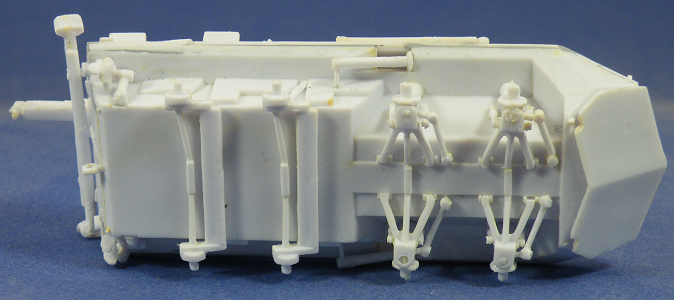
THE BUILD:
There are four build steps so I started with step one which is the suspension assembly.
This posed no problems in building the model but I did need to open the location holes for the axle/shocks, part 14, as the holes were too small to insert them into the hull. When I added the A arms, parts 5, care needed to be taken to be sure the axles are vertical.
If you want you could have the wheels in a turning position by turning them off center right or left.
I added everything except the propellers and rudders. I would leave off the surfboard, part 44, off until the upper and lower hull are attached and all the seams filled as necessary.
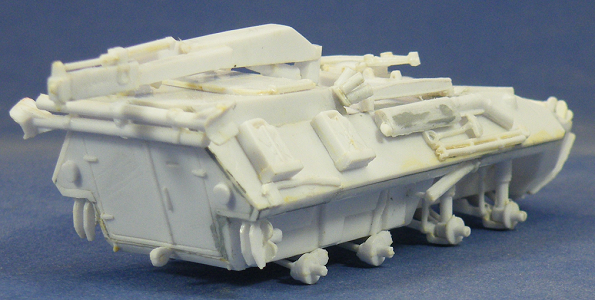
Step 2 was adding the upper hull parts part 38, the main part for all the versions, part 56 is the upper superstructure and part 64 is the rear plate.
This assembly is where I had trouble.
There are tabs on part 56 to act as a connection between it and part 38. These tabs are thick and need filing down to fit as close to part 38 as possible.
The part was slightly warped in the main air intake area so when I added the separate rear intake part 37 there was a noticeable step.
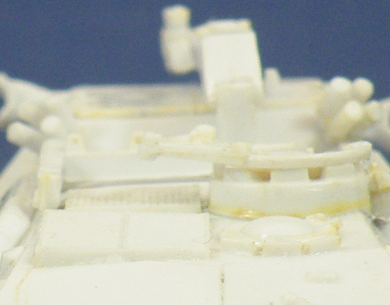
I shaved down the plastic on the hull top behind the main air intake and filled the gap between the hull pieces with putty and this corrected the issue but
you can still see the warping in the large air intake.
you can still see the warping in the large air intake.

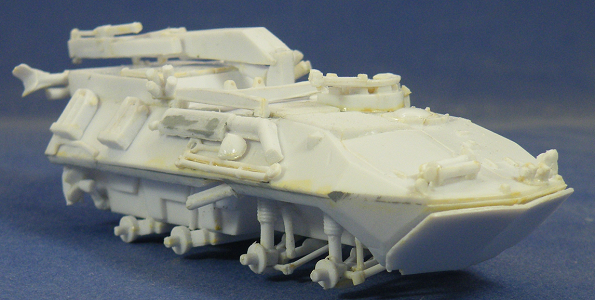
I then finished the main assembly by attaching the rear plate. Part 64.
This needed filing down on all sides to fit into the hull and there were gaps that needed filled with strip styrene and putty.
If I were to build this again I would attach part 38 (upper hull) by itself and let dry. Then part 56 and finally part 64. Part 38 overhung the lower hull but sanding down this overhang fixed the issue.
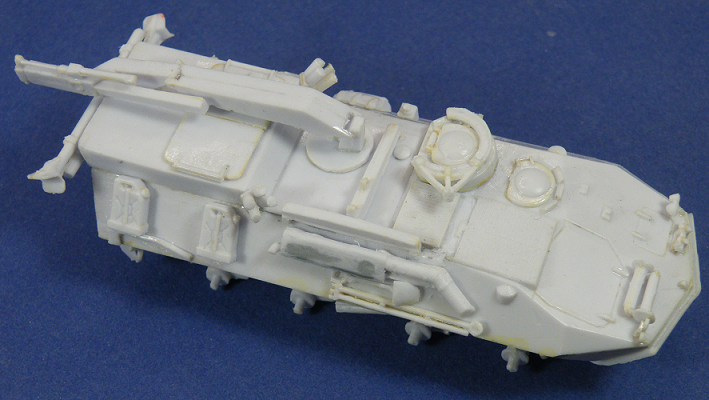
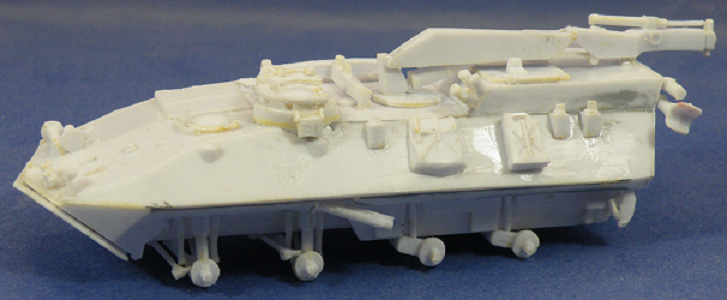
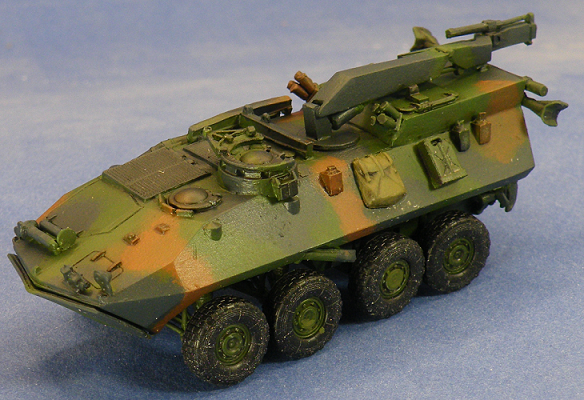
I then started to build the crane and add the various parts such as the exhaust, tools and other items that were molded separately.
Ace did a great job in making all these parts separate and it adds a lot to the model.
I removed the seam lines on the separate parts and assembled the crane.
I assembled the wheels but almost all of the backs needed the holes to mount onto the axle stubs reamed out with a file so they would fit. The tires and treads are well done and really add to the model.
There are some scratches on the rear hull plate Part 64 that are my fault from using a file and I did not see them until the finish coats were applied. We’ll call it battle damage!
|
|
PAINTING:
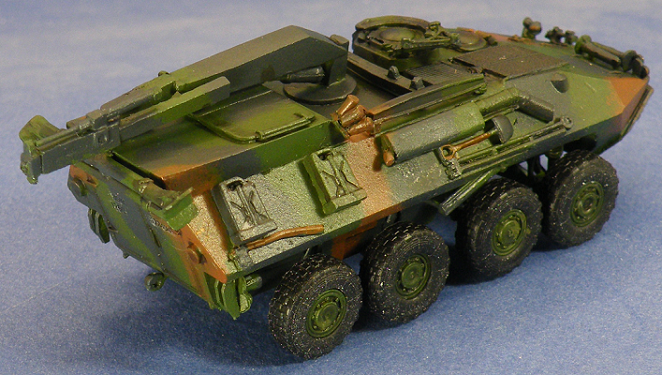
I Used Vallejo paints on the model unless noted and began by brush painting on a coat of Vallejo Surface Primer NATO Green 70.612 over the model while the air intakes were primed with Surface Primer Black 74.602.
I then began applying the finish coats starting with Model Color Refractive Green 70.890 using a makeup brush and stippling it on.
This was a little dark so I mixed three drops of the Refractive Green with 2 drops of Flat Green 70.968 and again used the same method to apply this mix which lightened up the green. The black was applied with Black Grey 70.862.
For the brown I did not have the correct NATO Brown shade so I mixed 2 drops Mahogany Brown 70.846 and 1 drop of 70.983 Flat Earth F.S. 301145. These too were applied with a small makeup brush in a stippling motion.
|
|
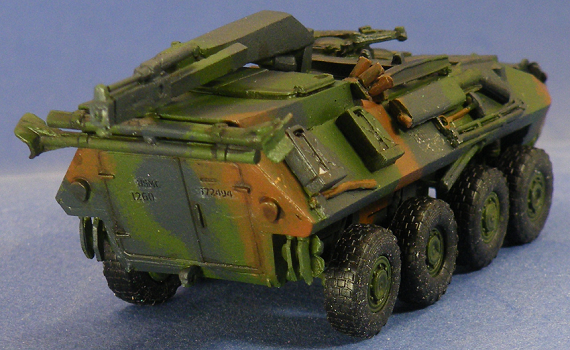
The model was then sprayed with Tamiya Semi Gloss in a spray can and the decals were applied.
The decals went on fine but after applying a few I noticed I could barely see them on the 3 color camouflage so I add all of them.
They would be more visible on a sand camouflage pattern. I used The Army Painter Dark Tone thinned with their Quick Shade Mixing Medium and applied it to panel lines, raised surfaces and all other details.
The head and tail lights, turn signal lights and brake lights were painted Citadel Stormhost Silver and covered with Testors Model Master Acryl
Turn Signal Amber 4624 and Insignia Red 4714. The satchel on the hull side was painted Russian Uniform WWII 70.924 and dry brushed with the same color after it was given the Dark Tone wash.
The tools were painted Black Grey and the wooden parts in Flat Earth.
|
|
WEATHERING:
This is always the difficult part for me as it can make or break the model.
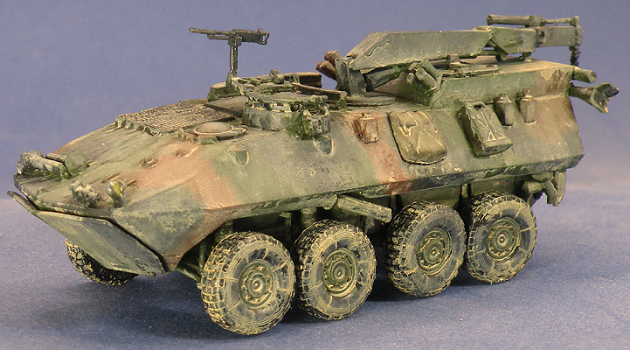
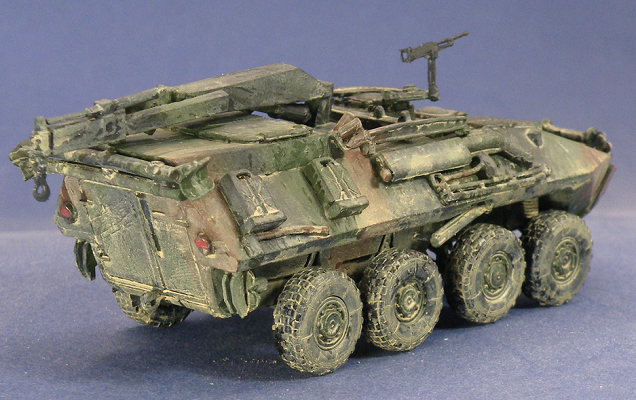
Veterans that I have talked to told me that vehicles get very dirty fast and photos bear this out. I applied a wash of 2 parts Buff 70.976 to 10 parts distilled water to make a very watery paint.
I applied this all over the model for a very dusty desert like appearance. The last items added were the crane’s hook and the Commander's mg.
This is always the difficult part for me as it can make or break the model.
Veterans that I have talked to told me that vehicles get very dirty fast and photos bear this out. I applied a wash of 2 parts Buff 70.976 to 10 parts distilled water to make a very watery paint.
I applied this all over the model for a very dusty desert like appearance. The last items added were the crane’s hook and the Commander's mg.
|
|
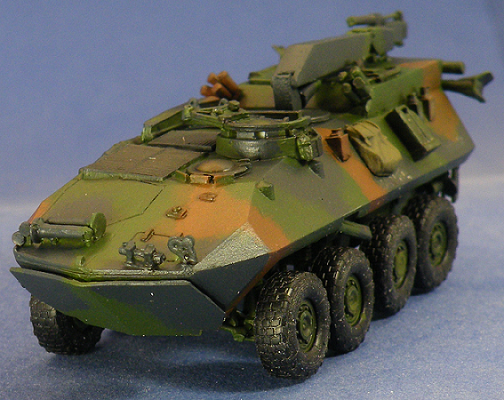
CONCLUSIONS:
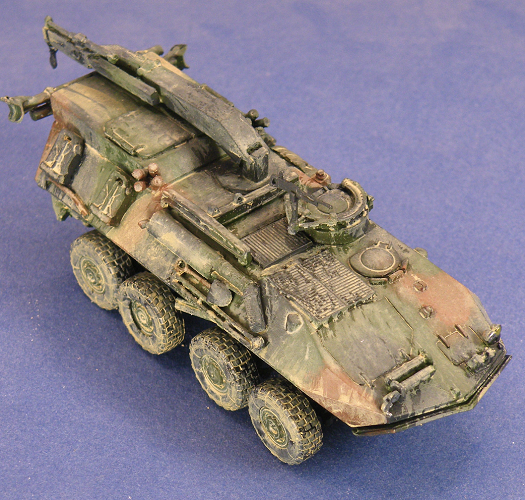
I was pleasantly surprised to find that the wheel all touched the ground without one sitting up in the air like the last two builds I did.
The amount of separate parts was impressive such as tools, lights, hooks and other items. The molding is generally good but a little soft in some areas. For example the tail lights are molded well but the light itself is not molded on the housing.
If I were to build this again I would assemble the upper and lower hulls first and complete all of the necessary seam filling then assemble the suspension.
Recommended to the experienced modeler.
