
Review of Archer 1/35th Scale
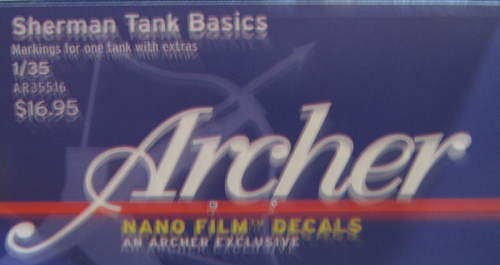
Sherman Tank Basics
Markings for one tank with extras
Set no AR35516
By Ray Mehlberger
MSRP: $16.95
By Ray Mehlberger
MSRP: $16.95
THE SET:
Archer Fine Transfers is based in Youngsville, NC.
This set is marks on clear Nano film.
It comes in a clear cello bag stapled shut with a header card.
The front of the card gives the title of the set and what it is over Archer Nano Film Details an Archer Exclusive.
The back of the header card says the set is 100% satisfaction guaranteed. Return unused portion to manufacturer for free replacement.
Archer Fine Transfers
305 NW Railroad St.
Youngsville, NC 27596
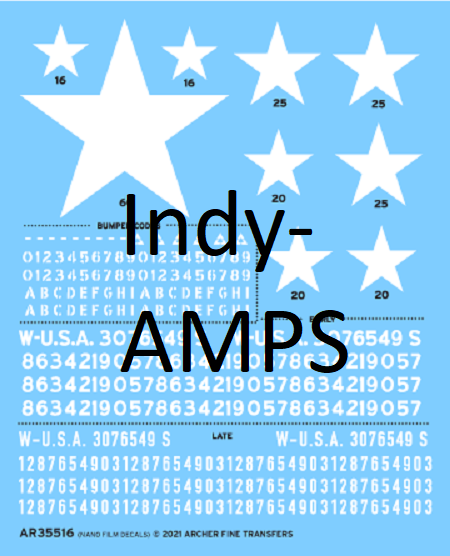
Inside the bag is the decal sheet all printed in white against a stiff blue card and the application instructions:
HOW TO APPLY NANO FILM DECALS.
Step 1: Clean surface of model thoroughly and gloss coat.
Step 2: Cut what you need from the sheet with a hobby knife or scissors leaving a little extra on the side. Slice through the clear film (not through the paper) and use clamping tweezers to hold the decal. The desired decal will now be able to slide off leaving the clamped clear film on the backing paper.
NOTE: It is not necessary to trim close. This is an outdated idea from the days when decals were thick enough to trip over.
Step 3: Dip into warm water, remove and wait about 30 seconds for the decal to slide freely on the backing paper.
Step 4: Position decal on the model, still holding with clamping tweezers and then slide the backing paper out from under the clear film (lengthwise for long strips).
Step 5: Allow to dry. Use decal setting solutions after drying to assure a strong adhesive.
This set will be of great interest to modelers planning on building a 1/35th scale Sherman.
I want to sincerely thank Archer Fine Details for this review sample.
All Archer products can be viewed on their site at:
Highly recommended.
