
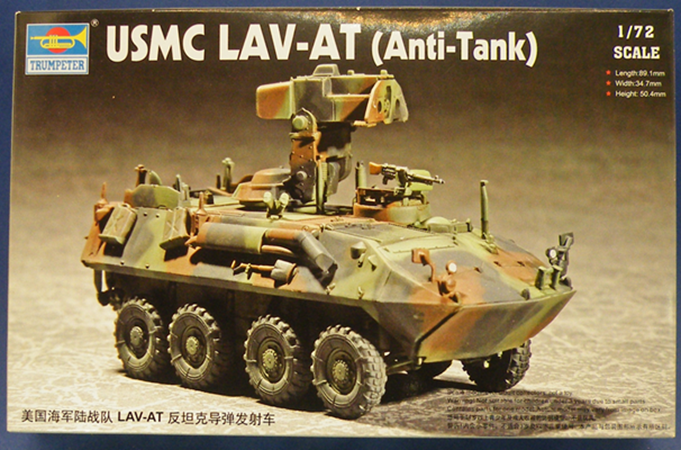
Trumpeter 1/72nd Scale USMC LAV-AT (Anti-Tank) Build Review
Kit no. 07271
MSRP: $18.66
John Kelley
Available through online retailers and hobby shops. I purchased my kit through my local hobby shop.
MSRP: $18.66
John Kelley
Available through online retailers and hobby shops. I purchased my kit through my local hobby shop.
HISTORY:
The LAV-AT is the TOW Missile version of the Light Armored Vehicle family which includes the LAV-25 IFV, LAV-M Mortar Carrier, LAV-R recovery Vehicle and the LAV-L Logistic vehicle.
Based on the MOWAG Piranha series, the LAV-AT has an Emerson turret on the top of the hull that can rotate 360 degrees and carries 2 tow missiles with additional rounds being carried in the hull.
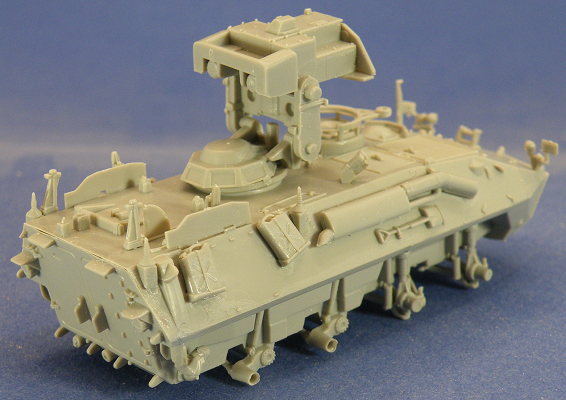
THE MODEL:
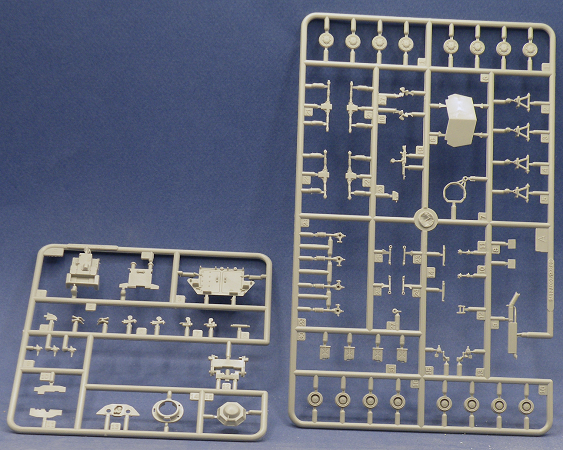
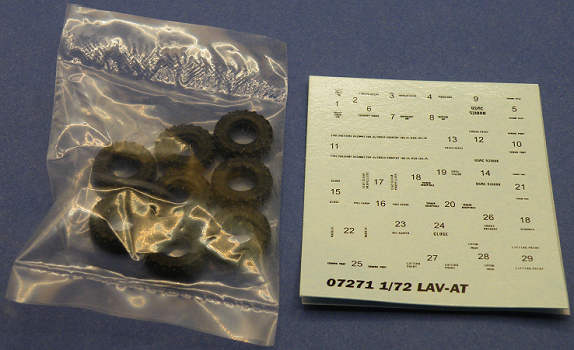
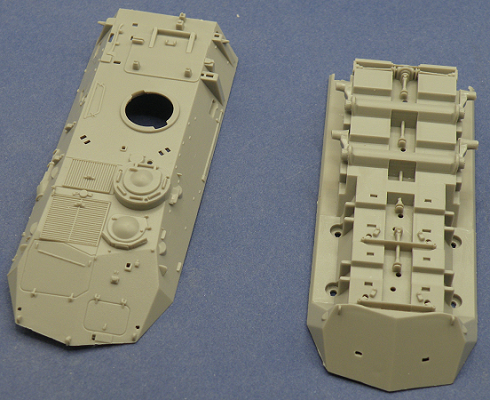
The box contains two trees, A and E that hold 73 Medium-gray parts, the upper and lower one piece hull parts, 8 vinyl tires and a decal sheet.
The A tree has two different styles of wheels, possibly for the later tires and wheels?
These parts, A16×8, are not used as well as a 4th part A30, a fuel can, are written on the instruction sheet.
|
|
THE BUILD:
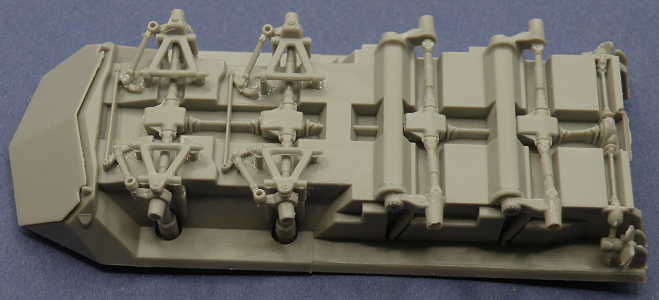
I started with step 1 which is building the suspension system.
The fit of the parts was very good but I did notice that the steering arms, parts A23 and A24 did not always attach to the pin on the axle/shock parts A28 andA29.
I filed a small amount off the location pins side on A23 and A24 until they moved closer to the location pins.
The rear axles, parts A21, were a very tight fit between the suspension arms but removing the location pin on one side helped to assemble the parts onto the hull easier.
The holes for the splash board part A26 were flashed over a little bit but they were easily opened up with an X-Acto #11 blade.
This part of the build only took about 30 minutes to complete.
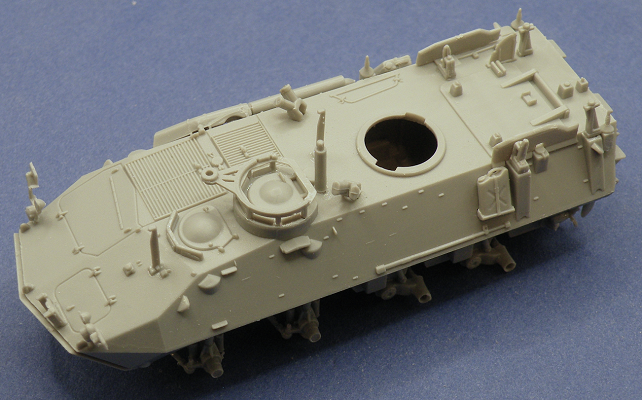
I skipped Step 2 until the painting was complete and went to Steps 3 and 4 which is adding the details to the upper hull.
I only needed to sand the location pins sides for the wire cutters, parts A14, to fit into the location holes better.
I did not add the machine gun until the build was finished and painted.
I only needed to sand the location pins sides for the wire cutters, parts A14, to fit into the location holes better.
I did not add the machine gun until the build was finished and painted.
Step 5 was building the TOW turret and again assembly went well with no issues except for an ejector pin mark on part E14 turret bottom which I filled and sanded smooth.
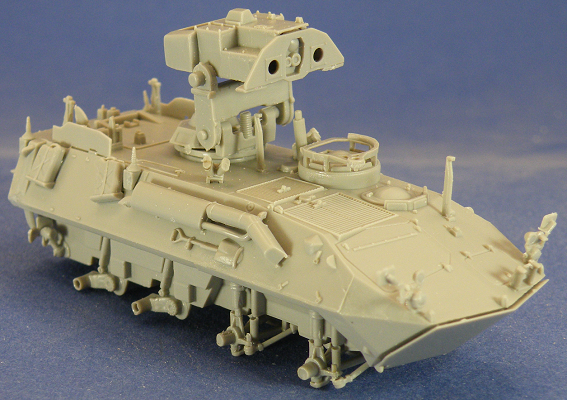
After assembling the hulls I added filler to the rear of the hull on both sides to fill a small gap. After sanding, the model was ready to paint.
|
|
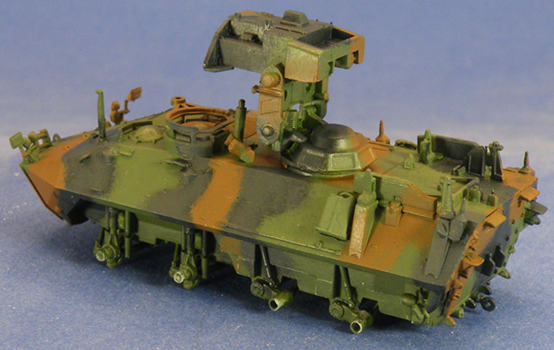
PAINTING:
I painted the model with Vallejo paints and a brush except where noted and started with a coat of Surface Primer NATO Green 70.612 on the hull, wheels and turret.
I really should have washed the model as there were some oils on the surface which has not affected the top coat, but I will the next time!
Next I mixed Model Color Reflective Green 70.890 and Pale Sand 70.873 in a 3:1 mix and stippled on the paint with a makeup brush.
The black camouflage pattern was painted using Black Grey 70.862.
The NATO Brown was mixed using Dark Earth F.S. 30145 70.983 and Saddle Brown 70.940 also in a 3:1 mixture and applied as I did the other colors.
|
|
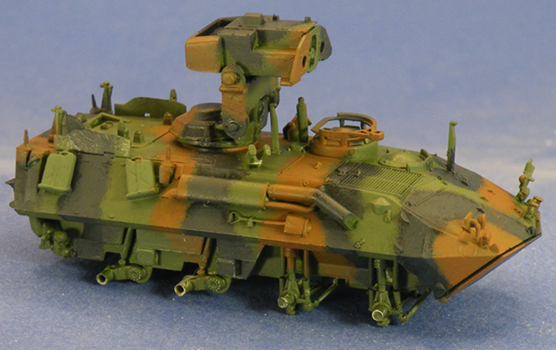
A coat of Johnson’s Floor Polish With Future Shine was brushed on before applying the decals.
I did a pin wash using The Army Painter Quickshade Wash Dark Tone straight from the bottle.
I added a few of the decals but there were so many that I only applied a few.
The decals did need about a minute to loosen up from the backing sheet but I had no problems in applying them.
I did a pin wash using The Army Painter Quickshade Wash Dark Tone straight from the bottle.
I added a few of the decals but there were so many that I only applied a few.
The decals did need about a minute to loosen up from the backing sheet but I had no problems in applying them.
I then sprayed a flat coat on the model and painted the details.
The lights were painted in Citadel Stormhost Silver.
The turn signals were painted Testors Model Master Acryl Turn Signal Amber 4624 and the tails lights painted Flat Red 70.957. The vision ports were painted a mix of Flat Blue 70.926 and Flat Red 70.957 for a purple shade.
WEATHERING:
I limited the weathering to a dry brushing of Dark Sand 70.847 concentrating around the wheels and lower hull.
The last item to add was the machine gun and this was painted Black Grey 70.862 with the ammo case painted in Russian Uniform WWII 70.924.
|
|
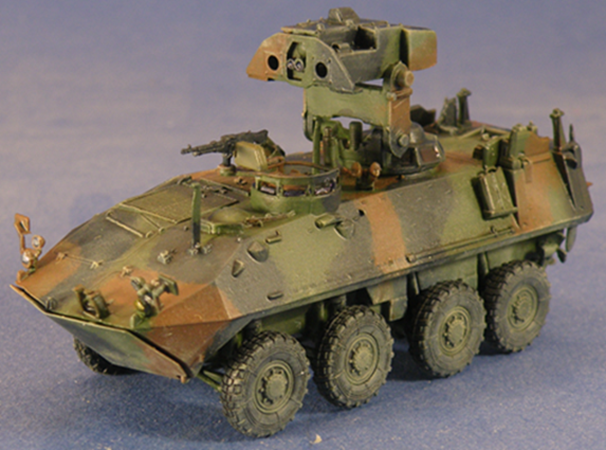
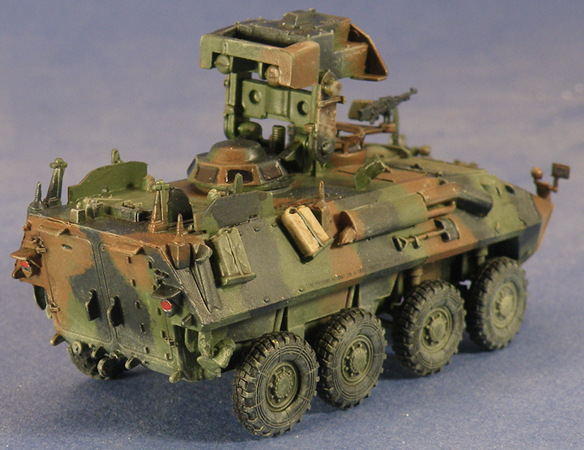
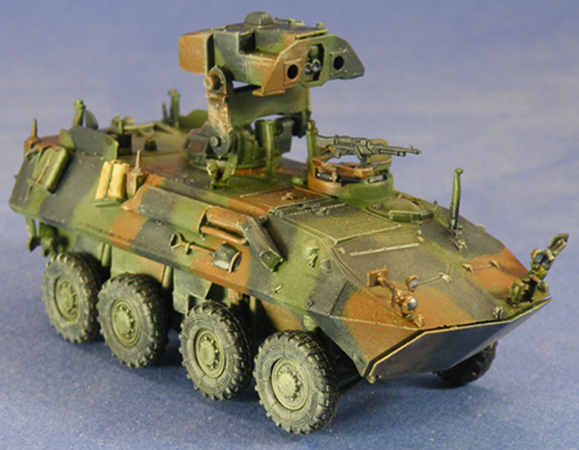
CONCLUSIONS:
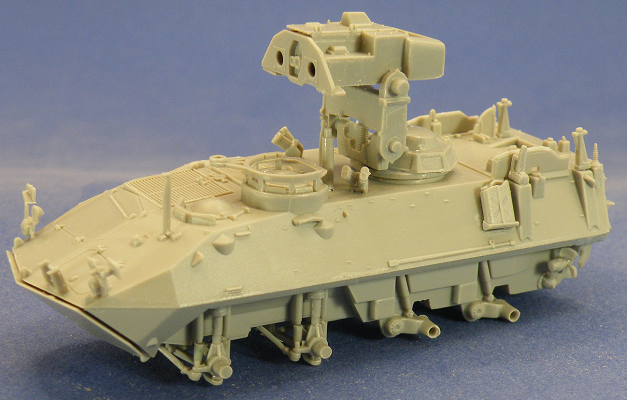
This was an enjoyable build with just a few issues that were easily solved.
The TOW turret can be lowered but it will take a little modifying to do so.
The decal sheet has numerous stenciling and the vinyl tires are accurate for the earlier version tires.
You can see that the model was made with the pre-built version in mind.
The hull haves have a snap fit to them as well as some of the suspension components, and the openings for the fuel can locators are larger than what you would normally find.
This was a fun build and I used a minimum of filler thanks to the good fit of the parts.
Highly recommended.
