
In Box Review of Dragons Ersatz Panther
Kit #7491
Price - $21.00
83 light gray plastic parts
2 DS Styrene tracks
John Kelley
Price - $21.00
83 light gray plastic parts
2 DS Styrene tracks
John Kelley
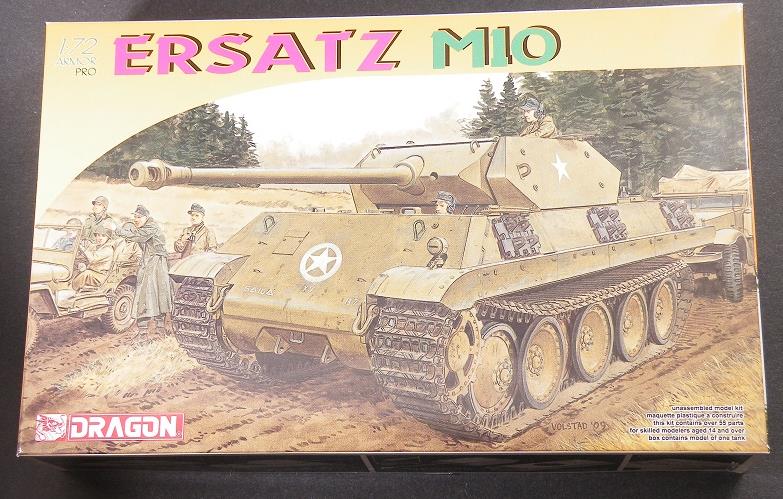
Dragon has recently released a Panther tank that was disguised as an M10 during the Ardennes Offensive in 1944. These tanks were part of Panzer Brigade 150 and were designed to sow confusion in U.S. rear area. While the Panthers were intended to look like American tanks, the ruse did not work and they were eventually used in their conventional roles.
Instructions
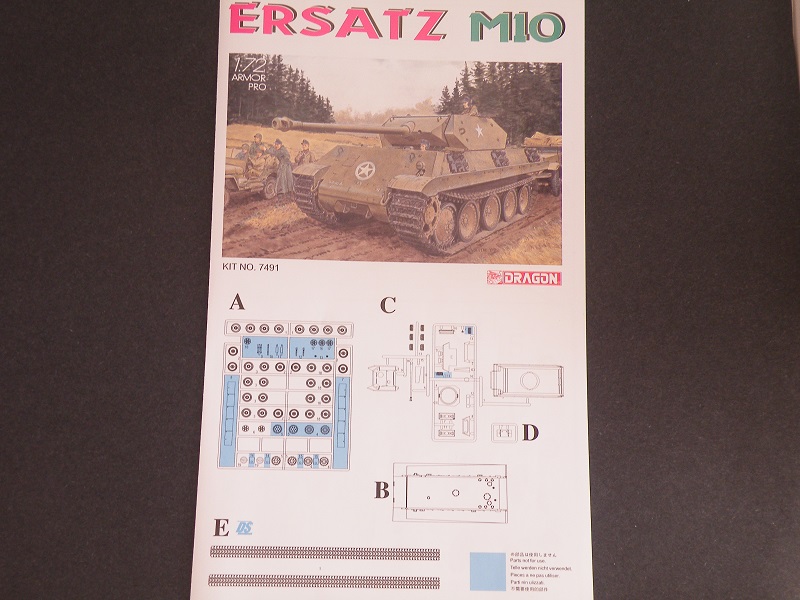
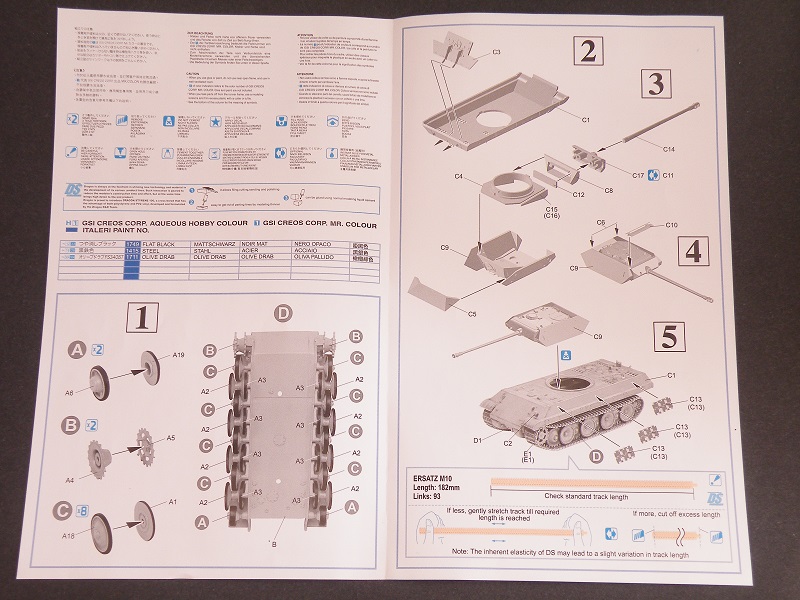
Starting with the first page of the sheet is the parts layout which also shows those parts which are not used in the kit highlighted in blue. Several extra pieces are given which can be used to upgrade models from other manufacturers. Unfortunately, the part layout numbers on the sheet do not correspond to those on the part trees. For example, Parts 15 and 16 on the instruction sheet are actually Parts 13 and 14 on the parts tree. The same mistake is carried out on the road wheels. The inner sets of road wheels are actually Parts 18 and 1 but on the trees, everything is labeled as Part 1. On the second page are the warnings that come with all kits and a list of paints from Gunze. This sheet also has the first assembly sequence and shows the idler, drive sprocket and inner road wheel assembly. There is a photo of the completed suspension system assembled onto the model to aid in the placement of all the road wheels. Page three gives assembly of the upper hull, turret and final assembly. Also shown is how to adjust the DS tracks if they are too short or too long. This is very helpful as many modelers in the past have asked how to deal with such a problem on many discussion forums. The last page shows the color schemes and decal placement for two vehicles. The instructions are not as good as they could be because they simply do not give enough information to the modeler to make sure of proper assembly of the model correctly.
Instructions
Starting with the first page of the sheet is the parts layout which also shows those parts which are not used in the kit highlighted in blue. Several extra pieces are given which can be used to upgrade models from other manufacturers. Unfortunately, the part layout numbers on the sheet do not correspond to those on the part trees. For example, Parts 15 and 16 on the instruction sheet are actually Parts 13 and 14 on the parts tree. The same mistake is carried out on the road wheels. The inner sets of road wheels are actually Parts 18 and 1 but on the trees, everything is labeled as Part 1. On the second page are the warnings that come with all kits and a list of paints from Gunze. This sheet also has the first assembly sequence and shows the idler, drive sprocket and inner road wheel assembly. There is a photo of the completed suspension system assembled onto the model to aid in the placement of all the road wheels. Page three gives assembly of the upper hull, turret and final assembly. Also shown is how to adjust the DS tracks if they are too short or too long. This is very helpful as many modelers in the past have asked how to deal with such a problem on many discussion forums. The last page shows the color schemes and decal placement for two vehicles. The instructions are not as good as they could be because they simply do not give enough information to the modeler to make sure of proper assembly of the model correctly.
Kit
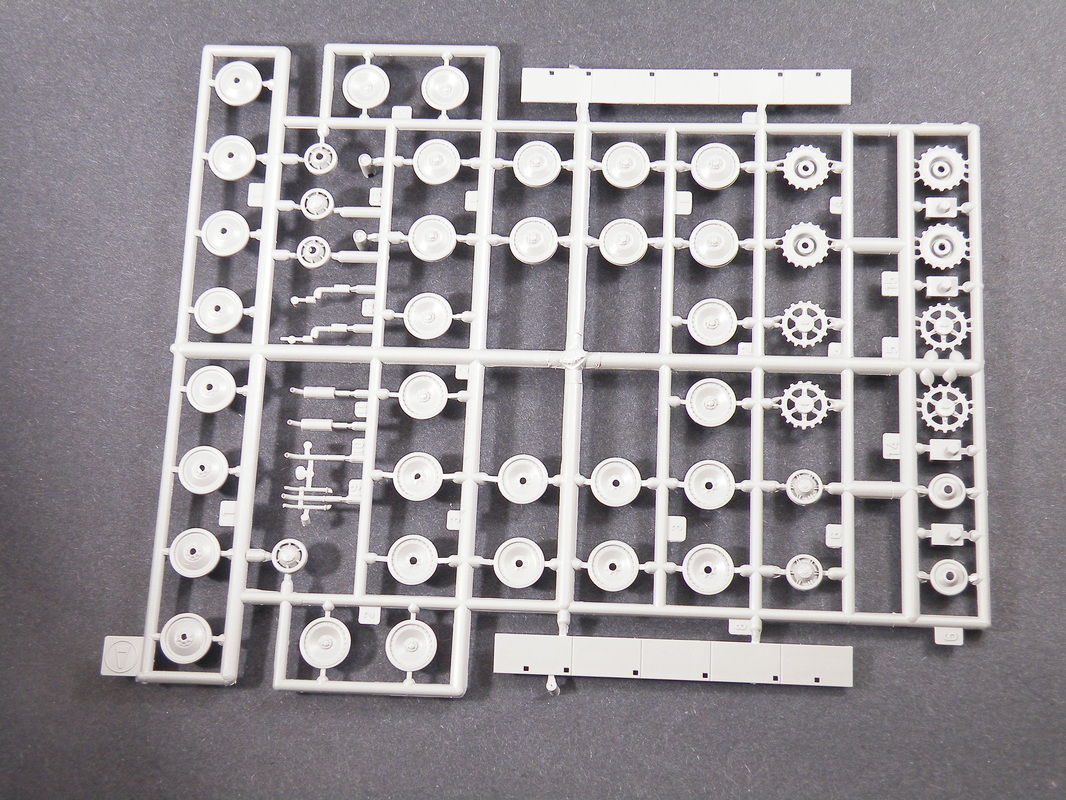
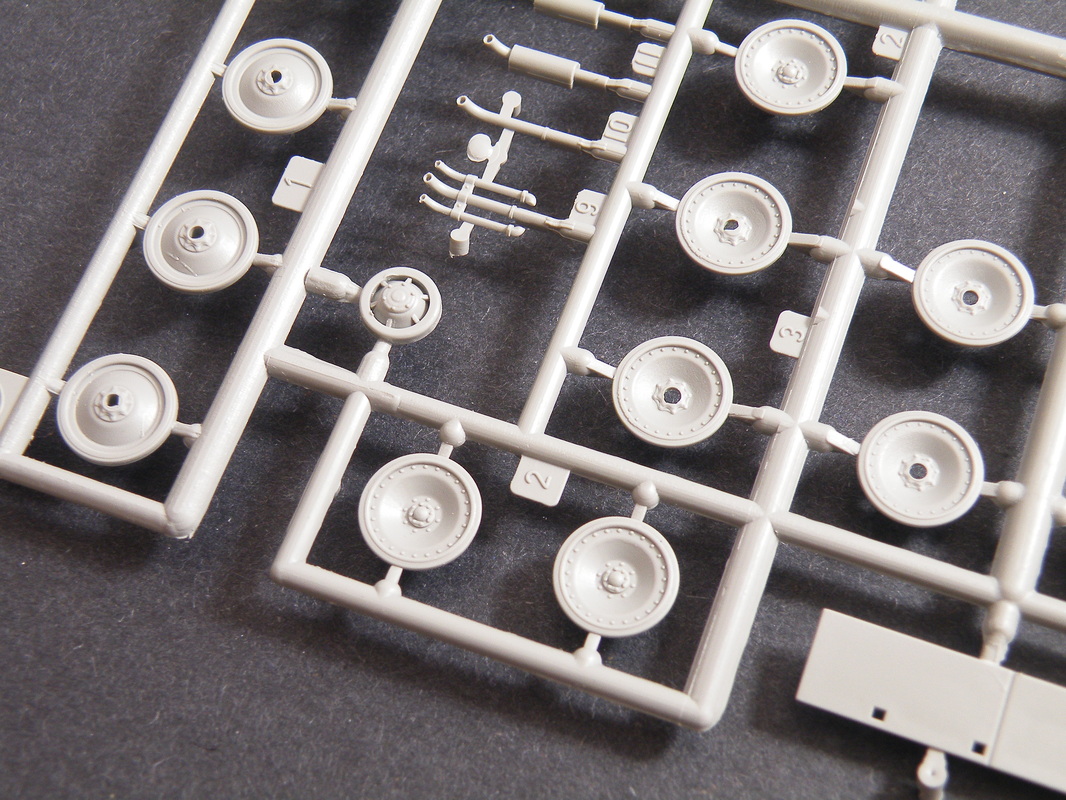
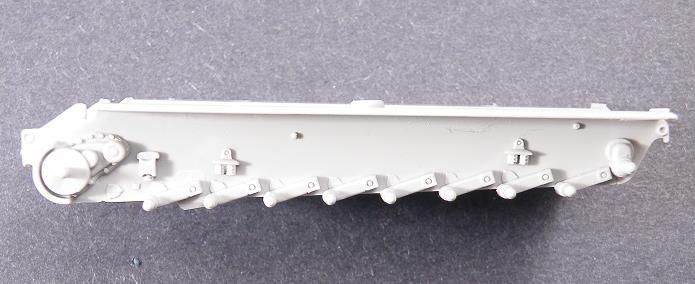
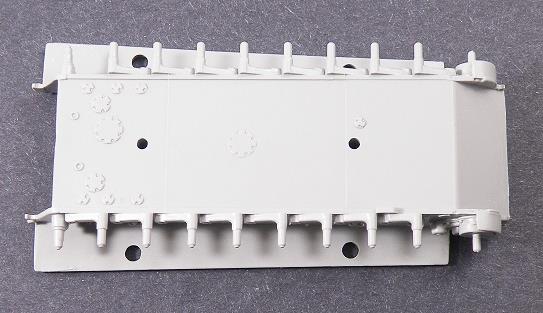
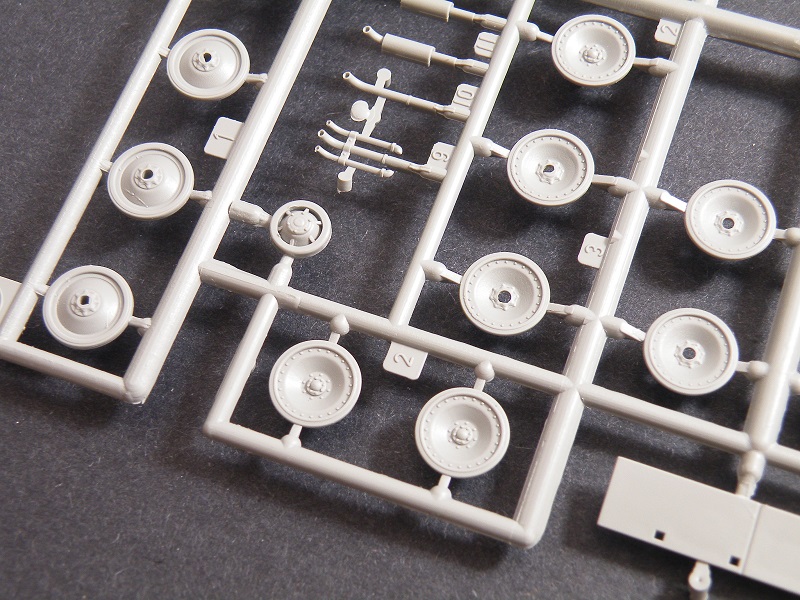
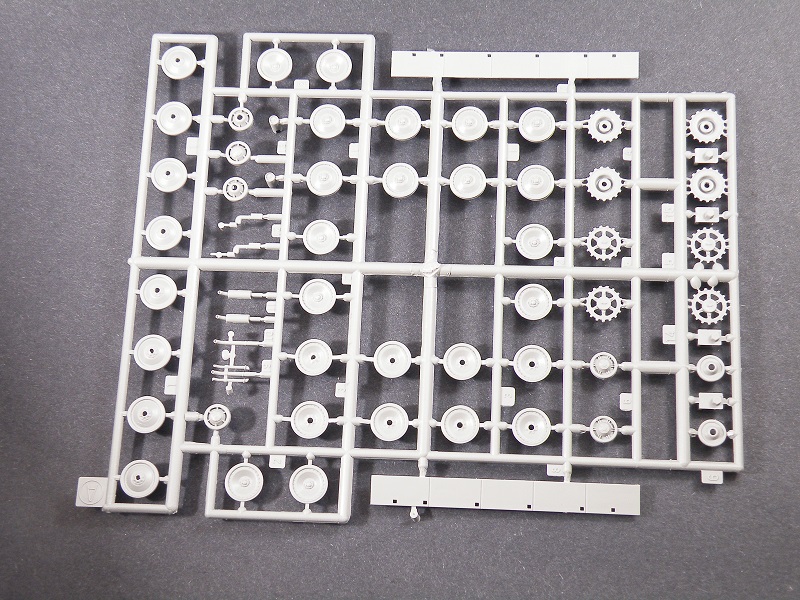
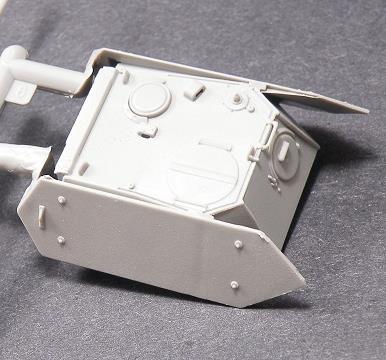
1. Suspension and Lower Hull - Tree A contains the road wheels, idler, exhaust system, side skirts and the drive sprockets that will be used on the kit. Each piece on the tree is very well done especially the road wheels and drive sprockets. Three types of exhaust systems are included with the ends molded open along with early and late idler wheels and two extra drive sprockets. These extra parts are a nice bonus and as stated before, can be used to upgrade other models. The road wheel suspension arms are molded onto the hull as well as the various bump stops, rear idler location pin and transmission final drive cover. On the bottom of the kit are the maintenance access hatches. The detail on the lower hull is simply excellent and even includes a small idler wheel that was attached to the final drive cover on the tank. Sprue D is the false lower glasis plate and comes with two molded on lifting rings. Holes will need to be drilled into them as they are molded solid. While not included in the kit, after assembly a small step should be located under the false front glasis in front of this piece. The only concession to authenticity are two holes for bolts in the hull bottom as well as four holes in the two sponson covers. This is a good indication that the model is more than likely intended for the pre-built market rather than the display model market.
1. Suspension and Lower Hull - Tree A contains the road wheels, idler, exhaust system, side skirts and the drive sprockets that will be used on the kit. Each piece on the tree is very well done especially the road wheels and drive sprockets. Three types of exhaust systems are included with the ends molded open along with early and late idler wheels and two extra drive sprockets. These extra parts are a nice bonus and as stated before, can be used to upgrade other models. The road wheel suspension arms are molded onto the hull as well as the various bump stops, rear idler location pin and transmission final drive cover. On the bottom of the kit are the maintenance access hatches. The detail on the lower hull is simply excellent and even includes a small idler wheel that was attached to the final drive cover on the tank. Sprue D is the false lower glasis plate and comes with two molded on lifting rings. Holes will need to be drilled into them as they are molded solid. While not included in the kit, after assembly a small step should be located under the false front glasis in front of this piece. The only concession to authenticity are two holes for bolts in the hull bottom as well as four holes in the two sponson covers. This is a good indication that the model is more than likely intended for the pre-built market rather than the display model market.
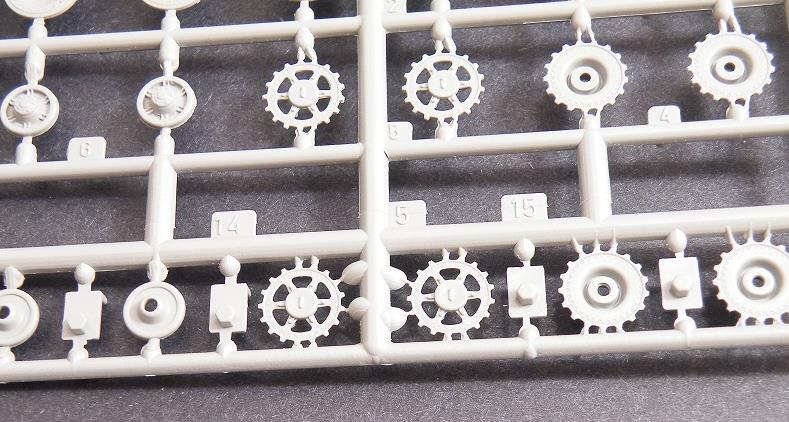
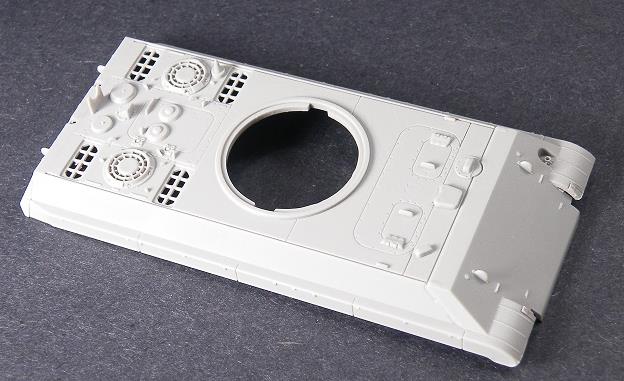
2. Upper Hull - The upper hull comes with the ersatz parts molded on to it with all of the crew and maintenance hatches molded shut. A gun crutch is molded in the up right position on the engine deck. While the detailing is sharp and clear, it is far from perfect. On the false glasis plate, the lifting hooks are molded solid and Dragon has left off the flap cover for the hull mounted machine gun. The lifting hooks on the rear hull as well are molded solid. The crew hatch cover handles are molded solid along with the periscopes, maintenance hatch handle and air intake behind the hatch. On the engine deck the round air intakes are molded closed while the rectangular air intakes are molded open and this allows you to see through to the bottom of the model. Unlike their earlier Panther kits, which included a partial engine compartment insert to be seen through the air intakes, this kit dose not include this part. Unless you want to see through the air intakes into the lower hull, you will need to paint the interior black or make your own blanking plate.

3. Turret - This tree also contains the rear plate for the lower hull. Everything is molded on to the rear plate, including the exhaust. The pipes have no holes in the ends of them and will need to be drilled out. The turret comes with the ersatz plates already molded onto it. Again, the lifting rings are solid but are also poorly molded, not being deep enough. The bolts for the extra armor, as is found on the real M10, are undersized and not well defined. The hatches on the turret are molded shut as well although two periscopes are open. Oddly enough while the lifting rings and rear turret hatch handle are molded solid, a handle located above this hatch is molded open. The 75mm gun comes with the baffles molded open as well as the end of the barrel. The gun mantlets, of which two are included, lack any lifting rings molded onto them and these will need to be added to be correct, however they do have the ersatz plating molded onto them. The rest of the components which include the false rear plate, turret front, mantlet cover, turret bottom and the spreader bar for turret plates are all well done.

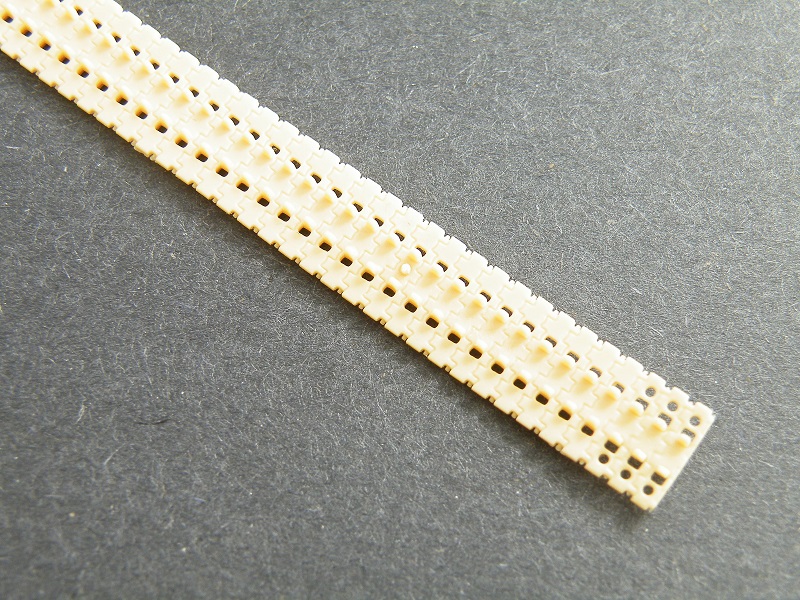
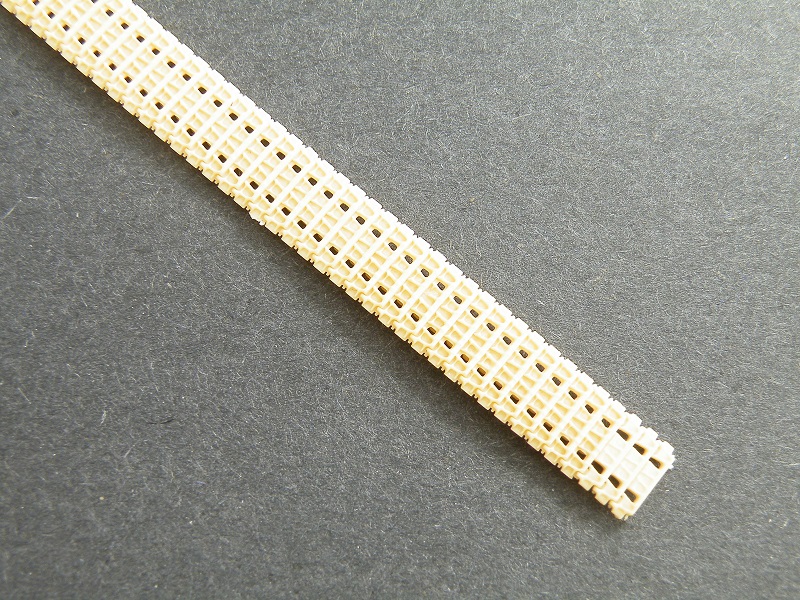
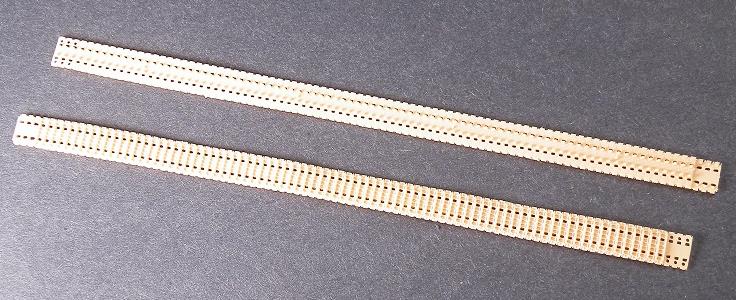
4. Tracks - The tracks are made of DS styrene and are beautifully molded inside and out. The tracks are authentic looking and include the ice cleats on the front of the treads. The inside of the treads show individual track link detail but there are four pin marks which will need to be removed before assembly.
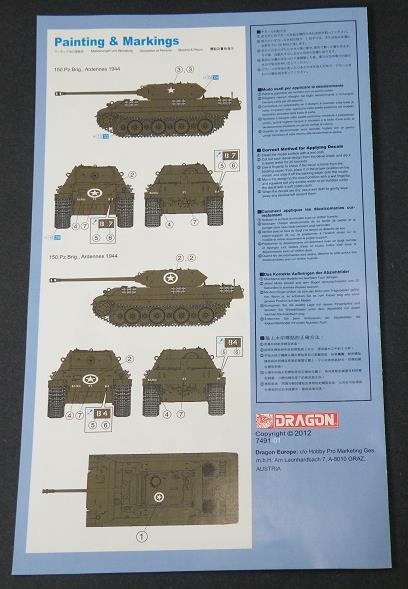
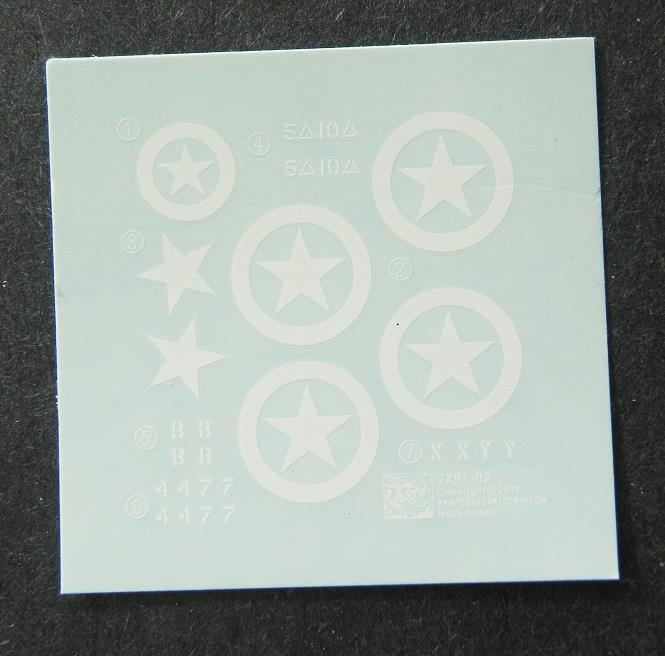
5. Markings - Markings are for two different tanks. One is B4 with a white circle around the star on the turret sides and the other is B7 which has a star and no circle on the turret sides. While I have not used the decals on this kit, my experience with Dragon decals in the past has always been a positive one and I am certain these will be too.
Conclusions
While the instructions are inconvenient, they are not difficult to understand. The biggest issues I find with the kit are the lack of an M.G. flap on the Ersatz glasis plate, the solid molded lifting rings, no engine bay insert and lack of open crew hatches. The lifting rings can be drilled but it would have been much better to have separately molded ones. The kit contains no photo etch parts as was included in the Panther G Early Production with Zimmerit Kit 7252. This is too bad as it would be nice to have at least the air intake covers and a step for the front Ersatz glasis plate. The molding of the Ersatz plates does make the assembly of the kit much more simpler and reduces the parts count considerably. But some work by modeler will be needed to make this kit into a more authentic looking model than is presented in the box. This is a rather unique subject and having converted one myself from a Revel of Germany Panther kit, I can really appreciate the pre-molded Ersatz parts. The basic Dragon Panther is far better then the Revel of Germany kit I used at the time I did my conversion. I hope that Dragon will release a Panther G without the Ersatz armor. If so I will certainly buy one. If you have any interest in the Ardennes Offensive and Panzer Brigade 150 then this is a necessary addition to any collection. I highly recommend this kit. I purchased my model at the 2013 I.P.M.S. Roscoe Turner contest.
While the instructions are inconvenient, they are not difficult to understand. The biggest issues I find with the kit are the lack of an M.G. flap on the Ersatz glasis plate, the solid molded lifting rings, no engine bay insert and lack of open crew hatches. The lifting rings can be drilled but it would have been much better to have separately molded ones. The kit contains no photo etch parts as was included in the Panther G Early Production with Zimmerit Kit 7252. This is too bad as it would be nice to have at least the air intake covers and a step for the front Ersatz glasis plate. The molding of the Ersatz plates does make the assembly of the kit much more simpler and reduces the parts count considerably. But some work by modeler will be needed to make this kit into a more authentic looking model than is presented in the box. This is a rather unique subject and having converted one myself from a Revel of Germany Panther kit, I can really appreciate the pre-molded Ersatz parts. The basic Dragon Panther is far better then the Revel of Germany kit I used at the time I did my conversion. I hope that Dragon will release a Panther G without the Ersatz armor. If so I will certainly buy one. If you have any interest in the Ardennes Offensive and Panzer Brigade 150 then this is a necessary addition to any collection. I highly recommend this kit. I purchased my model at the 2013 I.P.M.S. Roscoe Turner contest.
