
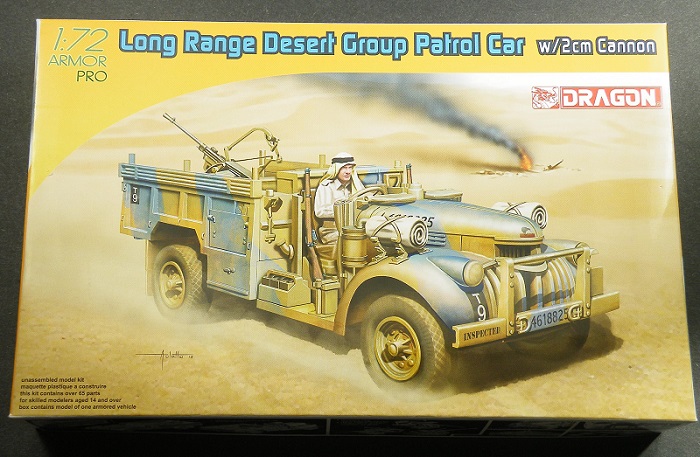
Build review for the Dragon 1/72 Long Range Desert Group Patrol w/2cm cannon
Kit 7504
MSRP $19.99
John Kelley
MSRP $19.99
John Kelley
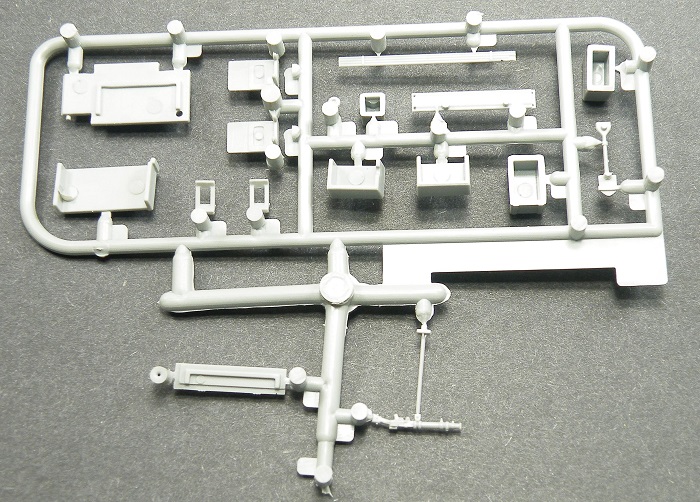
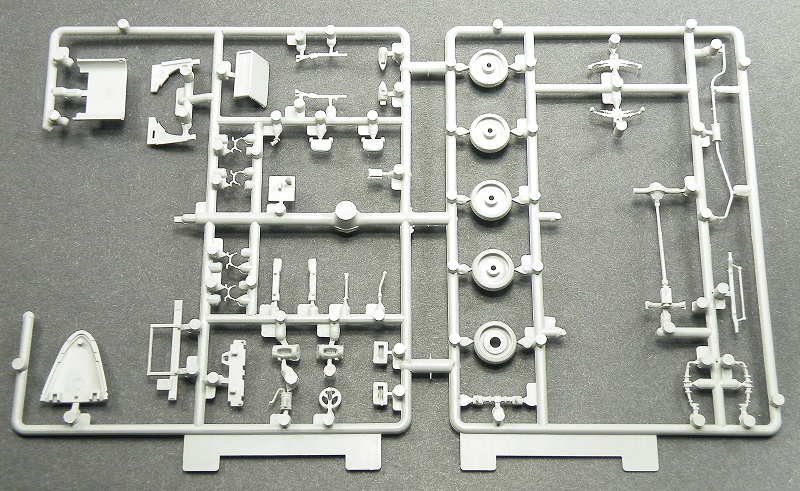
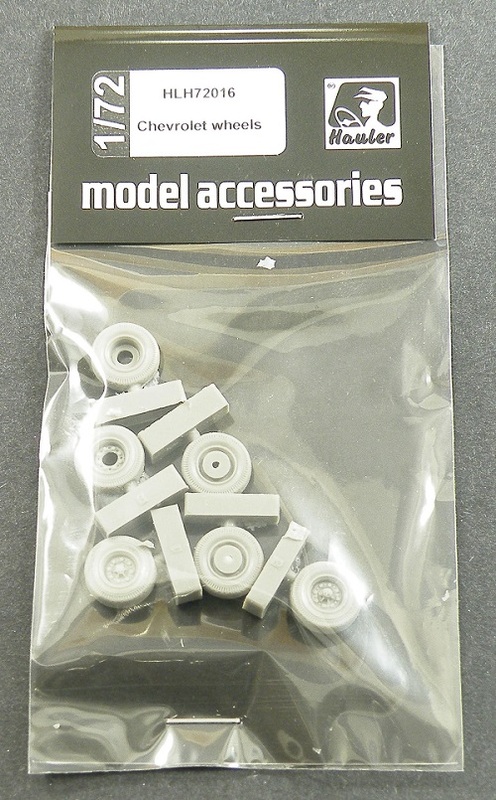
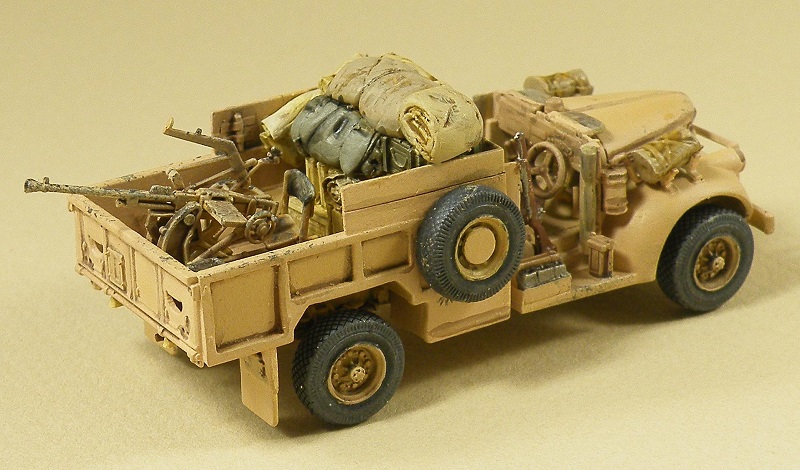
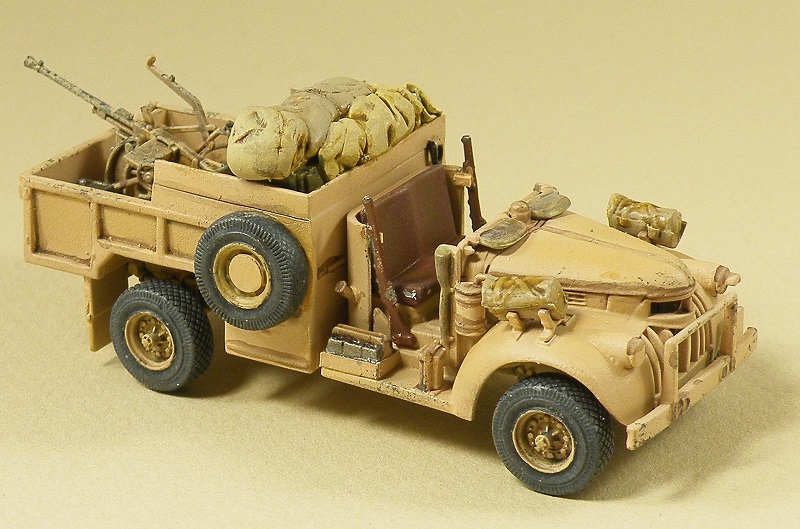
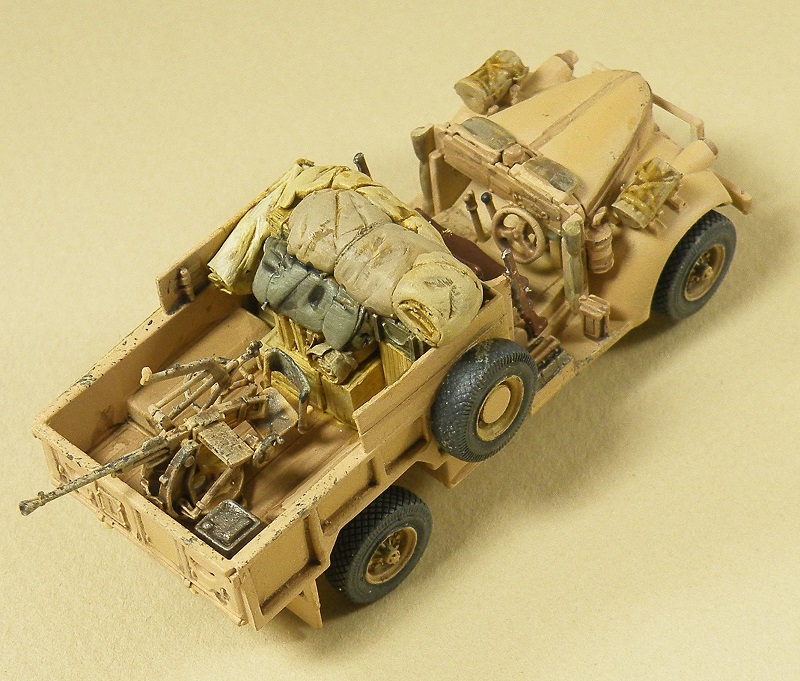
Dragon has released a second LRDG Patrol Car but this time with the 2 cm Breda anti aircraft/ anti tank gun mounted in the bed. When Vic Russell Jr. asked me to do this review he also included a set of Hauler resin wheels to correct the Dragon wheels that do not have backs molded onto them. The set is HLH72016 Chevrolet Wheels and includes four wheels to be mounted on the model and two spare tires without wheel centers for $8.65. The detailing is excellent and the tread detail is much better then Dragon's wheels. I considered buying the photo etch set but after looking at the kit I decided to just build it out of the box as much as was possible.


Building the chassis and modifying the bed
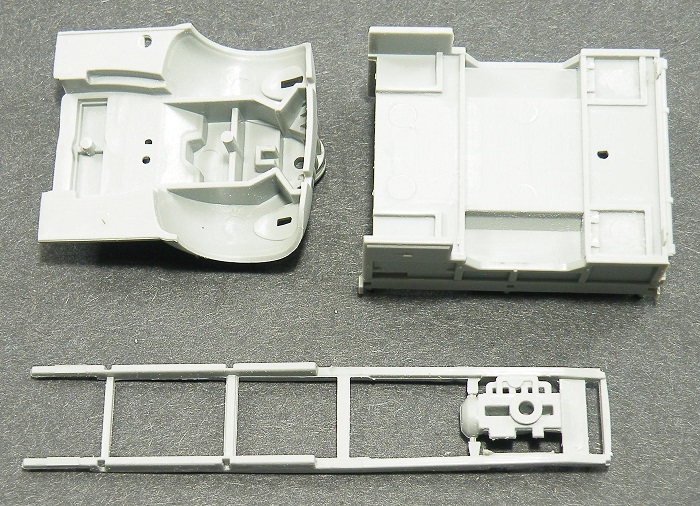
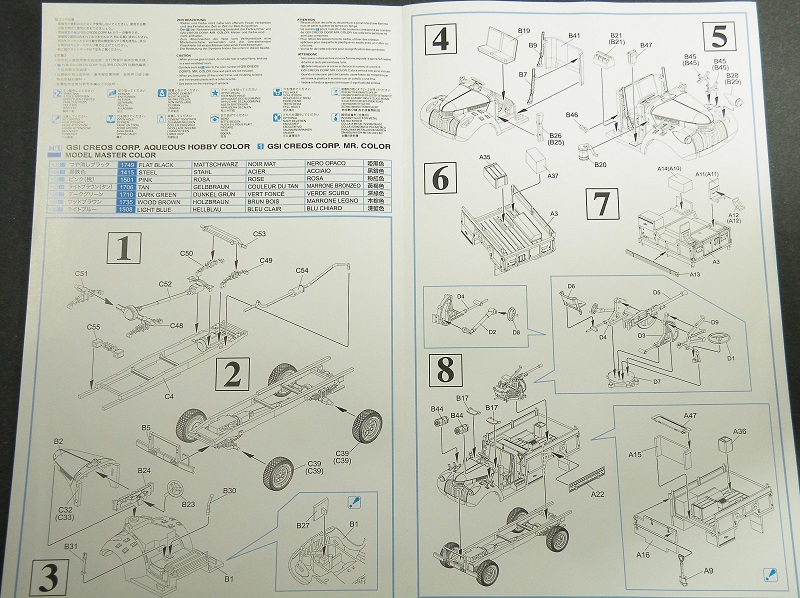
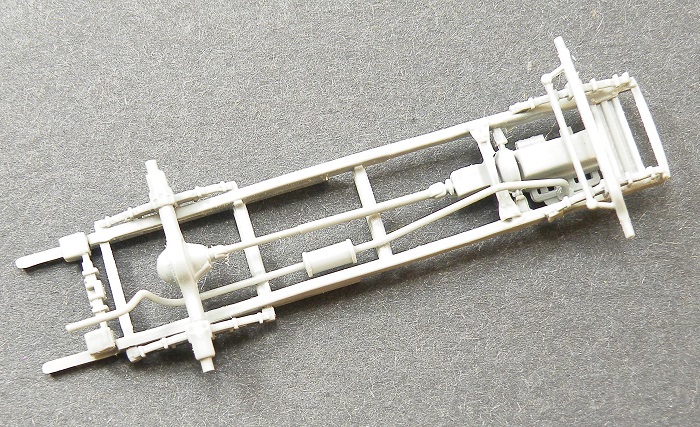
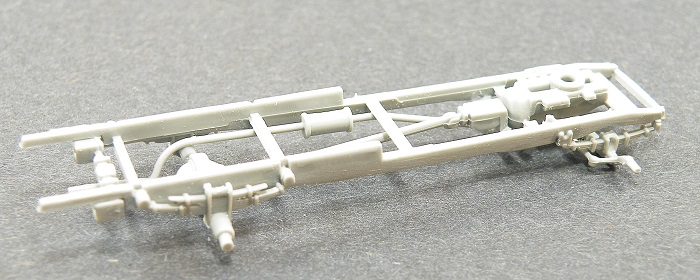
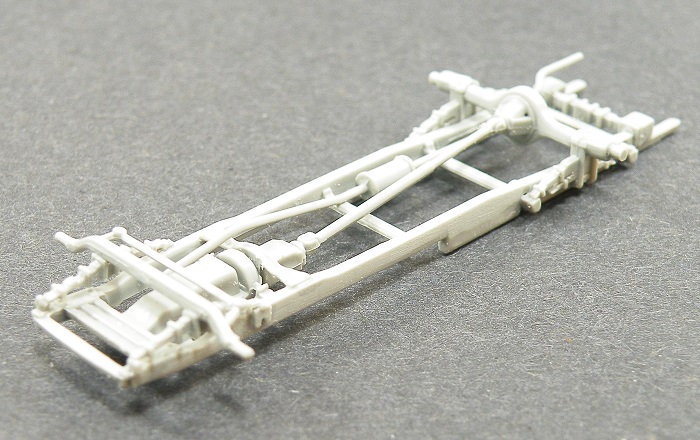
I started with the chassis and I soon found out that the parts are quite delicate and are easily broken as I found out with the left front spring. I used my JLC razor saw quite a bit to remove the parts for the chassis. The differential housing did not line up with the axles so I had to remove a little bit of plastic from the front of the transmission and file down the location tabs on the transmission support.
I started with the chassis and I soon found out that the parts are quite delicate and are easily broken as I found out with the left front spring. I used my JLC razor saw quite a bit to remove the parts for the chassis. The differential housing did not line up with the axles so I had to remove a little bit of plastic from the front of the transmission and file down the location tabs on the transmission support.
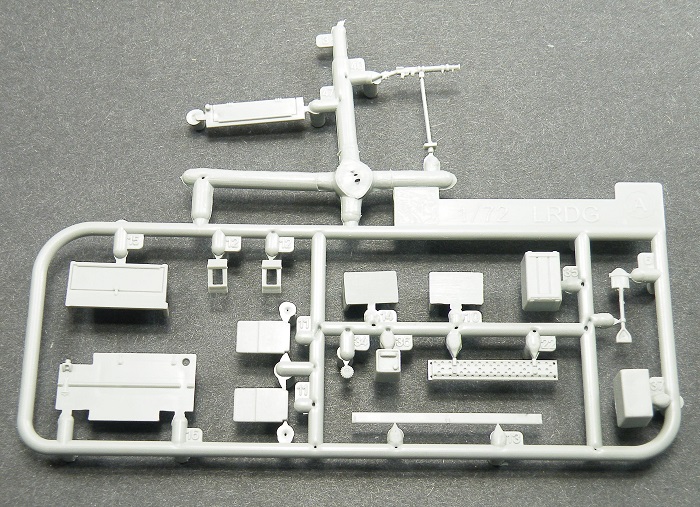
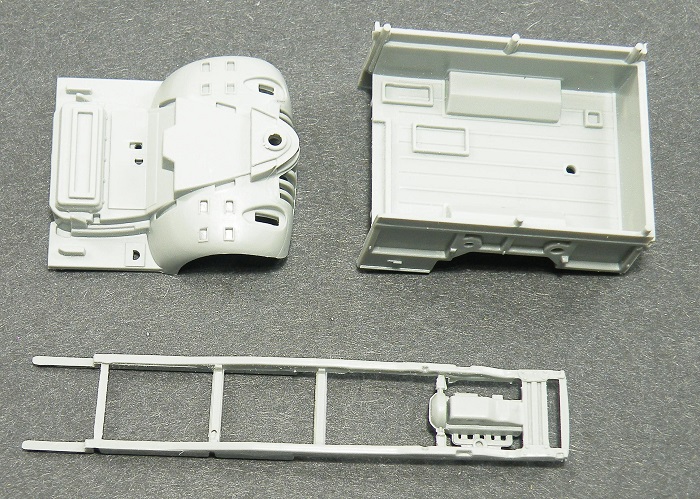
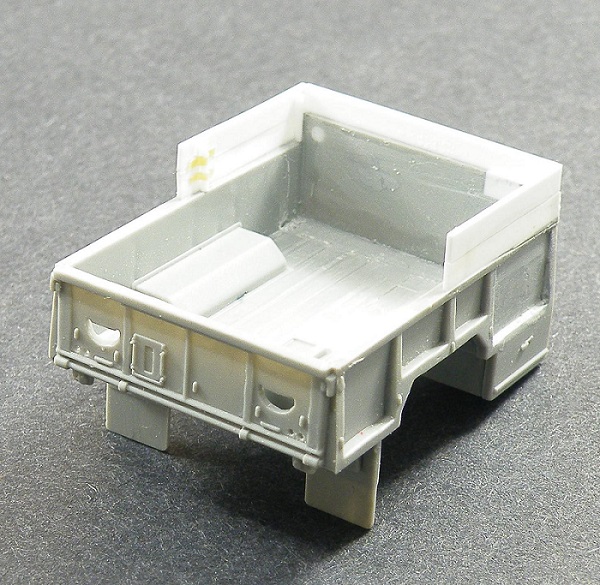
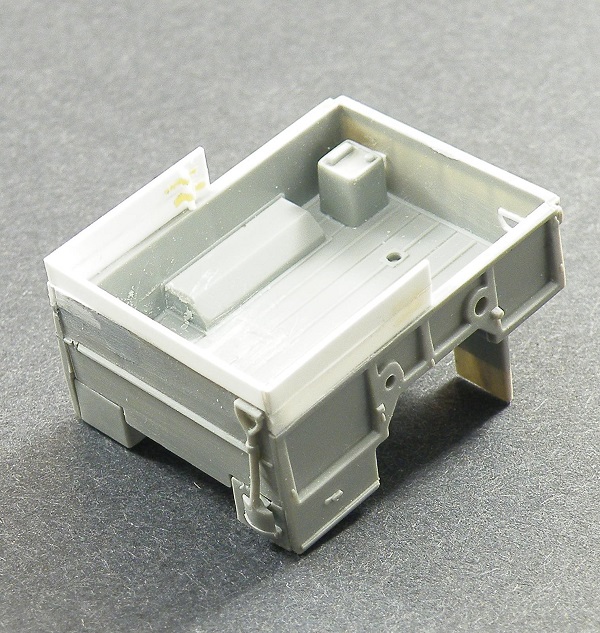
The kit represents a W/T or radio car out of the box. In my research of L.R.D.G. Patrol Cars I have not seen a photo of a 2 cm Breda equipped car with a radio so I filled in the open corner on the bed wall, part A16, with sheet plastic and filled in the partial radio detail on the right side of the bed with Tamiya putty. Later research showed that a spare tire was sometimes mounted over this compartment so I added a kit spare tire and glued a disc of .010 plastic over the opening to represent the wheel mount. I also left off parts A37, which is the bed interior cover for the radio, and A13,which are the aerials. On the bed front, part A16, I removed the antenna base, the hinge detail for the unneeded stowage box, parts A15 and A47 and the location ribs for the kit boxes which I would replace with scratch built and after market stowage. I filled the top location hole for the shovel and I replaced the kit shovel with a white metal one after breaking the kit one.
According to the references I have the cannon mounted cars had a double row of bed extension boards half way around the vehicle to make up for the loss of stowage room taken up by the cannon. The base kit is a machine gun armed car so it only has a single row of boards all the way around the bed, except for the tail gate. I removed the kit side boards and added new ones using .020 x .100 strip styrene around the bed to a length of half way over the wheel wells. Part A16 was a little narrow after removing the kit boards so a small strip of .020 x .040 strip styrene was added to each wall end so the new extension boards would be siting on the edge of the bed side walls. I added the board mounting rods from .025 rod and the straps from Tamiya tape. I opened up the tail gate half circle cut outs and drilled out the two holes on either side of the tail gate. On the tail gate inside I added a .010 x.020 strip styrene to the top of the half circle cut outs. I removed the raised location strips for parts, A37 and A35. since they were not needed and A35 would be moved to another spot. I kept the "flimsy" fuel can but its tapered on the side and should be straightened with a file. The rear mud guards had the location holes filled and strip styrene replaced the kit braces. I also filled the gap between the tool boxes , parts A14 and A10, and the bed The final thing I did was to drill out the sand channel holes.
According to the references I have the cannon mounted cars had a double row of bed extension boards half way around the vehicle to make up for the loss of stowage room taken up by the cannon. The base kit is a machine gun armed car so it only has a single row of boards all the way around the bed, except for the tail gate. I removed the kit side boards and added new ones using .020 x .100 strip styrene around the bed to a length of half way over the wheel wells. Part A16 was a little narrow after removing the kit boards so a small strip of .020 x .040 strip styrene was added to each wall end so the new extension boards would be siting on the edge of the bed side walls. I added the board mounting rods from .025 rod and the straps from Tamiya tape. I opened up the tail gate half circle cut outs and drilled out the two holes on either side of the tail gate. On the tail gate inside I added a .010 x.020 strip styrene to the top of the half circle cut outs. I removed the raised location strips for parts, A37 and A35. since they were not needed and A35 would be moved to another spot. I kept the "flimsy" fuel can but its tapered on the side and should be straightened with a file. The rear mud guards had the location holes filled and strip styrene replaced the kit braces. I also filled the gap between the tool boxes , parts A14 and A10, and the bed The final thing I did was to drill out the sand channel holes.
Cab
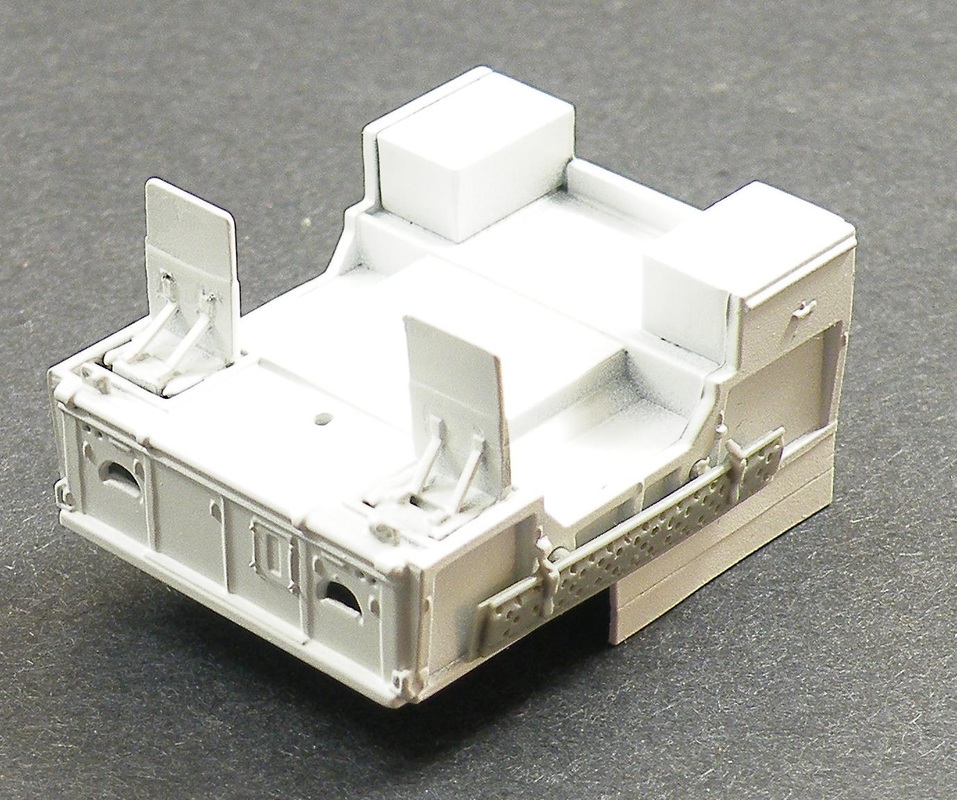
This was built without much change except I added the brake, clutch and accelerator pedals to the floor board. I attached the bumper to the chassis by first adding Plastruct "I" beams to the chassis to move it out further from the cab and improve the mounting of the part to the chassis. I attached the bumpers when the "I" beams had dried. While the "I" beam stock worked I would use "C" channel stock instead when I build another one.
2 cm Breda
This was a tricky build due to the delicate parts. I glued part D4 to the base first and after it had set I added the gun and attached part D3. I drilled out the end of the barrel before adding it to the trunions. In the end I still managed to mount it at an angle.
Finish
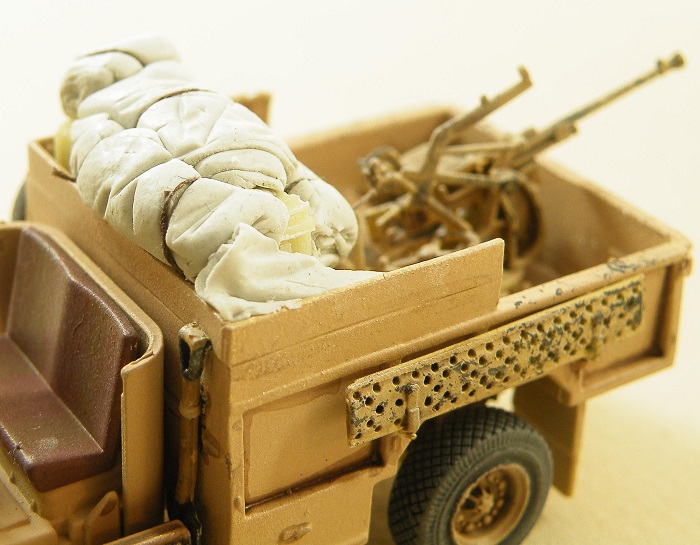
I primed the model using The Army Painter Matt White Primer for the plastic parts and for the resin wheels Matt Black. The L.R.D.G. Patrol Cars were painted as the mission required and some may have one or more colors to the color scheme depending on the area of operation and the terrain. For this model I opted to air brush a single color scheme of Desert Pink which is really closer to a flesh tone then Pink. For an accurate color I turned to Mike Starmer's Tamiya mix of British W.W.2 colors. For the base coat to the chassis and vehicle undersides I used Light Stone 61 using 7 parts XF-2 + 2 parts XF-95 + 2 parts XF-3. For the upper body and inside the bed I mixed up Desert Pink using 5 parts XF-2 + 5 parts XF-15 + 1 part XF-52. I felt that the Breda would have been left in its original colors so it was given a base coat of Vallejo Desert Yellow 70. 977 and heavily dry brushed with Iraqi Sand 70.819. The sand channel was painted in the same way as the Breda. The rifles were painted Vallejo Mahogany 70.846 and Oily Steel 70.865 The model was given a coat of Johnson's Floor Wax with Future as a gloss coat. The model details were given a wash of Games Workshops Agrax Earthshade and the model was then dry brushed with the base colors. To show paint wear and tear a piece of Scotch Brite pad was dipped in Dark Gray paint and dabbed on areas that would have a lot of use. After this the effect was toned down a bit by dry brushing over it with the base colors. After drying Vallejo Matt Varnish was applied to the entire model.
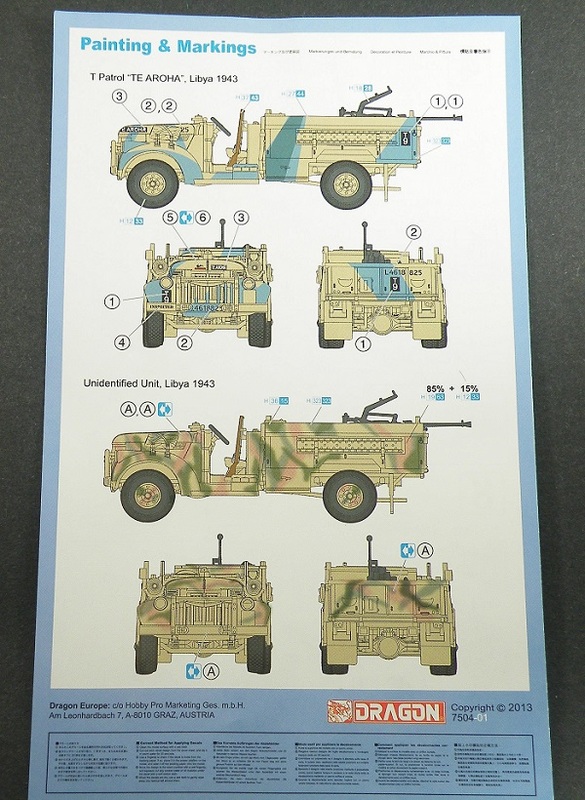
I did not add the decals as I cannot be certain which vehicles used the 2cm. Breda but my experience with Dragon decals has always been a positive one. When I can be certain of a car with the Breda I will add the decals and update the review.
I primed the model using The Army Painter Matt White Primer for the plastic parts and for the resin wheels Matt Black. The L.R.D.G. Patrol Cars were painted as the mission required and some may have one or more colors to the color scheme depending on the area of operation and the terrain. For this model I opted to air brush a single color scheme of Desert Pink which is really closer to a flesh tone then Pink. For an accurate color I turned to Mike Starmer's Tamiya mix of British W.W.2 colors. For the base coat to the chassis and vehicle undersides I used Light Stone 61 using 7 parts XF-2 + 2 parts XF-95 + 2 parts XF-3. For the upper body and inside the bed I mixed up Desert Pink using 5 parts XF-2 + 5 parts XF-15 + 1 part XF-52. I felt that the Breda would have been left in its original colors so it was given a base coat of Vallejo Desert Yellow 70. 977 and heavily dry brushed with Iraqi Sand 70.819. The sand channel was painted in the same way as the Breda. The rifles were painted Vallejo Mahogany 70.846 and Oily Steel 70.865 The model was given a coat of Johnson's Floor Wax with Future as a gloss coat. The model details were given a wash of Games Workshops Agrax Earthshade and the model was then dry brushed with the base colors. To show paint wear and tear a piece of Scotch Brite pad was dipped in Dark Gray paint and dabbed on areas that would have a lot of use. After this the effect was toned down a bit by dry brushing over it with the base colors. After drying Vallejo Matt Varnish was applied to the entire model.
I did not add the decals as I cannot be certain which vehicles used the 2cm. Breda but my experience with Dragon decals has always been a positive one. When I can be certain of a car with the Breda I will add the decals and update the review.
Stowage
This was made from scratch built boxes using plastic sheet and strip styrene. The tarps and bed rolls were made using Apoxie-Sculpt and Wespe Models Jerry-cans, Barrels, Crates and Baggage #72002 were used for the fuel cans and other stowage. The items were added to the model and painted with various Vallejo paints and washed with Vallejo Sepia Wash and dry brushed with the base colors.
This was made from scratch built boxes using plastic sheet and strip styrene. The tarps and bed rolls were made using Apoxie-Sculpt and Wespe Models Jerry-cans, Barrels, Crates and Baggage #72002 were used for the fuel cans and other stowage. The items were added to the model and painted with various Vallejo paints and washed with Vallejo Sepia Wash and dry brushed with the base colors.

Finale thoughts
While the model certainly looks the part I was disappointed by the soft detail on the cab, bed and chassis. There are distinct differences between the machine gun armed and Breda armed vehicles which I found out with just a few hours research on the web and a couple of books. While Dragon provided plenty of individual numbers to make any Patrol Car in service they only supplied one vehicle name in the decal sheet. It is a shame that Dragon chose to not mold the wheel backs and I was quite surprised by this. However, when you consider that more and more of their 1/72 kits are being marketed later on as ready made models this is more then likely why there are some areas that are simplified. While I enjoyed the build to make a more accurate model research will need to be done and some areas corrected. I highly recommend this kit to anyone with an interest in desert land warfare.
While the model certainly looks the part I was disappointed by the soft detail on the cab, bed and chassis. There are distinct differences between the machine gun armed and Breda armed vehicles which I found out with just a few hours research on the web and a couple of books. While Dragon provided plenty of individual numbers to make any Patrol Car in service they only supplied one vehicle name in the decal sheet. It is a shame that Dragon chose to not mold the wheel backs and I was quite surprised by this. However, when you consider that more and more of their 1/72 kits are being marketed later on as ready made models this is more then likely why there are some areas that are simplified. While I enjoyed the build to make a more accurate model research will need to be done and some areas corrected. I highly recommend this kit to anyone with an interest in desert land warfare.

Resources
Books
The Long Rang Desert Group 1940-1945
Robin Jenner David List Mike Badrocke
Osprey New Vanguard 32
ISBN: 1 85532 958 1
Long Range Desert Group Patrolman, The Western Desert Patrol 1940-1943
Tim Moreman
Osprey Warrior 148
ISBN: 978 1 84603 925 6
Model Military International Issue 43 November 2009
"The Scorpions Sting"
Web sites
The Long Range Desert Group Preservation Society
http://www.lrdg.org/index.html#Top%20of%20LRDG%20Home%20Page
LRDG
http://lrdg.hegewisch.net/lrdg.html
