Build review of Revell of Germany 1/72 GTK Boxer GTFz A1
Kit # 03198
$14.95
John Kelley
$14.95
John Kelley
History
The Boxer is the latest MRAP of the German army and is eight wheeled with a modular rear compartment. This allows the basic Boxer hull to be configured as an A.P.C. or a medical evacuation vehicle simply by changing out the rear compartment. Boxer's are currently deployed in Germany and Afghanistan.
Kit
The kit has 119 flash free parts molded in dark green styrene on seven trees. Options include mounting either a 12.7 mm machine gun or a Mk. 19 grenade launcher in the remote control weapons station. The driver's compartment hatch can left open with a windscreen attached or modeled closed. No other hatches are open. The rear compartment can be removed after the model is completed or simply glued on. There is little doubt that the way the kit is molded that another version, such as an Medical Evacuation Vehicle, maybe possible later on. The molding on the model is excellent and every fastener is reproduced extremely well. The wheels are in three pieces and capture the tread detail very well. I like the 12.7 m machine gun but it is a little simplified in some areas. Decal options are for four vehicles:
1. A vehicle of the German-French Brigade, JgBtl 292 Exercise "Peregrine Sword", 2012
2. ISAF, German Contingent, Task Force, Mazar-e-Sharif, 2012
3. ISAF German Contingent OP North, 2013
4. Unknown unit Germany 2014.
The first three options are for a desert scheme of tan, light brown and olive brown while the last one is for the NATO 3 color scheme. The colors are matched to Revell Aqua Color paints.
Build
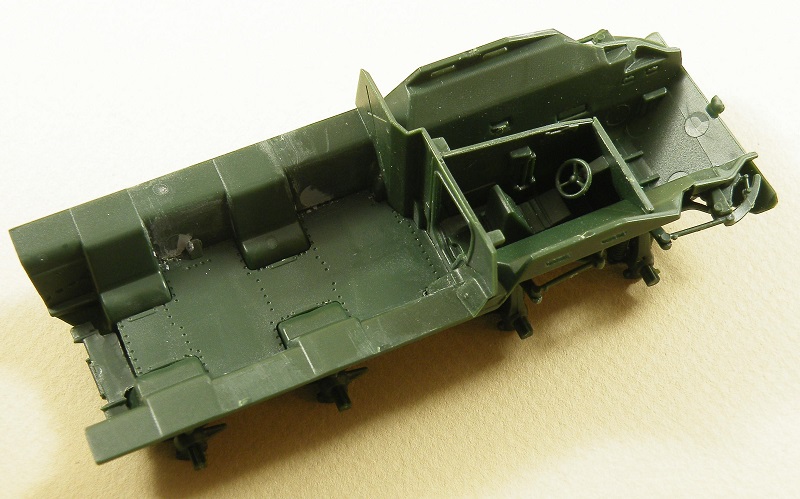
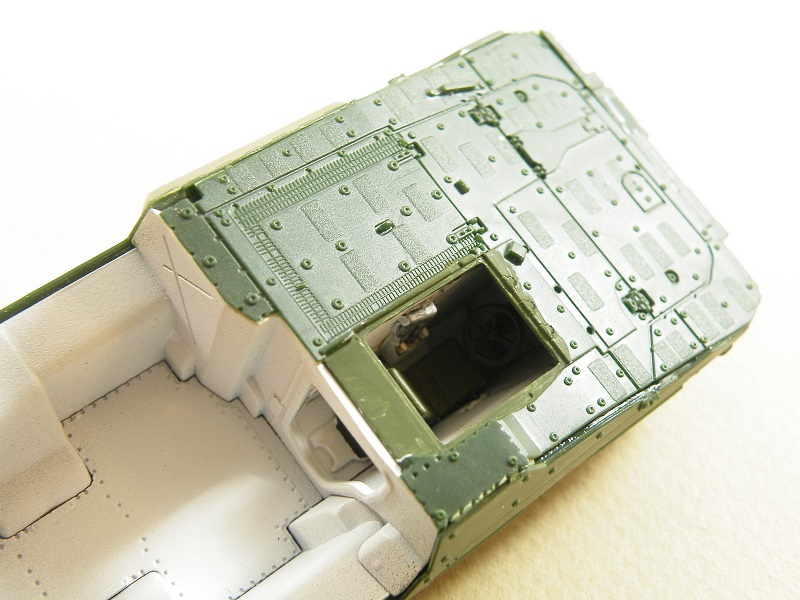
I began the build by starting with the lower hull. On the inside of the rear lower hull are numerous ejector pin holes which can be seen if the rear compartment is removed from the lower hull. If you plan to fill them it should be done before hull assembly to ease in filling and sanding the holes. I did fill a small gap between parts B13 and B7.
Assembly continued through to the Driver's compartment. Pre painting this area will make it a lot easier to finish then waiting until the compartment is assembled. I painted the seat olive drab, the steering wheel and instrument panel black while the hose and filter were painted silver. Vallejo Black Wash was then flowed onto the details.
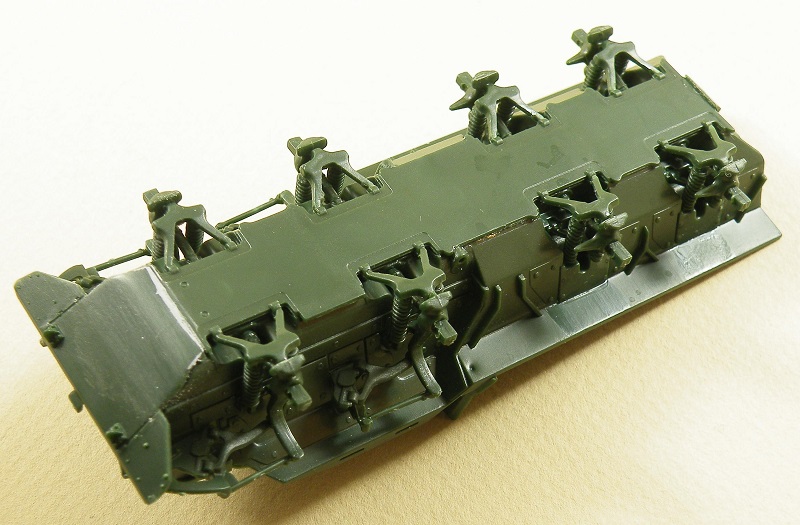
Assembly of the suspension was easy to do and all the parts located in their respective holes quite well. Each axle has a "T" end for mounting the wheels instead of the usual round end. The wheels also have a corresponding "T" on the back and center wheels. These "T" holes had a little flash in theme that needed cleaned up with a knife. I waited until the model was finished to mount the wheels. Care needs to be taken when adding them as it is easy to break the suspension which is why a couple of the wheels do not touch the surface. The only issue with this assembly I had was that some of the parts, such as B45,46,47 and 48, are delicate and easily broken when removing them from the trees. using a fine tooth razor saw and cutting the tree above the part aids in removing it without breaking it.
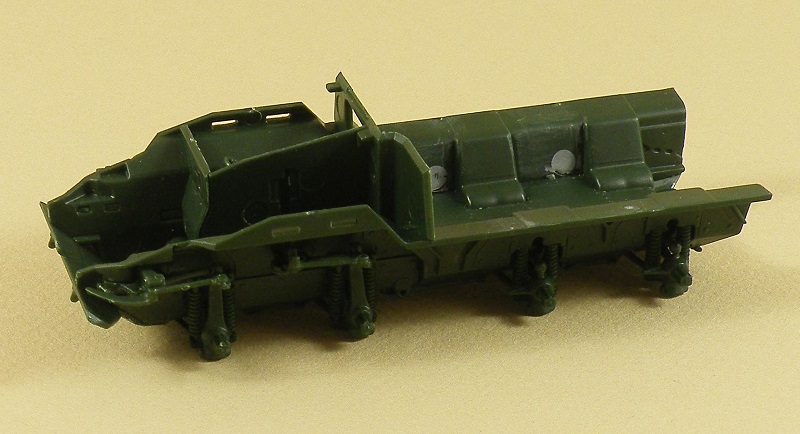
Once the suspension is assembled it is best to paint the lower hull as some parts of the suspension will not be accessible to painting once the side panels are in place. I added side panels B-11 and B-12 to the hull and to insure a good fit I sanded the mating surfaces and taped them to the lower hull while the glue set. Once these had dried I added the nose piece, B-14, and taped it to the side pieces and the hull as well. The next step was to add the top Part E-30. The rear corner of the plate by the driver's compartment was raised slightly above the side plates. To remedy the situation I lightly sanded down the driver's compartment wall top. Once the plate fit level I applied glue and taped it to the side plates and nose piece. The purpose of this is to reduce the gaps and not to eliminate them as there are gaps in the real vehicle. I left the wheels off as well as most of the small detail parts until I was ready to finish the model. I completed the lower hull construction by adding the rear pieces, Parts B-23 and B-24. The drivers hatch was assembled but I left off the windshield glazing until the model was finished.


One issue I encountered was of your author's own making and not that of the manufacturer. Clearly stated on the instructions are two separate steps for the wheels along with different part numbers. In my haste to complete the model, I did not notice this and just started gluing the wheels together. The result: well, you guessed it. They didn't fit! So after taking the wheels apart, reading the instructions, the wheels went together just fine. The moral of this story; read the instructions.
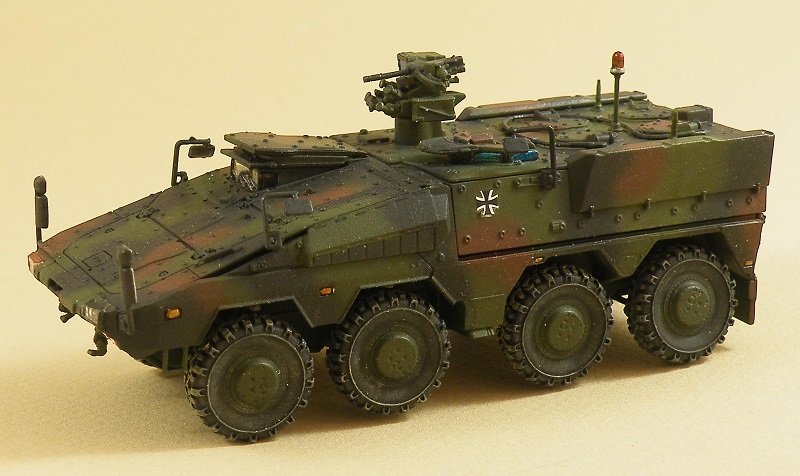
The rear compartment was completely assembled leaving off the mirror, antennas and revolving light. This part of the kit went together extremely well however there are several ejector pin marks on the bottom of Parts C-49 and one on C-50. This is not a problem unless you're going to show the compartment removed from the model. The last item assembled was the Remote Weapons Station. I elected to use the 40mm grenade launcher instead of the 12.7 mm M.G. Adding the smoke grenades was a little tedious in this operation. I chose to deviate from the instructions by attaching the grenade mount, Part F-70, to Part 33. Once this was done I added the smoke grenades to it.
The rear compartment was completely assembled leaving off the mirror, antennas and revolving light. This part of the kit went together extremely well however there are several ejector pin marks on the bottom of Parts C-49 and one on C-50. This is not a problem unless you're going to show the compartment removed from the model. The last item assembled was the Remote Weapons Station. I elected to use the 40mm grenade launcher instead of the 12.7 mm M.G. Adding the smoke grenades was a little tedious in this operation. I chose to deviate from the instructions by attaching the grenade mount, Part F-70, to Part 33. Once this was done I added the smoke grenades to it.
Finish
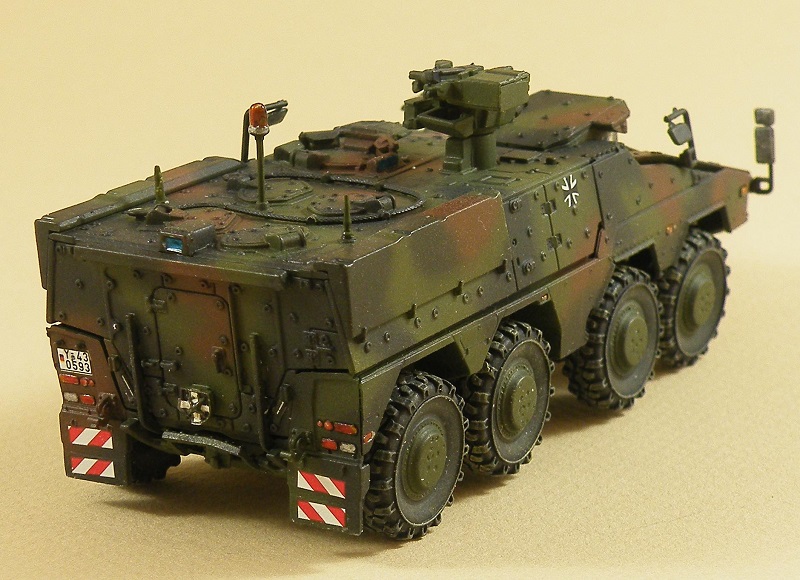
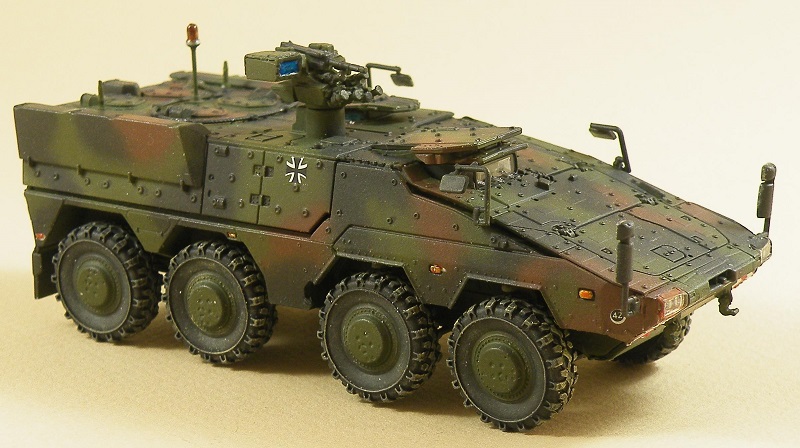
The model was finished in the NATO scheme of green, black and brown. Tamiya paints were used exclusively in finishing the model camouflage. For the base coat I used XF-67 NATO Green, XF-68 NATO Brown and FX-69 NATO Black. The last two colors were applied free hand with a Grex Genesis.XGi double action airbrush.
The model was finished in the NATO scheme of green, black and brown. Tamiya paints were used exclusively in finishing the model camouflage. For the base coat I used XF-67 NATO Green, XF-68 NATO Brown and FX-69 NATO Black. The last two colors were applied free hand with a Grex Genesis.XGi double action airbrush.
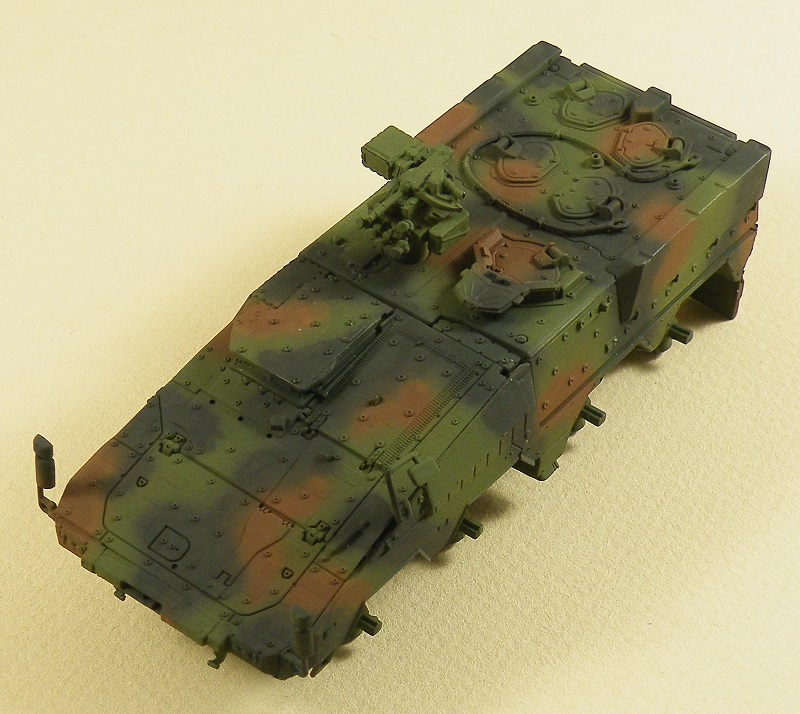
The tires on the wheels were primed with The Army Painter Matte Black spray paint and dry brushed with a mixture of Vallejo Black Grey 862(168) and Dark Sand 847(123) to create a lightened rubber effect. Dark Sand was dry brushed onto the treads and in lines emanating from the wheel hub to shoe a little wear. The model was then gloss coated with Pledge Floor Wax with Future Shine and then a wash of Vallejo Black Wash 76518 to bring out the raised and sunken detail. After a flat coat of Vallejo Matt Varnish was applied the head, marker and tail lights were painted silver and then Tamiya Clear Red XF-27 and Orange XF-26 was painted on the appropriate lights. The periscopes, back up camera and the Remote Weapons Station sights were painted silver and Tamiya Clear Blue XF-23 was painted onto the surfaces
Decals
Prior to adding the flat coat the decals were added using a drop of the floor wax under the decal to help it settle down over details. There are four white rectangles that are thoughtfully provided by Revell that are used to make the white crosses on the convey plate. I was able to add them but the next time I build this kit I think I will paint them instead simply because they are so tiny.
The decals were added with no problems however If you add the red and white diagonal stripes on the front they should be trimmed as close to the edge as possible to make applying them in this area easier as the decals are large and the excess film folds over onto the vehicle sides.
Results
In spite of my own clumsiness with the wheels, this was a fun kit to build. The fit of the model overall was great but to achieve this, following the directions in adding the upper hull parts is important as well as the wheel assembly. The overall detail of this kit was very well done and is one of Revell's best kits so far. The tire treads are very good compared to the photos of the real vehicle I have seen on the web. They are a vast improvement over their HMMWV and Fennek wheels. I especially liked the way the tow rope is molded in two pieces so it can conform to how it is actually stowed on the vehicle. This kit is quite accurate and at $14.95 an excellent price. I highly recommend this model to any modern armor fan. I purchased my kit from my local hobby shop.