
Build of Tamiya 1/35th Scale Russian KV-1B, Model 1940 w/Applique Armor
By Ray Mehlberger
In step 1, I added the bolt-on applique armor (parts no.'s C-15, C-18 & two C-19's) to the sides of the hull tub. The sprocket axles parts (A-17) were attached and the idler axles (two A-18's) too.
In step 2, the two sides of the sprockets (B-7 & B-8) were glued together , not inserting the poly caps into them. Tow rings (parts C-17 & C-1) were added to the rear hull plate (A-1) which was attached then to the hull tub and the two (B-4's) mud-scrappers glued to be between the sprocket halves.

In step 3, the 12 road wheel halves (B-9's & B-10's) were glued together, again discarding the poly caps to go inside them. They were then glued onto the axles molded on the hull tub sides.
The hull tub nose plate (A-7) was glued to the hull tub and the two tow rings (C-1 & C-11) glued to it.
In step 4, the halves of the idler wheels (B-5 & B-6) were glued together, again discarding the poly caps. The 6 return rollers (B-2) had their halves assembled and added to the hull tub sides with the axle pins (part no. B-1).
In step 5, the curved rear section piece (B-14) was added beneath the hull roof and the nose plate (A-4) added. Applique armor plates (C-9 & C-35) were added to the sides of the hull roof and three storage lockers (C-2) added to the tops of the fenders.
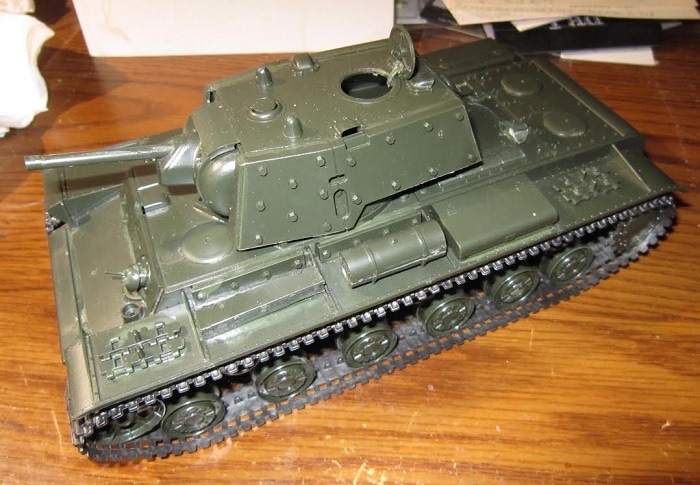
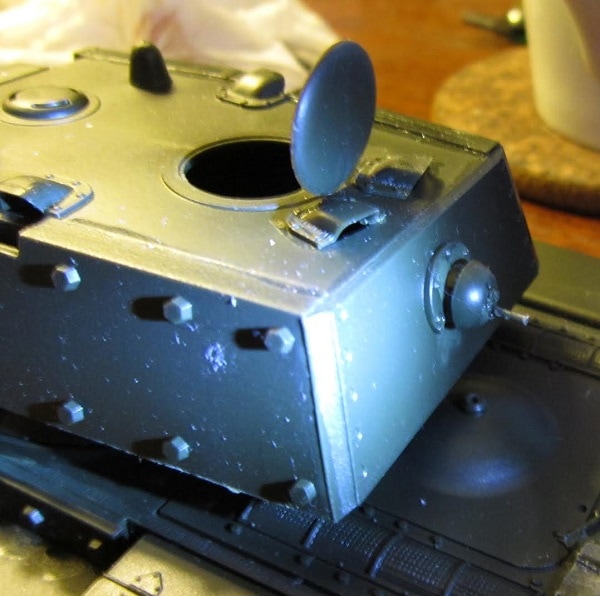
In step 6, two domes (C-8) were added to the top of the engine deck, along with exhaust stubs (C-24). The front plate of the driver's compartment (C-16) was glued to the hull roof front and the ball-mounted machine gun (parts C-33 & C-34) and the siren (C-16) added to it. I held off mounting the headlight rear cup shape C-12 until I add a MV brand clear lens to it after painting the tank. The MV lens will look better than the solid molded lens (C-11). The driver's overhead hatch lid C-3 was glued in place.
In step 7, two periscopes (C-6) were attached to the turret roof (C-14). Two ventilators (C-29) were also added to the roof. The turret sides (C-21 & C-23) the rear turret wall (C-27) were assembled, trapping the main gun trunnion (C-21) between the halves. The turret hatch lid (C-4) and it's hinge (C-5) were added shown in the open position. The turret roof was added.
In step 8, the ball mounted machine gun (parts C32 & C34) was added to the rear turret wall. The mantle (C-22) main gun barrel (C-30) and muzzle (C-31) were added with two armor plates (C-28) on each side of the mantle.
In step 8, the ball mounted machine gun (parts C32 & C34) was added to the rear turret wall. The mantle (C-22) main gun barrel (C-30) and muzzle (C-31) were added with two armor plates (C-28) on each side of the mantle.

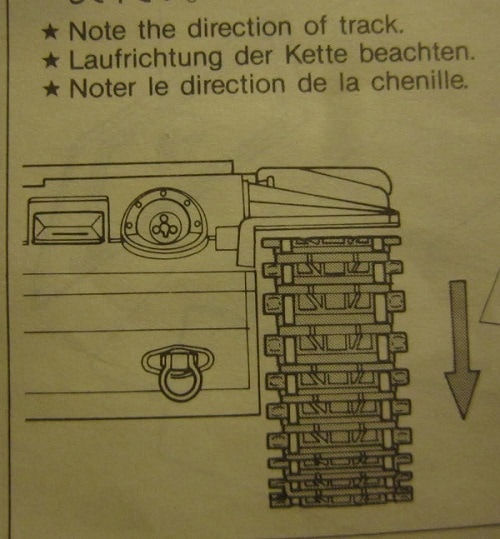
In step 9, the vinyl tracks were added after taking a kink out of them using scalding hot water. The ends were fixed over the pins with super glue and then stapled. Tracks were then stretched over the running gear.
The tracks have an UP & DOWN position. I got them upside down on one side and had to remove them and turn them over.
I took a picture of the way they should be arranged on the running gear.
The tracks have an UP & DOWN position. I got them upside down on one side and had to remove them and turn them over.
I took a picture of the way they should be arranged on the running gear.
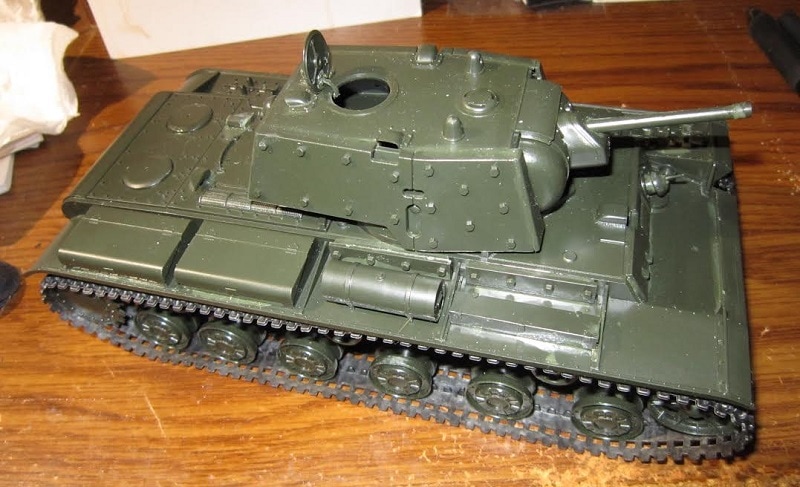
The crewman was assembled in step 10 and the turret screwed onto the top of the tank.
I haven't decided which turret marking will go on the tank and have to paint the tank and figure yet and pose him in the turret hatch.
The crewman was assembled in step 10 and the turret screwed onto the top of the tank.
I haven't decided which turret marking will go on the tank and have to paint the tank and figure yet and pose him in the turret hatch.
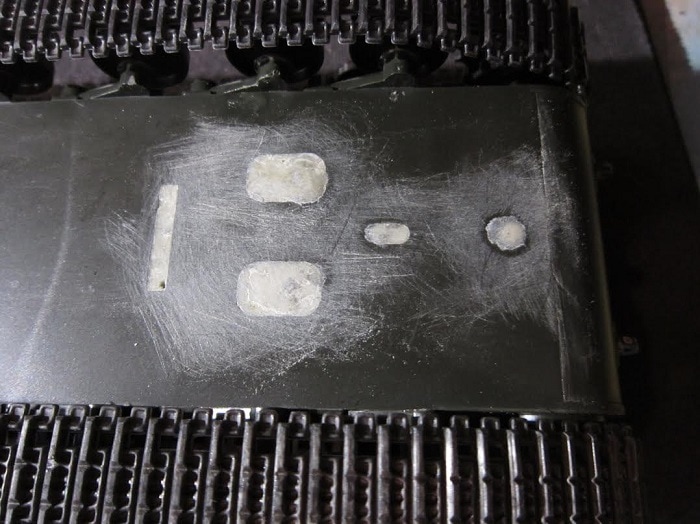
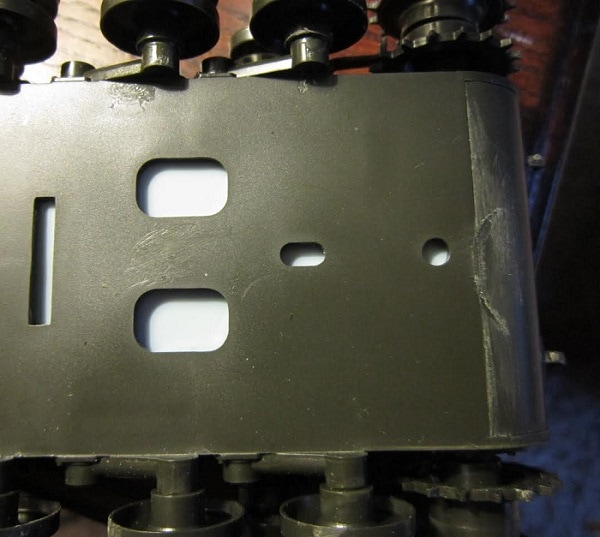
I puttied over the motorization holes in the hull tub. A sheet of plastic was glued over the holes on the inside of the bottom of the hull tub part and then Apoxie Scupt brand 2-part putty was applied to the holes on the outside.
The Apoxy Sculpt worked great. However, I had to contact the manufacturer of the stuff because it had hardened in the jars. They told me to heat it in the microwave for 15 seconds...3 times. It brought it back fine. I guess it was over 5 years ago that I bought the stuff and first used it on seams on a vinyl Ertl kit of Luke Skywalker.

This was a fairly easy build and well within the skills of the average modeler.
It went together rapidly and is definately a weekend project. There are no interior details, but the exterior is nicely done for a kit that is nearly 40 years old now.
It will be painted overall Russian generic green with some weathering and whatever decal mark I decide on.
It went together rapidly and is definately a weekend project. There are no interior details, but the exterior is nicely done for a kit that is nearly 40 years old now.
It will be painted overall Russian generic green with some weathering and whatever decal mark I decide on.
At an up-coming IPMS contest in Madison, WI, this coming March, I intend to enter it. Their theme category is anything Tamiya.
