
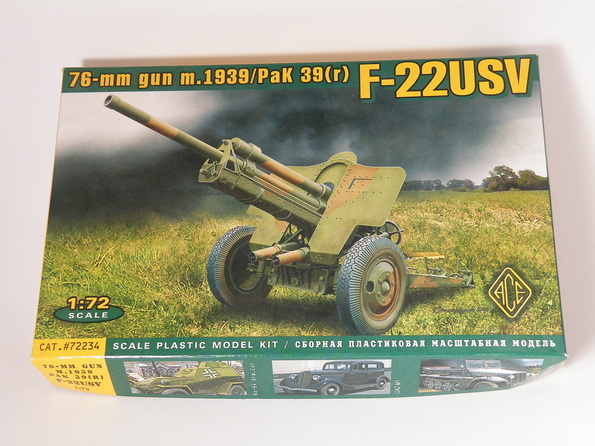
Ace 76 mm Gun m.1939/PaK 39(r) F-22 USV
1/72 Scale
Kit No. 72234
Reviewed By John Kelley
INTRODUCTION
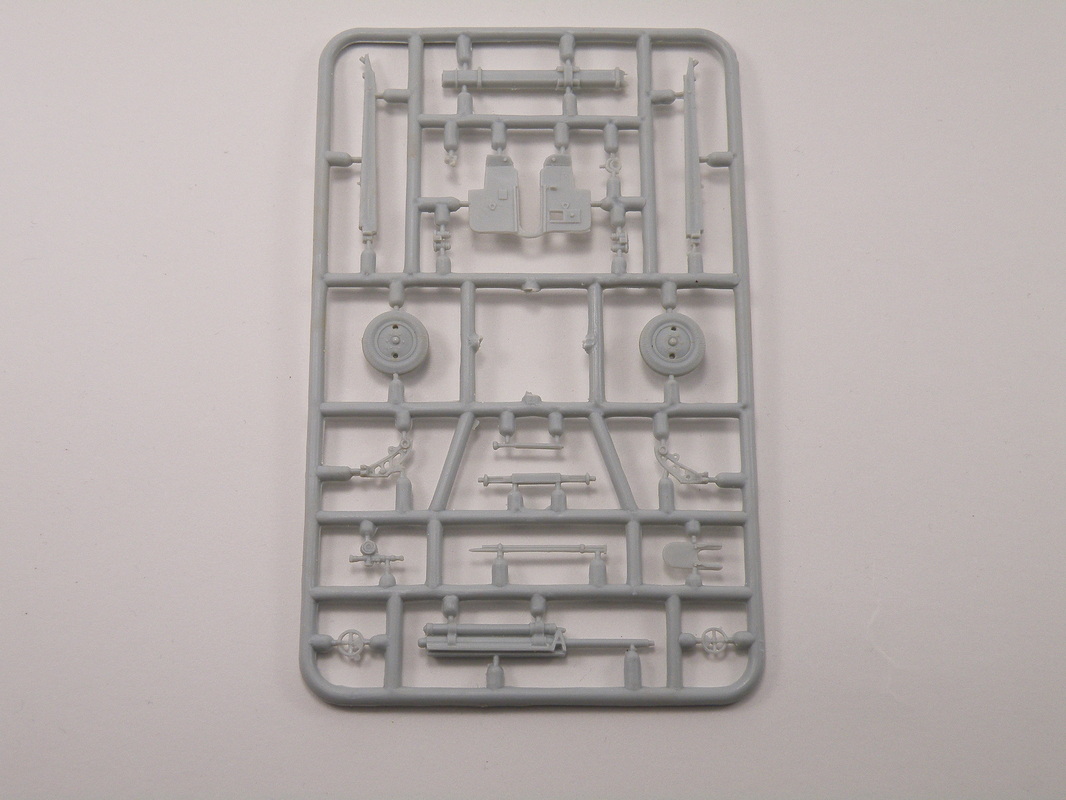
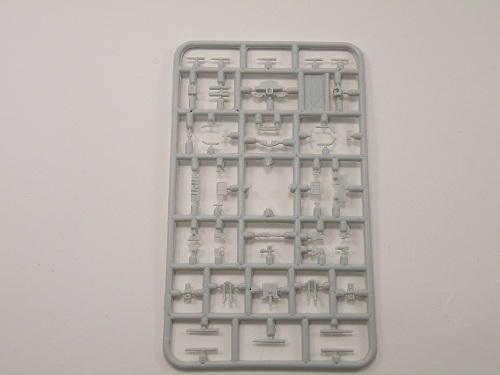
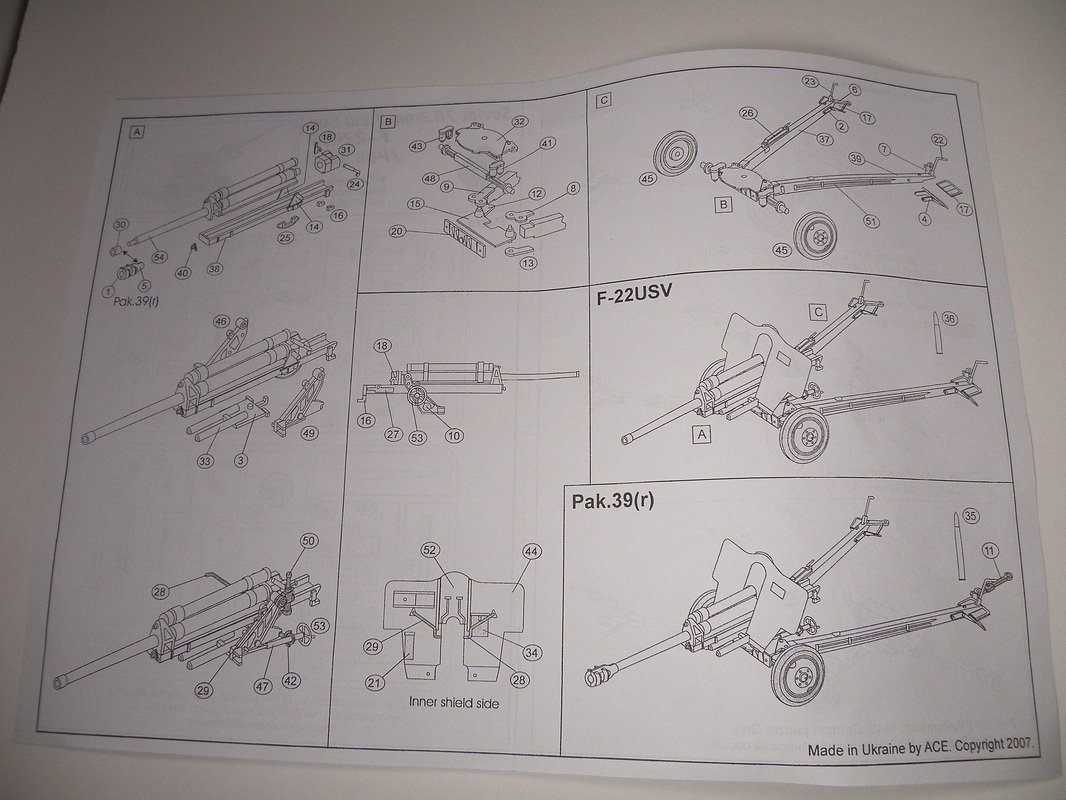
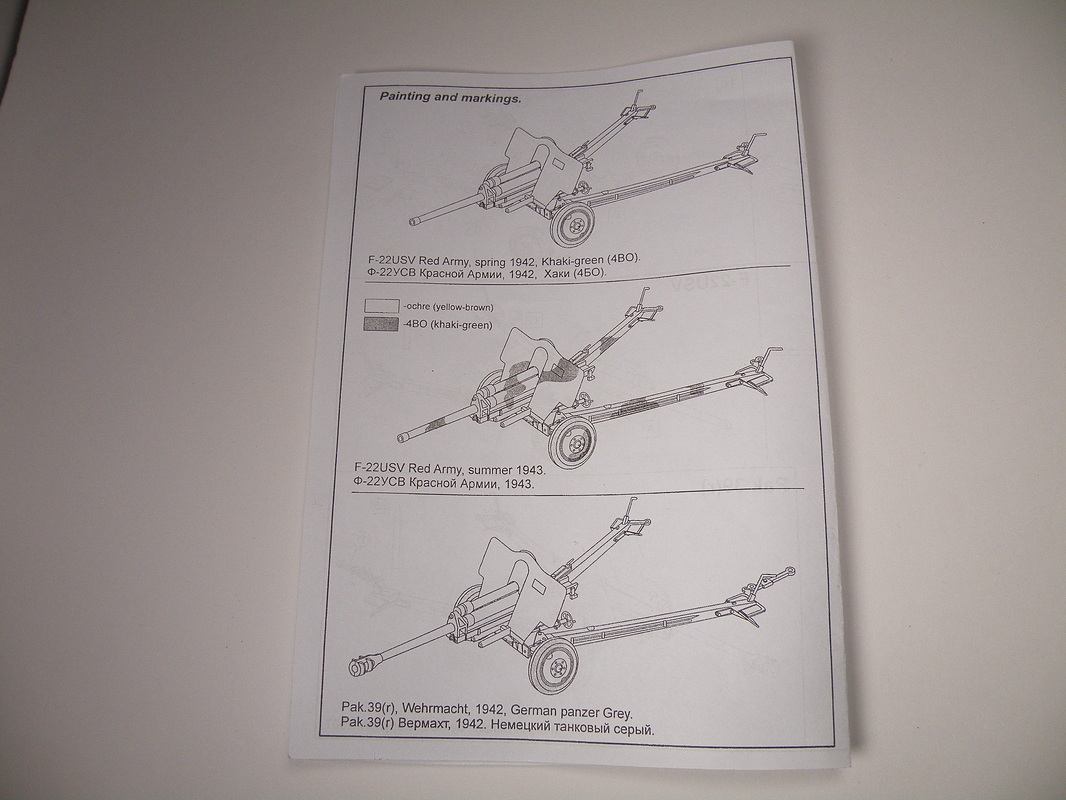
Ace Models of the Ukraine is a limited production model maker. For those of you not familiar with them, their molds are not made from steel but are made from a rubber material similar to the kind used to cast resin parts. This lowers the cost of manufacturing but limits the amount of kits that can be produced from one mold. This means some parts may have a little flash and the molded-in detail is not quite as sharp as with a steel mold. The fit of parts requires a little more work from the modeler which means some experience is necessary when assembling any limited run kit. On the plus side, Ace produces some extremely unusual kits that will probably never be produced by the main-line manufacturers. The kit is molded in a light gray plastic and consists of 67 pieces. With the kit, you get the option of a Soviet Field Gun or one in German service. The German version consist of a gun barrel blast deflector and 5 shells while the Soviet version has a barrel protector and 5 shells also. The only difference between the shells is that the German ones are longer than the Soviet versions that are provided. Ace provides patterns for three color schemes. The first option is in 4BO Green and is a gun that is part of the Red Army Spring, 1942. The second option is in 4BO Green and Ochre and is with the Soviet Army Summer, 1943, while the last option is in Panzer Gray and is used by the Wehrmacht, 1942. The instructions are approximately 4x11, folded in the middle, with the front of the instructions containing the parts layout and inside of the instructions are 4 exploded view drawings. You also get two overall pictures of the completed Soviet and German version on the instruction sheet. On the back of the sheet are the painting and marking guides for the three options. However, no decals are included in the kit.

CONSTRUCTION
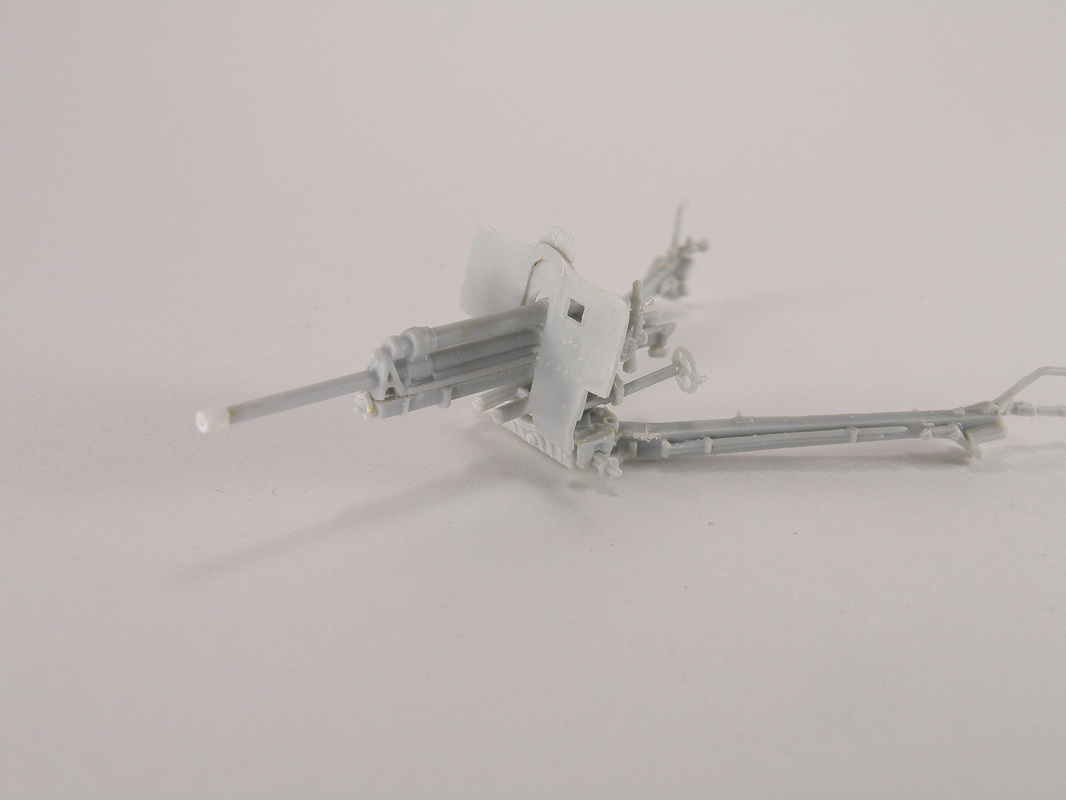
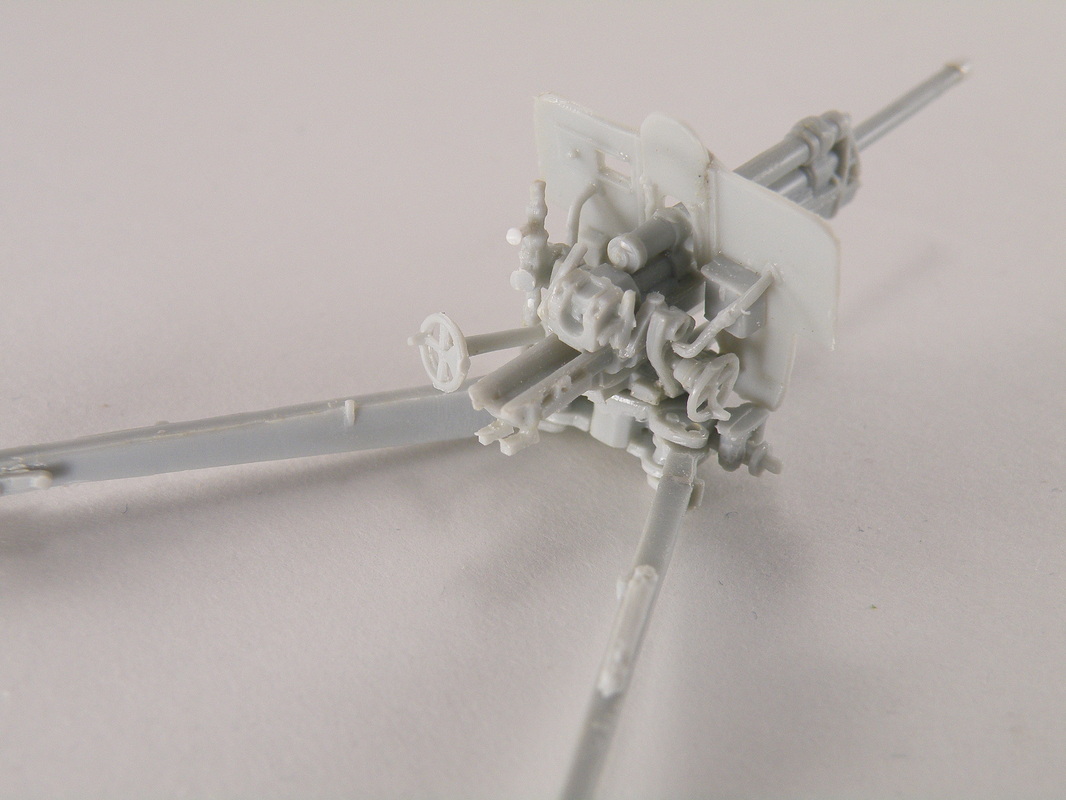
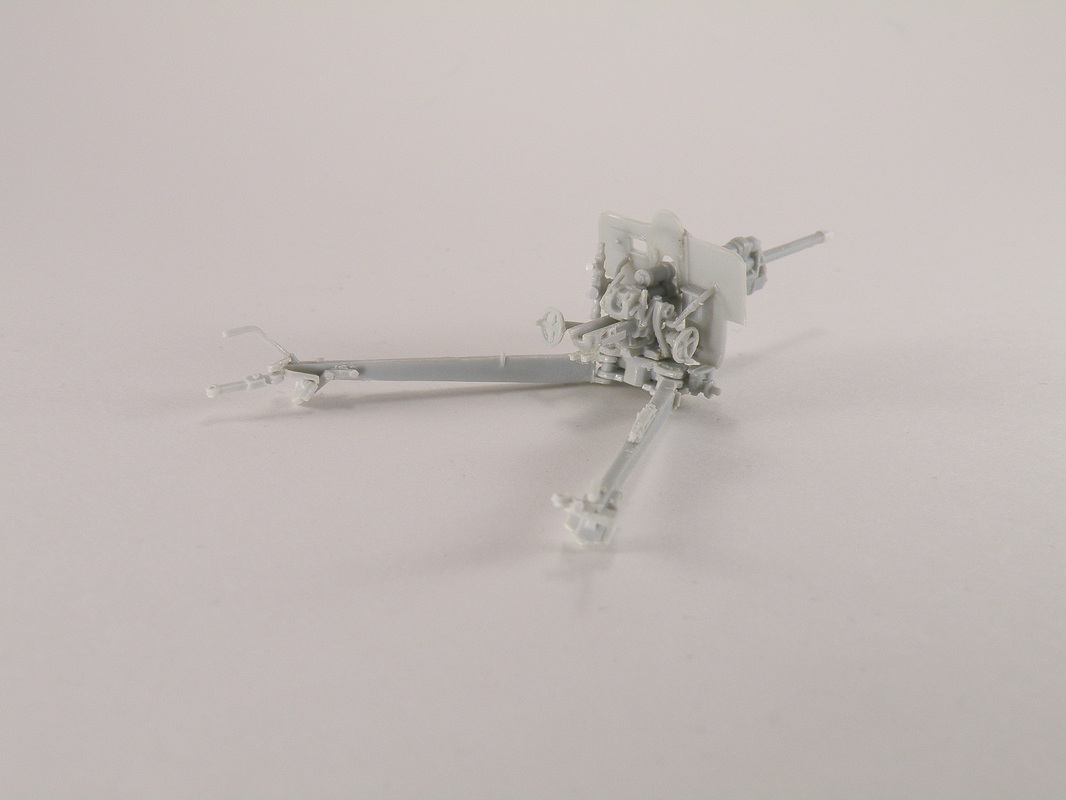
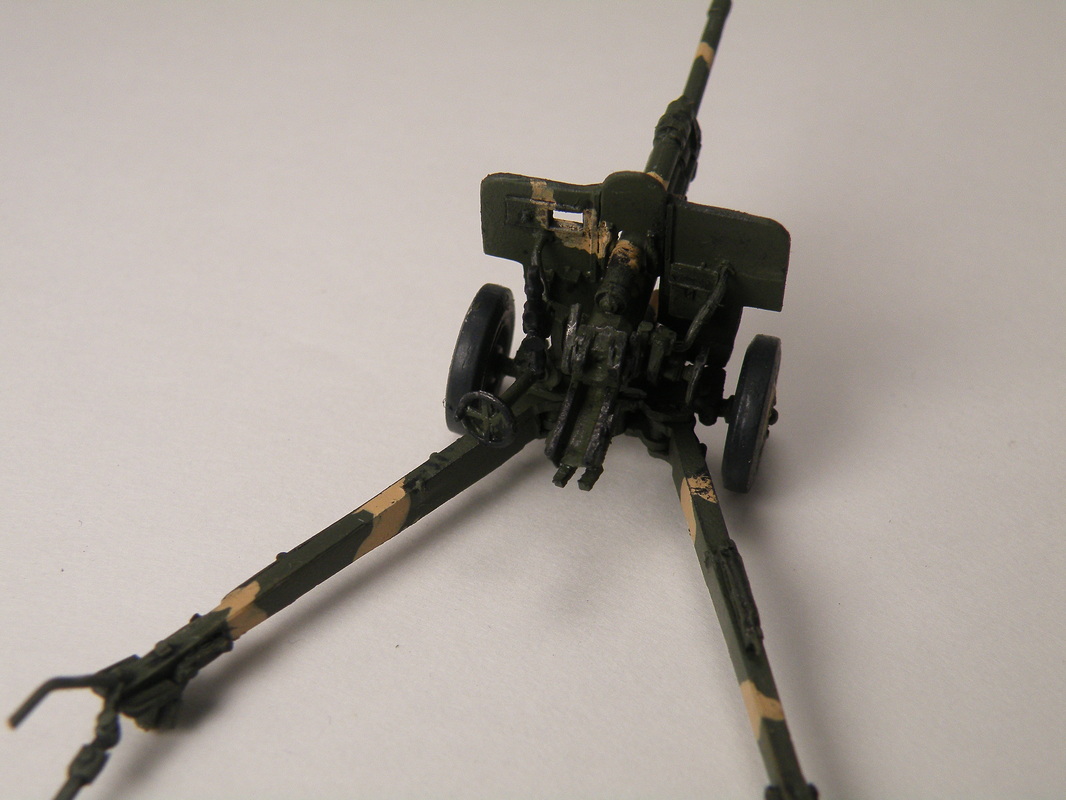
I began by building the gun barrel and recoiled slide in Step A. These assembled without any problems although I did open the gap between the upper recoil cylinder and the gun barrel with a knife and sand paper. Care needs to be taken when attaching the trunnions, Parts 14, to be sure that they are vertical and the pins are in line with each other. If not, the barrel could tilt to one side. I then assembled the lower recoil cylinders and trunnions support Parts 46 and 49. I had to add .015 plastic strip to the mating surfaces of each support so that it would not pinch in towards the bottom. (It could have stood to even go .020.) The next item to add is the traversing mechanisms and gun laying sights. I encountered no trouble here but I do recommend leaving off the elevation hand wheels until you're ready to paint to prevent them being knocked off. The instructions recommend you adding the shield support at this point and this can be done by dry fitting the shield in place and gluing the supports to the places indicated on the instructions. I left the shield off to make it easier to add the rest of the detailed parts to the gun. Take care when removing the shield from the runners as it is easily broken in two. You will need to decide the gun elevation as the inner shield will need to be glued to the outer shield since there is no option for it to move up and down with the elevation of the barrel. I used photos of the real gun to aid in placing the shield supports. After completing this third step, I then went to the axle assembly. I found that Parts 8, 9, 12 and 13, which are the trail connectors, needed the holes enlarged to fit over the locators. Also Parts 41 and 43, the axle shock absorbers, needed filed out in the middle to fit over the axle. I needed to enlarge the hole in Part 32 because the gun locating pin would not fit. From this point, I added the rest of the gun mechanisms and the shield. Step C completes the rest of the trail assembly by adding the detail parts. The tow bars , Parts 7 and 9, needed the eyes opened up and this was done using a small drill bit.
I began by building the gun barrel and recoiled slide in Step A. These assembled without any problems although I did open the gap between the upper recoil cylinder and the gun barrel with a knife and sand paper. Care needs to be taken when attaching the trunnions, Parts 14, to be sure that they are vertical and the pins are in line with each other. If not, the barrel could tilt to one side. I then assembled the lower recoil cylinders and trunnions support Parts 46 and 49. I had to add .015 plastic strip to the mating surfaces of each support so that it would not pinch in towards the bottom. (It could have stood to even go .020.) The next item to add is the traversing mechanisms and gun laying sights. I encountered no trouble here but I do recommend leaving off the elevation hand wheels until you're ready to paint to prevent them being knocked off. The instructions recommend you adding the shield support at this point and this can be done by dry fitting the shield in place and gluing the supports to the places indicated on the instructions. I left the shield off to make it easier to add the rest of the detailed parts to the gun. Take care when removing the shield from the runners as it is easily broken in two. You will need to decide the gun elevation as the inner shield will need to be glued to the outer shield since there is no option for it to move up and down with the elevation of the barrel. I used photos of the real gun to aid in placing the shield supports. After completing this third step, I then went to the axle assembly. I found that Parts 8, 9, 12 and 13, which are the trail connectors, needed the holes enlarged to fit over the locators. Also Parts 41 and 43, the axle shock absorbers, needed filed out in the middle to fit over the axle. I needed to enlarge the hole in Part 32 because the gun locating pin would not fit. From this point, I added the rest of the gun mechanisms and the shield. Step C completes the rest of the trail assembly by adding the detail parts. The tow bars , Parts 7 and 9, needed the eyes opened up and this was done using a small drill bit.

FINISH
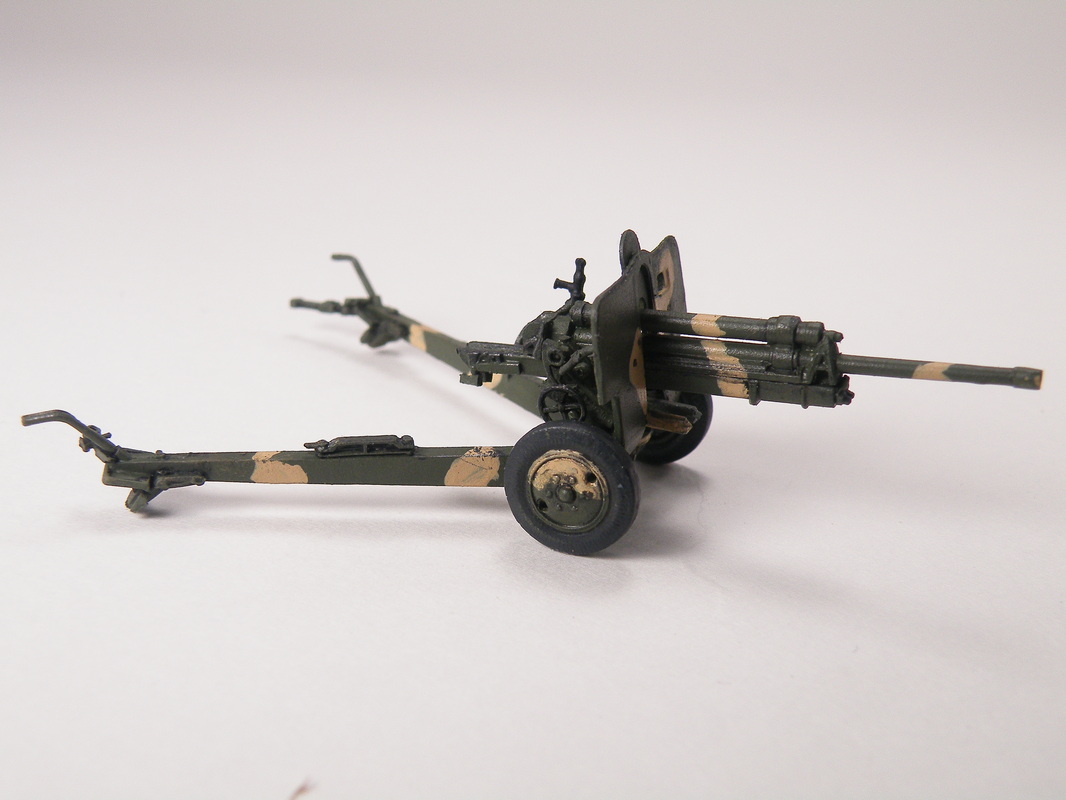
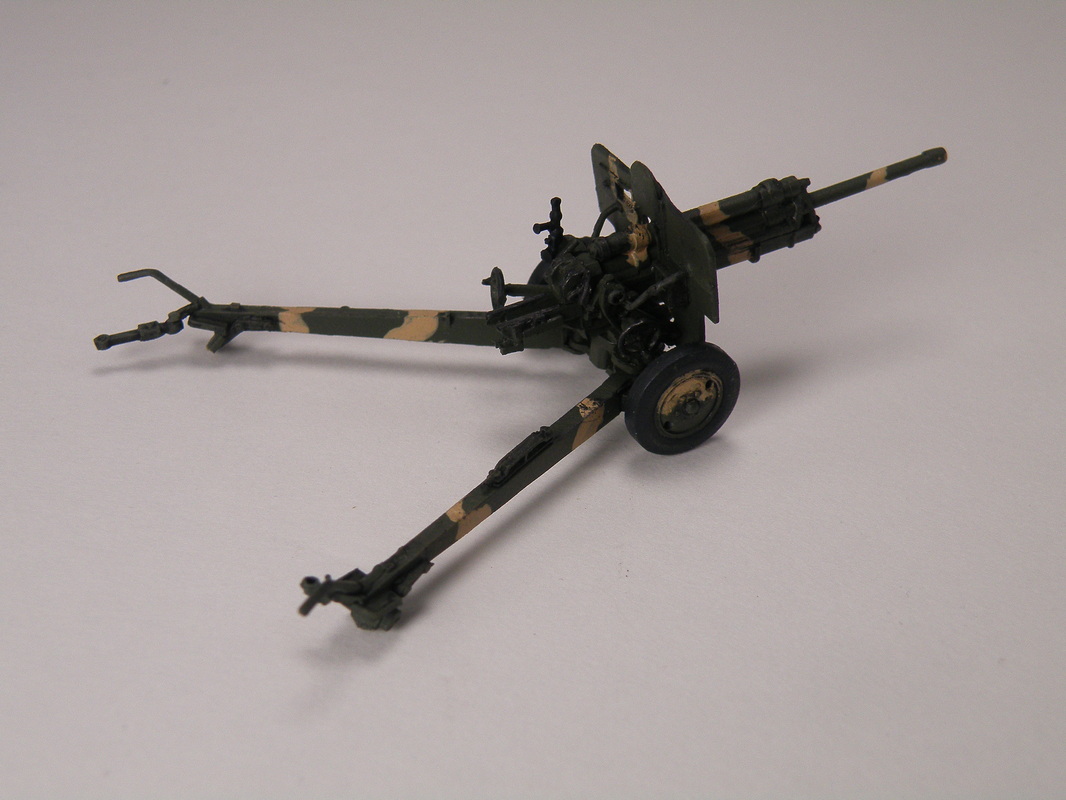
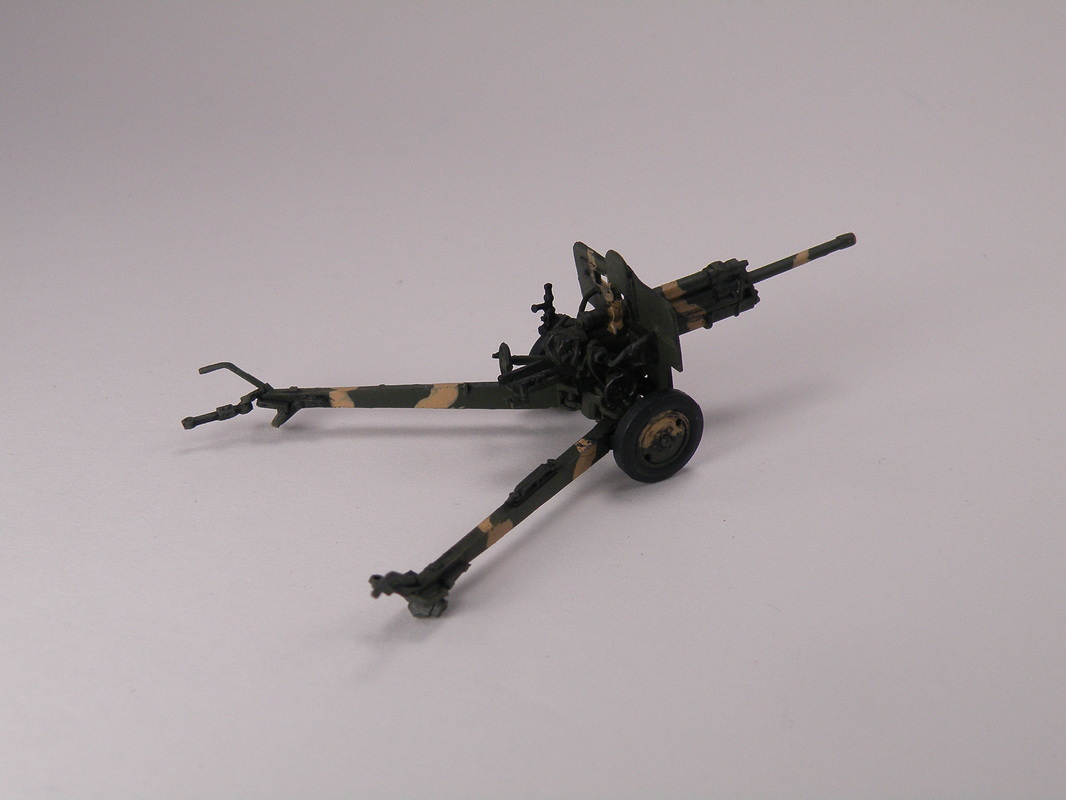
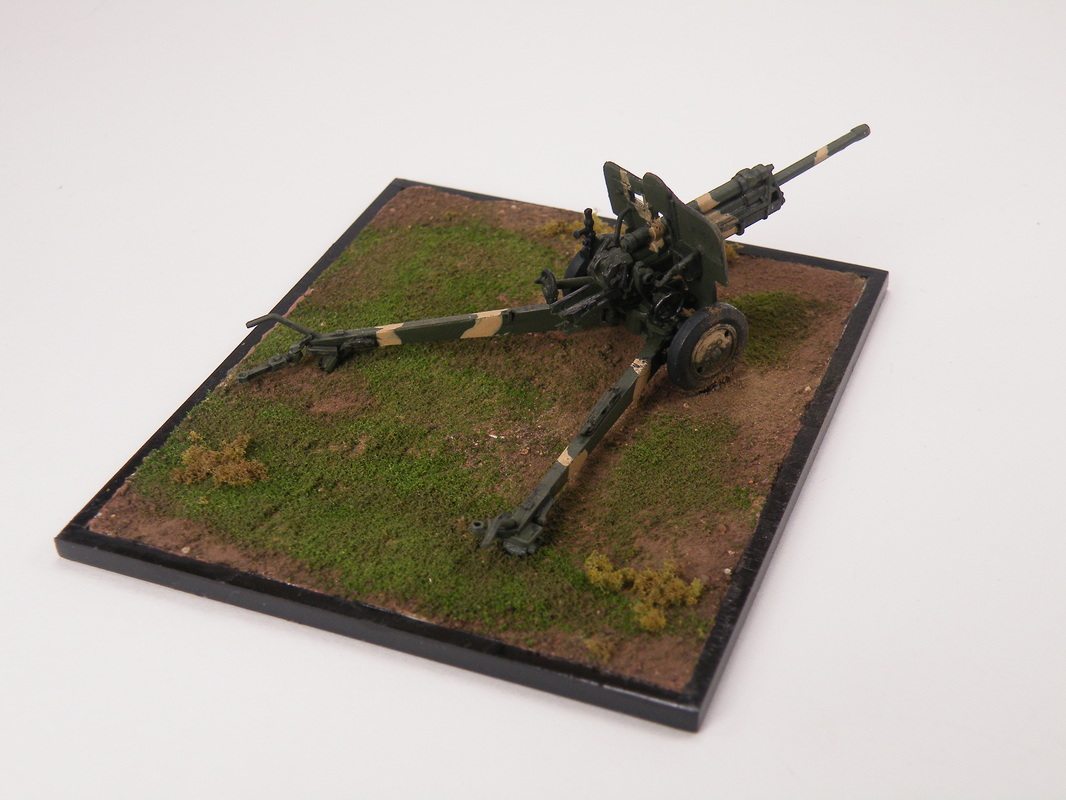
I gave the model an overall coat of Tamiya XF-65 Field Gray. The instructions show the majority of the camouflage consisting of Ochre with stripes of Dark Green. From the few pictures that I have seen of Soviet artillery on the web, the camouflage patterns appear to be just the opposite. I used the pattern but I reversed the colors. For the Ochre stripes I used Vallejo Iraqi Sand with just a drop of Vallejo Mahogany Brown added to slightly darken it. This was thinned with water and applied with a brush according to the pattern on the instruction sheet. The tires were painted XF-69 NATO Black and the gun sight and hand wheel rims were painted Gun Metal. The model was then given a coat of Pledge Floor Wax with Future and after it had cured, an oil wash of Windsor And Newton Lamp Black was added to accent the kit details. A sponge was torn, dipped in Flat Black and after wiping off the excess, was applied to selected areas of the model to show chipping. With the painting completed the model was sprayed with Testors Flat Coat in the spray can. A pencil was rubbed over the various parts of the gun and handles to show wear. With this the model was completed and I began my assembly of the diorama base.
I gave the model an overall coat of Tamiya XF-65 Field Gray. The instructions show the majority of the camouflage consisting of Ochre with stripes of Dark Green. From the few pictures that I have seen of Soviet artillery on the web, the camouflage patterns appear to be just the opposite. I used the pattern but I reversed the colors. For the Ochre stripes I used Vallejo Iraqi Sand with just a drop of Vallejo Mahogany Brown added to slightly darken it. This was thinned with water and applied with a brush according to the pattern on the instruction sheet. The tires were painted XF-69 NATO Black and the gun sight and hand wheel rims were painted Gun Metal. The model was then given a coat of Pledge Floor Wax with Future and after it had cured, an oil wash of Windsor And Newton Lamp Black was added to accent the kit details. A sponge was torn, dipped in Flat Black and after wiping off the excess, was applied to selected areas of the model to show chipping. With the painting completed the model was sprayed with Testors Flat Coat in the spray can. A pencil was rubbed over the various parts of the gun and handles to show wear. With this the model was completed and I began my assembly of the diorama base.

DIORAMA
I made the base from .040 sheet styrene and bordered it with Evergreen Strips. The gaps in the border pieces were filled with Squadron putty and sanded smooth. A coat of Tamiya TS-82 Black Rubber was sprayed onto the base and then the border was coated with the Pledge Wax as used on the model. After applying tape to the edges, the base was heavily scored to give the ground material, which is Apoxi-Sculpt, something to adhere to. After the epoxy had cured, I painted the base with craft paint and applied sifted soil from my yard to the wet paint. After this had set, I made a mix of 1/3 Matt Media to 2/3 water and used a spray bottle to coat the diorama. Woodland Scenics Fine Turf Green Grass and Fine Turf Rough Grass was randomly applied over the Matt Media and more media was applied to seal it. The colors were a little bright so I toned them down by brushing on heavily diluted Tamiya XF-60 Dark Yellow and XF-52 Flat Earth.
I made the base from .040 sheet styrene and bordered it with Evergreen Strips. The gaps in the border pieces were filled with Squadron putty and sanded smooth. A coat of Tamiya TS-82 Black Rubber was sprayed onto the base and then the border was coated with the Pledge Wax as used on the model. After applying tape to the edges, the base was heavily scored to give the ground material, which is Apoxi-Sculpt, something to adhere to. After the epoxy had cured, I painted the base with craft paint and applied sifted soil from my yard to the wet paint. After this had set, I made a mix of 1/3 Matt Media to 2/3 water and used a spray bottle to coat the diorama. Woodland Scenics Fine Turf Green Grass and Fine Turf Rough Grass was randomly applied over the Matt Media and more media was applied to seal it. The colors were a little bright so I toned them down by brushing on heavily diluted Tamiya XF-60 Dark Yellow and XF-52 Flat Earth.

FINAL THOUGHTS
Although the kit is out of production, it can still be found on some internet shops and is a unique addition to any Soviet artillery collection. As with all Ace kits, your best tools are patience and test fitting which will yield a truly remarkable model of a kit that will not be molded by any other manufacturer. While the instructions are good, I still needed photos to ensure correct placement of the parts. For this I used "www.primeportal.net". There is a set of walk around photos of a Model 1939 F-22 gun in a Russian museum and these were extremely helpful in building the kit. I purchased my kit through my local hobby shop.
Although the kit is out of production, it can still be found on some internet shops and is a unique addition to any Soviet artillery collection. As with all Ace kits, your best tools are patience and test fitting which will yield a truly remarkable model of a kit that will not be molded by any other manufacturer. While the instructions are good, I still needed photos to ensure correct placement of the parts. For this I used "www.primeportal.net". There is a set of walk around photos of a Model 1939 F-22 gun in a Russian museum and these were extremely helpful in building the kit. I purchased my kit through my local hobby shop.
