
Build Review of Italeri 1/35th Scale
RSO with PAK-40 German S.P. Anti Tank Gun
Kit no. 355
MSRP: $26.00
MSRP: $26.00
Ray Mehlbeger
HISTORY:
One of the German Army’s major challenges during the Second World War was anti-tank warfare. It was particularly important on the Eastern Front, where the Soviet Forces achieved numerical superiority towards the end of 1943. Ground conditions and a lack of useable roads across vast terrain limited the use of heavy towed artillery pieces considerably. Therefore the use of tracked gun carriers became an alternative solution.
Among the various modified vehicles to carry anti-tank guns, the half-tracked Steyr RSO in conjunction with the outstanding 75 mm gun PAK 40 proved to be a valuable solution in regards to high mobility and simplicity.
TECH DATA:
Length: 4.57 m (15 ft.)
Width: 1.99 m (6 ½ ft.)
Weight: 5.2 tons
Range: 250 km
Crew: 4
Armament: One 7.5 cm PAK 40
Italeri is a prolific model company based in Italy. They make all manner of different model subjects in the popular scales.
THE KIT:
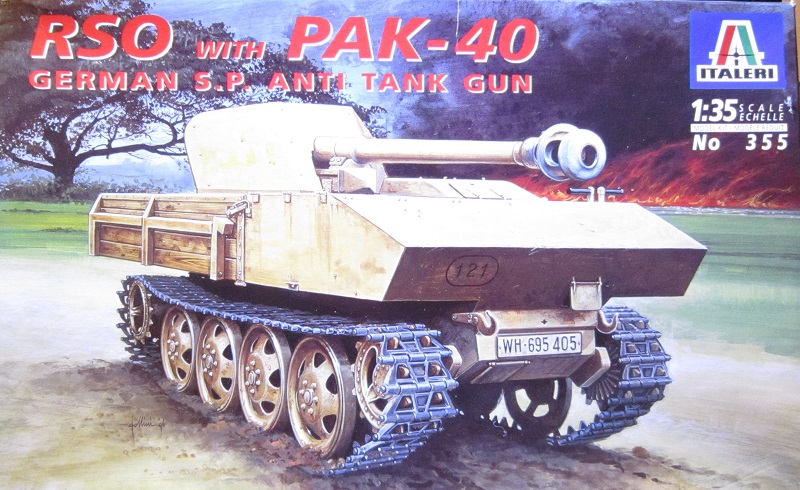
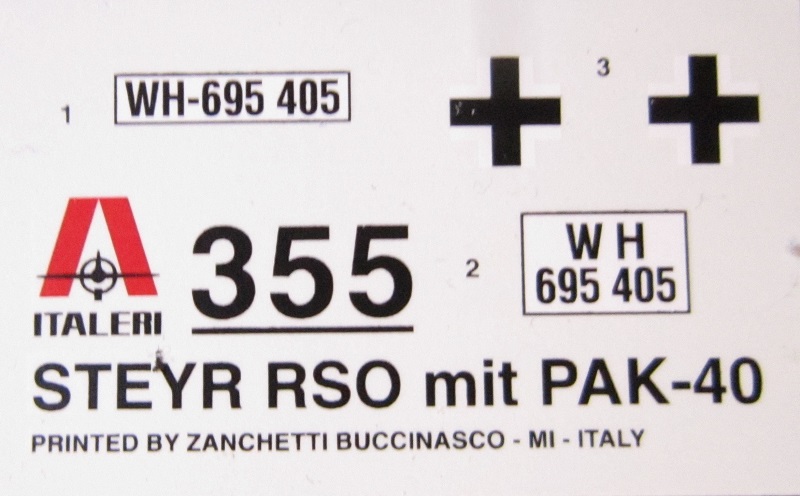
This kit comes in a shrink-wrapped tray and lid type box. The box art shows a RSO parked in a clearing in a woods. It is overall earth yellow with the license plate no. WH-695 405 on the front. No other markings are shown.
One side panel has one paragraph histories of the RSO in 8 languages (including English) marked with color illustrations of the flags of the countries that speak those languages. It is said that the kit makes up to be 131 mm long when built (just over 5”).
The other side panel continues with 5 more histories marked with flags of the countries that speak those languages. This is followed by the statement that the kit is not suitable for children under 3 in multiple languages. The copyright of the kit is 1997. The kit is designed for modelers age 10 and older. Italeri’s street address in Italy is provided and a listing of Model Master hobby paint color numbers is shown. However, it is not said what these colors are.
One of the German Army’s major challenges during the Second World War was anti-tank warfare. It was particularly important on the Eastern Front, where the Soviet Forces achieved numerical superiority towards the end of 1943. Ground conditions and a lack of useable roads across vast terrain limited the use of heavy towed artillery pieces considerably. Therefore the use of tracked gun carriers became an alternative solution.
Among the various modified vehicles to carry anti-tank guns, the half-tracked Steyr RSO in conjunction with the outstanding 75 mm gun PAK 40 proved to be a valuable solution in regards to high mobility and simplicity.
TECH DATA:
Length: 4.57 m (15 ft.)
Width: 1.99 m (6 ½ ft.)
Weight: 5.2 tons
Range: 250 km
Crew: 4
Armament: One 7.5 cm PAK 40
Italeri is a prolific model company based in Italy. They make all manner of different model subjects in the popular scales.
THE KIT:
This kit comes in a shrink-wrapped tray and lid type box. The box art shows a RSO parked in a clearing in a woods. It is overall earth yellow with the license plate no. WH-695 405 on the front. No other markings are shown.
One side panel has one paragraph histories of the RSO in 8 languages (including English) marked with color illustrations of the flags of the countries that speak those languages. It is said that the kit makes up to be 131 mm long when built (just over 5”).
The other side panel continues with 5 more histories marked with flags of the countries that speak those languages. This is followed by the statement that the kit is not suitable for children under 3 in multiple languages. The copyright of the kit is 1997. The kit is designed for modelers age 10 and older. Italeri’s street address in Italy is provided and a listing of Model Master hobby paint color numbers is shown. However, it is not said what these colors are.
WHAT’S IN THE BOX:
This kit contains 4 tan trees of parts, a tree of black vinyl rubber band type tracks, the decal sheet, instructions and a small sheet of IMPORTANT INFORMATION CONCERNING THE KIT in 20 languages, including English..
The instructions consist of a single sheet that accordion folds out into 8 pages in 7 ¾” x 13” page format.
Page 1 begins with a repeat of Italeri’s address in Italy and MADE IN ITALY, followed by the history of the RSO in 9 languages, including English.
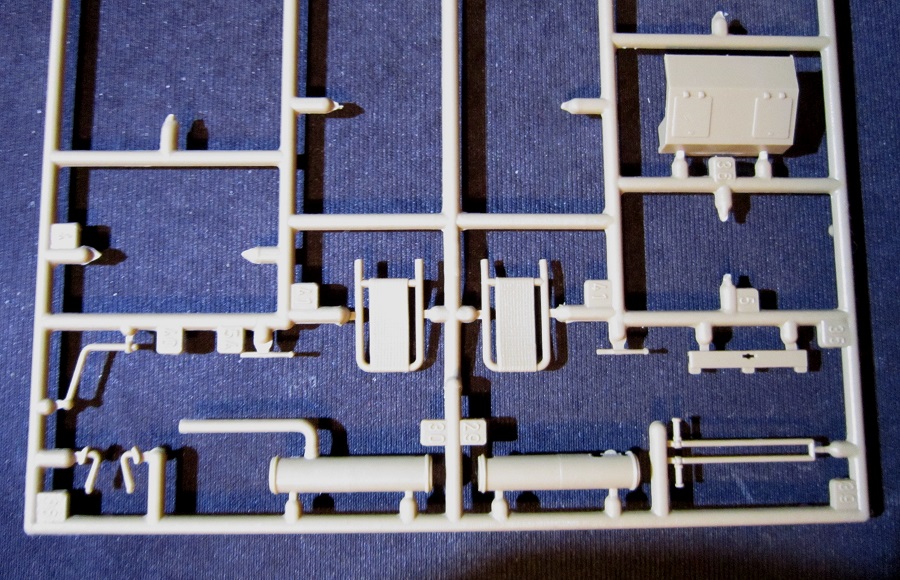
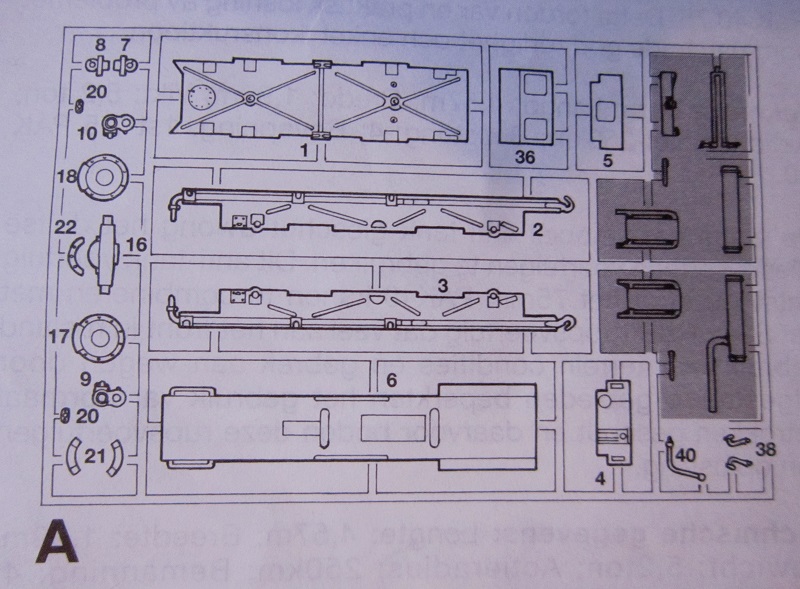
Page 2 begins with ATTENTION-USEFUL ADVICE in 10 languages, including English. The bottom of the page has the parts trees illustrations. Some parts are shaded out. Meaning they are excess and not needed to complete the model.
Page 3 begins with a listing of 4 paint colors by Model Master brand, suggested to use to complete the model.
The bottom of page 3 through to the top of page 8 give a grand total of 12 assembly steps.
The center of page 8 has a 3-view illustration for one lonely painting and marking scheme. It is the box art scheme showing only the license plate number and a German cross on the sides of the driver’s compartment. It is labeled as a RSO with the German Army 1945. Too bad Italeri could not have come up with some division markings.
The bottom of the page has decal application instructions in 8 languages, including English.
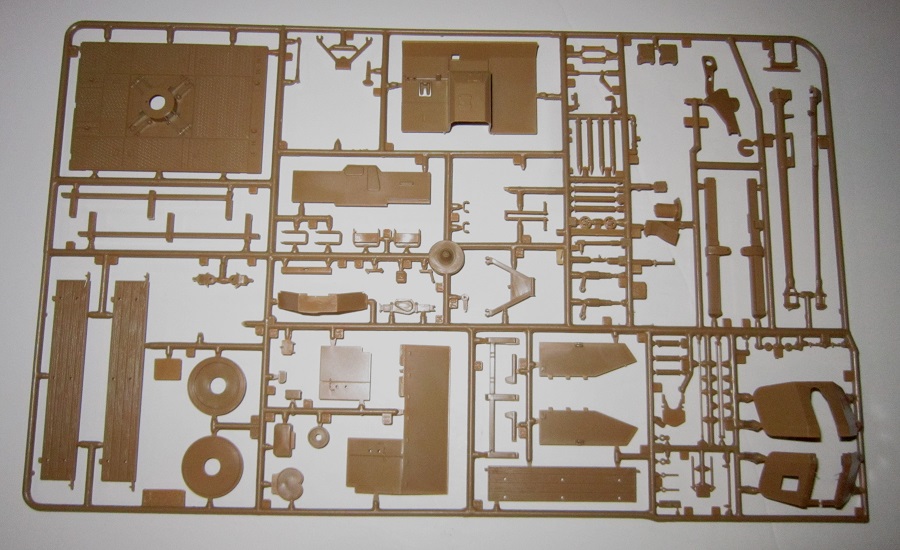
Medium sized tan letter A parts tree holds: the floor, sides, final transfer covers etc. (30 parts) 9 parts are shaded out in the parts trees illustrations as being excess.
This kit contains 4 tan trees of parts, a tree of black vinyl rubber band type tracks, the decal sheet, instructions and a small sheet of IMPORTANT INFORMATION CONCERNING THE KIT in 20 languages, including English..
The instructions consist of a single sheet that accordion folds out into 8 pages in 7 ¾” x 13” page format.
Page 1 begins with a repeat of Italeri’s address in Italy and MADE IN ITALY, followed by the history of the RSO in 9 languages, including English.
Page 2 begins with ATTENTION-USEFUL ADVICE in 10 languages, including English. The bottom of the page has the parts trees illustrations. Some parts are shaded out. Meaning they are excess and not needed to complete the model.
Page 3 begins with a listing of 4 paint colors by Model Master brand, suggested to use to complete the model.
The bottom of page 3 through to the top of page 8 give a grand total of 12 assembly steps.
The center of page 8 has a 3-view illustration for one lonely painting and marking scheme. It is the box art scheme showing only the license plate number and a German cross on the sides of the driver’s compartment. It is labeled as a RSO with the German Army 1945. Too bad Italeri could not have come up with some division markings.
The bottom of the page has decal application instructions in 8 languages, including English.
Medium sized tan letter A parts tree holds: the floor, sides, final transfer covers etc. (30 parts) 9 parts are shaded out in the parts trees illustrations as being excess.
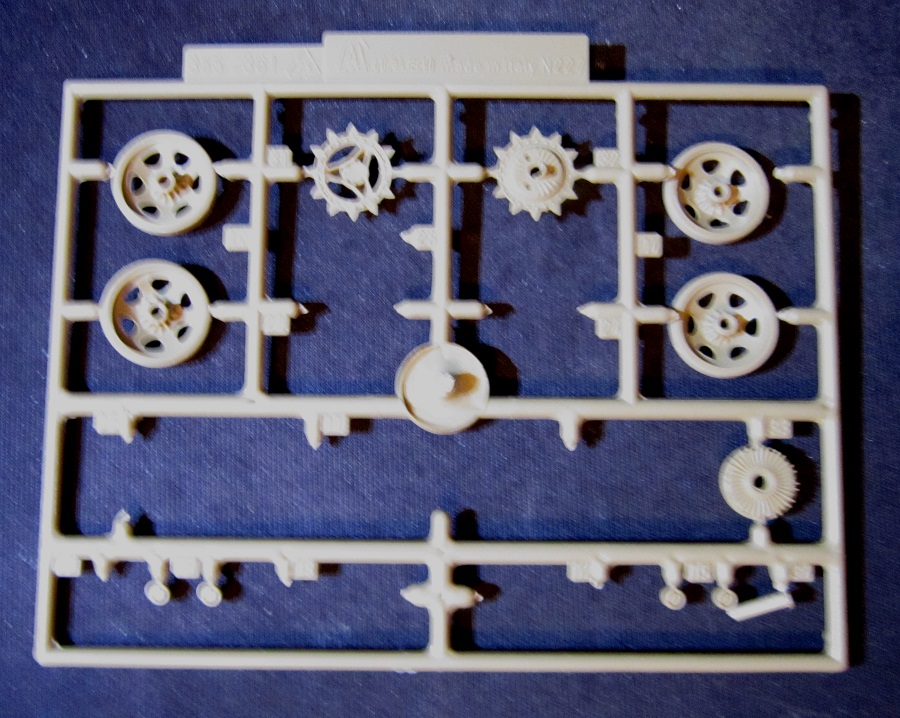
There are 2 identical small sized tan letter B parts trees. They each hold: drive sprockets, road wheels, idler wheels suspension rails etc. (19 parts per tree)

There is no letter C part tree.
Large sized tan letter D parts tree holds: the main gun parts and its shield, side panels, fighting compartment floor and wood side panels steering levers, ammo rounds etc. (98 parts) 11 parts are excess.
Large sized tan letter D parts tree holds: the main gun parts and its shield, side panels, fighting compartment floor and wood side panels steering levers, ammo rounds etc. (98 parts) 11 parts are excess.
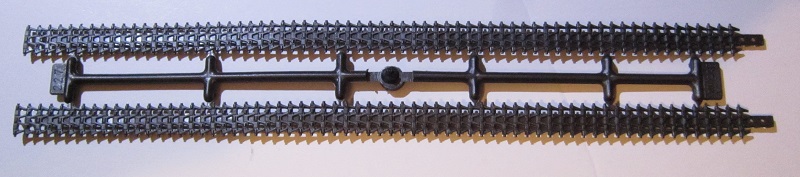
The black vinyl rubber band type tracks sprue holds 2 long runs. These have to be hot-riveted together to make loops. They are not the newer glueable type.
The small decal just holds German crosses and the one license plate number.
The small sheet of IMPORTANT INFORMATION completes the kit’s contents.
I started to assemble this kit and got as far as step 3.
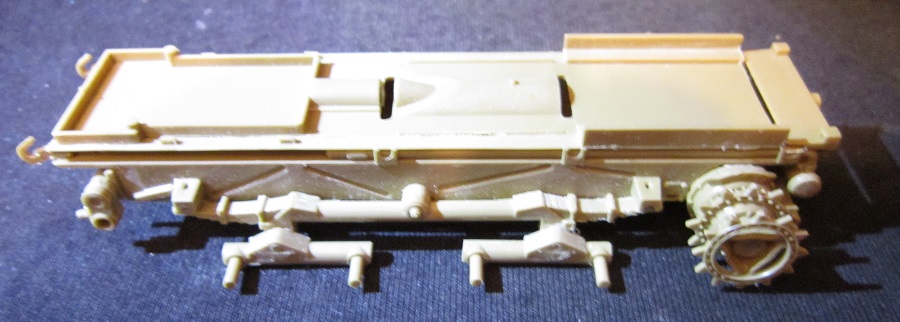
In step 1 I put the chassis together with the sides, bottom, inner floor and end panels.
In step 2 I assembled the suspension rails and bogies. I left the road wheels off until I paint the tires on them later.
In step 3 I assembled the rear axle parts, the drive sprockets and the muffler. After this I stopped.
More to come later.
I purchased my kit back in the late 90’s at my local hobby shop.
